Photographers at any level can now realistically replace dull, dreary skies with ones that transform their photos into a work of art.
When you look at a landscape painting, you’ll notice that the skies are always beautiful (and often dramatic). That’s because the artist can paint whatever they want to create the most compelling image. Unfortunately, photographers aren’t always as lucky.
The challenge of great skies
When capturing landscape photos, skies don’t always work out. It might be the weather or perhaps the time of day. Sure, you can try stacking filters on a lens to get the right look. Or perhaps keep revisiting the same location on multiple days until you got the exact sky you wanted.
Or you could try to fix it in the edit. Pop the vibrancy and add a gradient mask. Or try to use advanced Photoshop techniques, but that took years to master. Most of the time, it wasn’t worth the effort, so photographers settled and left the sky as is. This has always been a point of frustration… until now.
The sky you always wanted
Improvements in photo software are changing things. It’s easier than ever to make an excellent selection for adjusting an image. New tools like AI Sky Replacement make it much easier to add the exact sky you want.
But sky replacements can still be tricky if you want them to look believable. Here are five easy tips that help you look like a Pro. While we’ll use Luminar 4 with its new AI Sky Replacement tool, most of these tips can also be applied using other image editing software.
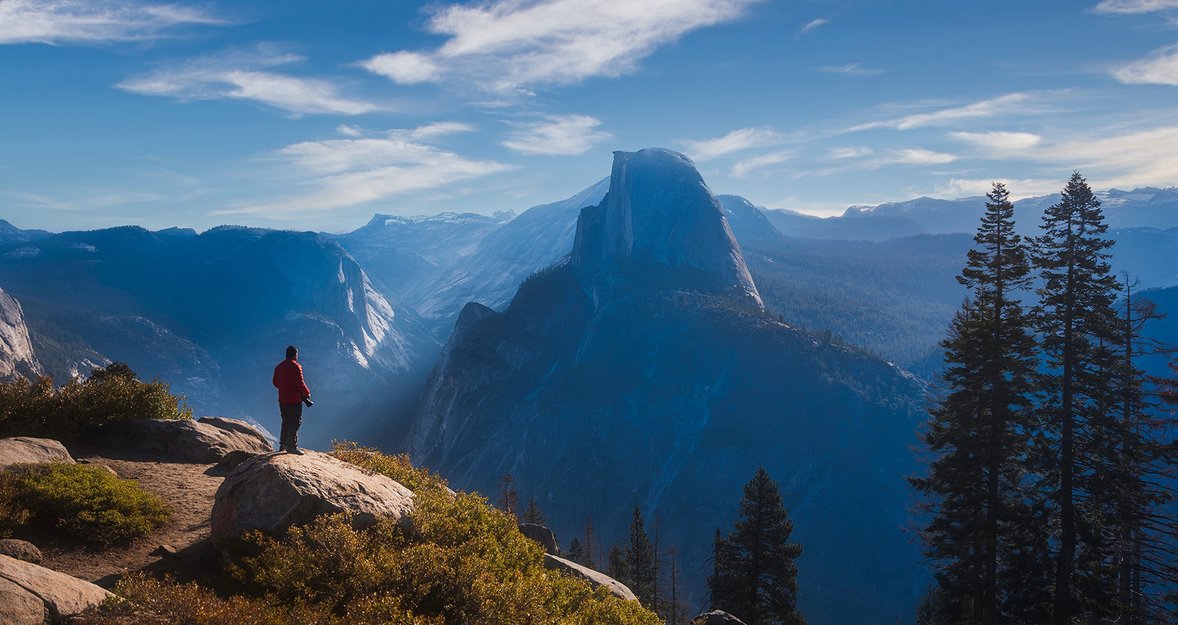
Be creative, select a sky that fits the scene
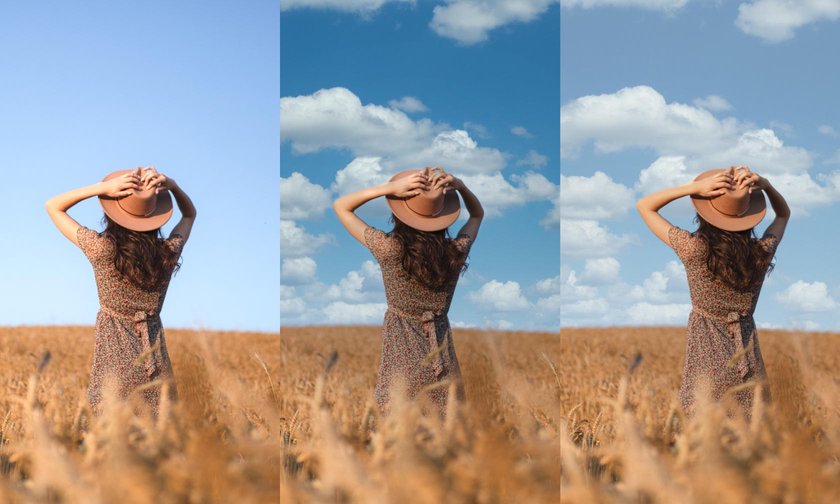
For realistic results, try to pick the sky that was photographed under relatively the same conditions as the image you’re working on. Be sure to consider the time of the day or the lighting of the scene. You might get the effect you’re looking for when combining daylight photos and a sunset sky. Still, the most realistic results come from replacing a dull sunset sky with no clouds with a dramatic, colorful sunset photo or adding a blue sky with some beautiful clouds to your daylight photo where the sky is not looking great.
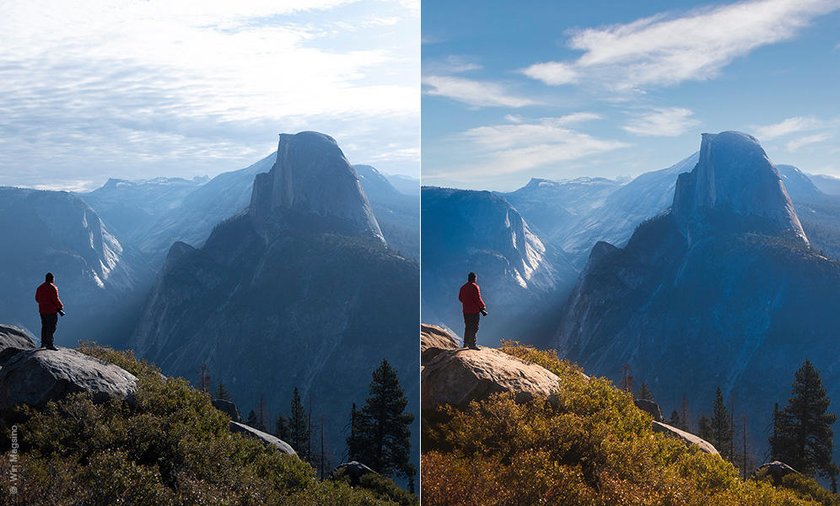
When using the Relight Scene feature in Luminar, two sets of colors are taken into account — the original colors of the photo and those in the inserted sky. Relight Scene converts the original colors of the photo to the colors of the inserted sky.
Keep in mind; replaced skies will look more realistic on photos taken during cloudy conditions. This is because there are less distorted colors in the lighting of the scene after replacing the sky. Since there are few apparent shadows, there will be more realism than an image with bright, directional lighting.
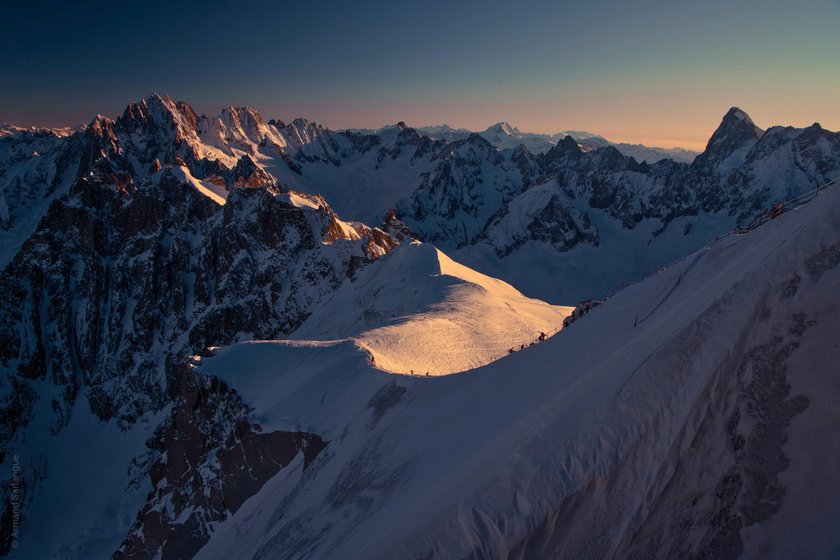
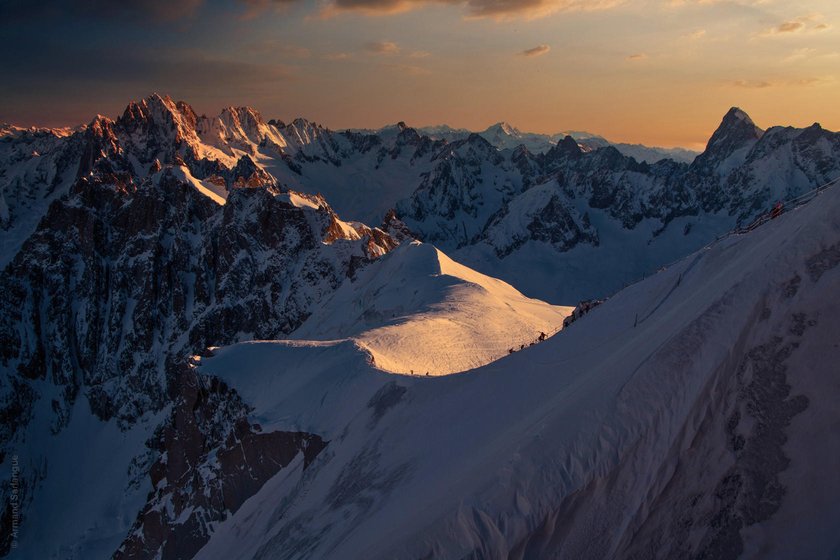
Match the direction of the light
Don’t make a rookie mistake. Always notice the light direction, and try to match it. Otherwise, shadows will look unrealistic. That’s especially true for sunsets and sunrises when shadows are long and clearly indicate the light direction. Try to place the sun where it was in the original sky. You can try flipping the sky in the AI Sky Replacement tool in Luminar 4 or pick another sky option for better results.
 Original
 Replaced sky, correct light direction
 Replaced sky, wrong light direction
Add atmospheric haze
On daylight photos, you can usually notice an atmospheric haze. It’s usually whitish or greyish and makes the background a bit blurry. Haze is an atmospheric condition caused by dust, smoke, or dry particles in the air, which then obscure the sky’s clarity. You might want to emulate the haze when your sky replacement is oversaturated, or when its brightness doesn’t match the foreground. In Luminar 4, use the Atmospheric Haze feature to correct this problem.
 Original photo/ Replaced sky is oversaturated/ Realistic sky with atmospheric haze added
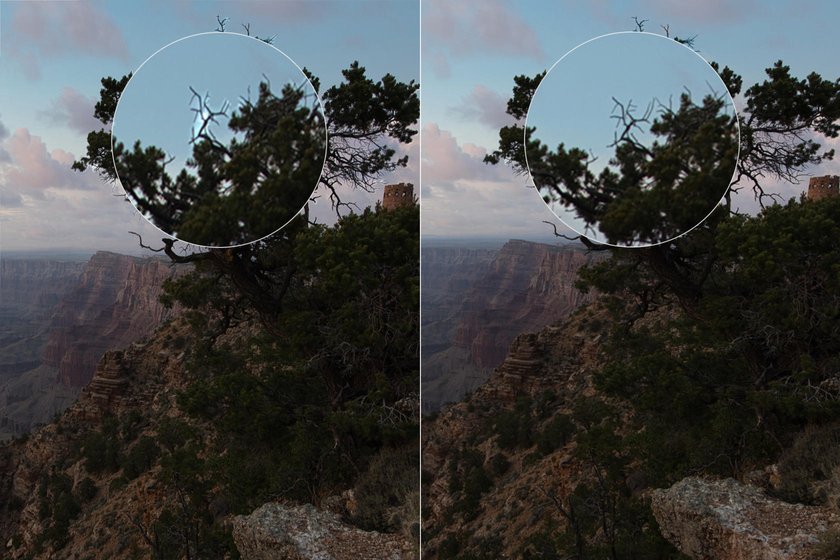
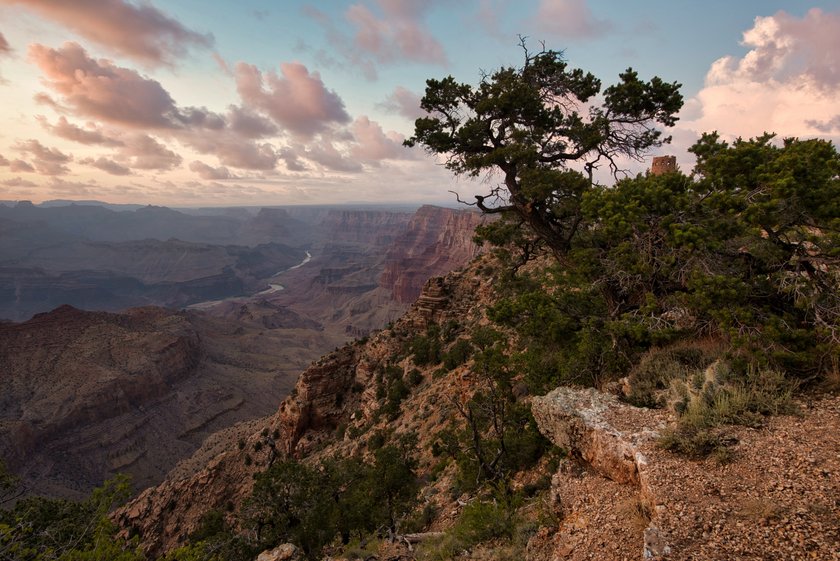
Pay attention to the details
If a sky replacement is to be believable, you need to pay attention to the little things. Zoom in and inspect your photo. Check your horizon and make sure the sky fits the horizon properly. Luminar automatically scales and aligns the image, but you can refine things with the Horizon Blending and Horizon Position sliders.
Be sure also to examine the gaps and smaller details. Use the Sky Global adjustment in Luminar 4 to spread the sky texture across the horizon. You can also use the Close Gaps feature that fixes small details and holes that were not filled by the replaced sky initially (a typical example is trees and between branches, leaves).
Make it look believable by adding water reflections
It’s easy to notice that the sky was replaced in a photo if there are reflective surfaces like water or glass. Pay attention to those, and you can also add reflections to the water, for example, using your sky as an image layer, and masking the areas that reflect the sky with it. This tutorial by Jim Nix is a great example.
Bonus Tip: Show restraint
If you’ve got a fantastic sky in your photo, leave it as it is. You might want to go creative, but the general rule is this: If you’re lucky enough to capture a beautiful sunset or sunrise that perfectly matches the scene, and is original to the photo ... stay with it. Want to enhance the sky you have? Check out the AI Sky Enhancer tool to optimize the existing sky.
Be sure to try these tips on your next sky replacement and unlock the creative artist in you.