Explore the nuances of aperture and exposure to enhance your photography skills. Our post will guide you from capturing dreamy portraits to freezing action shots, and you will discover the subtle art of balancing light to tell captivating stories through your lens. Stay tuned!
Ever noticed a photo with lighting so perfect it captured your full attention? You've likely heard the terms "aperture" and "exposure" before, and today, we will demystify these key concepts and teach you how to leverage them to enhance your photography skills!
Mastering aperture and exposure is crucial for managing how light affects your photos, though these concepts can be tricky to grasp. This article breaks down their roles and shows you how to tweak them for the perfect shot. You'll learn how to achieve everything from stunningly blurred backgrounds to crisply detailed scenes!
Come along as we delve into the techniques of light manipulation!
Exploring Exposure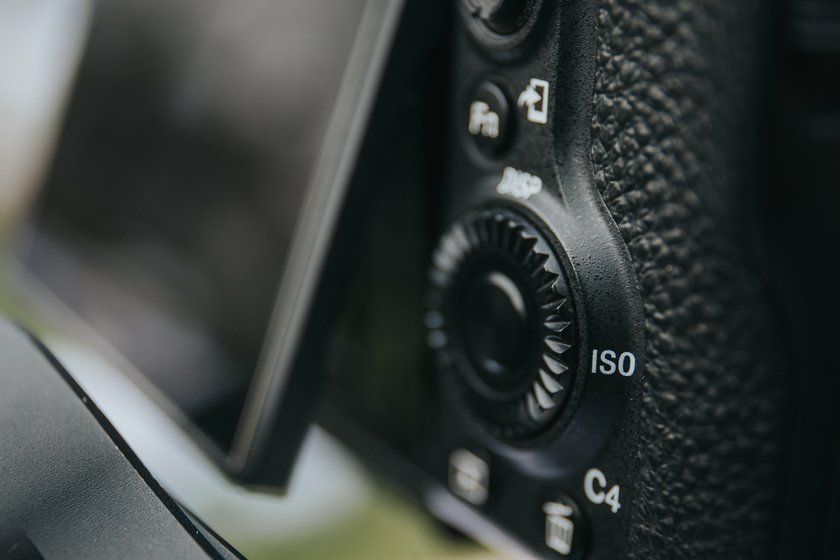

Exposure is fundamental in photography. It determines if your photos are bright, dark, or perfectly balanced by controlling the amount of light that hits the camera's sensor.
There are three parameters of photography exposure you need to know that directly affect your image:
Aperture: This is the size of the opening in your lens when you take a picture. A larger aperture (small f-number) lets in more light, which is useful in dimmer settings. A smaller aperture (large f-number) lets in less light, which helps on bright days.
Shutter Speed: This controls how long the camera's shutter remains open to let light in. A fast shutter speed will snap the shutter closed quickly, capturing moments in crisp, clear detail without any blur. This is great for action shots. A slower shutter speed will leave the shutter open longer, which can blur motion intentionally, adding a creative effect to elements like flowing water.
ISO: This adjusts how sensitive your camera is to light. Boosting the ISO helps in dark areas by making the camera more sensitive to the light available, though it can make your photos grainy if set too high.
Learning these settings helps you take better photos in any condition, letting you adjust to the perfect level of brightness for any scene.
Achieving the Right Exposure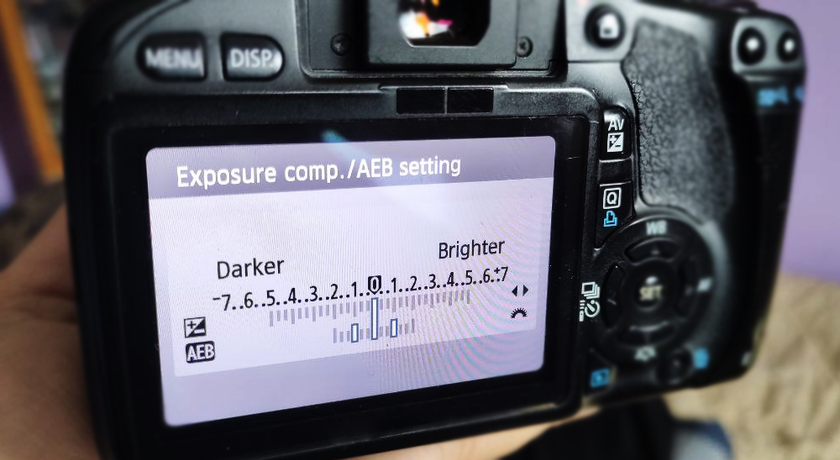

To take a great photo, you need to balance these settings depending on the light available and what you’re trying to capture:
When the sun is bright, dial down your ISO to keep your photos from getting grainy. To avoid overexposing your shot, speed up your shutter. This helps keep the whole scene sharply in focus by using a smaller aperture!
For those darker settings, bump up your ISO to make things brighter. Open up your aperture to pull in more light, and go for a slower shutter speed to pick up more details. It's a good idea to use a tripod to keep everything stable and sharp.
When it comes to capturing fast action, like a sprinter racing or a bird in flight, a quick shutter speed is essential to freeze the motion without blur. You'll probably need to increase your ISO and open your aperture more to balance the faster shutter speed.
When you are indoors, play with your camera settings to see what works best. Sometimes opening your aperture just a notch while tweaking your shutter speed and ISO can make all the difference in lighting up an indoor scene effectively.
Once you get the hang of these adjustments, you'll really start to feel like a pro photographer! So, start by experimenting with different combinations in various lighting conditions.
What is Camera Aperture in Photography and What Does it Do?
learn moreThis hands-on practice will help you see how changes affect your images and improve your ability to capture the scenes you envision!
Aperture In Detail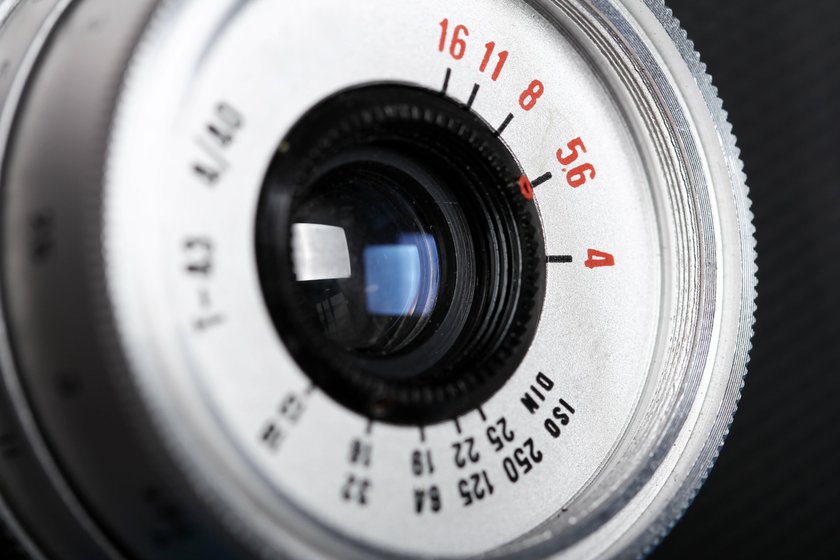

Think of the aperture as your camera's pupil that dilates or contracts to let in just the right amount of light. This hole in the lens is critical, and we measure its size in f-stops. Lower f-stops mean a bigger aperture, flooding your sensor with light; higher f-stops shrink the hole, giving you a trickle instead.
Let's say you tweak the aperture. Go wide, and suddenly, your subject pops against a creamy blur of a background—perfect for portraits where you want the person to shine and the world to fade away. Tighten it up, and the scene snaps into crystal clarity from front to back — just what you need for a sprawling landscape.
Playing with the aperture is about setting the stage! A wide aperture makes your subject the star with a spotlight while everything else melts into soft shadows. It's great for cutting out distractions and honing in on emotional expressions in portraits. Flip the script with a narrow aperture in landscapes, and you capture every leaf, every rock, every cloud, all crisp and clear.
When to Use Wide vs. Narrow Apertures
Picking your aperture setting feels like choosing the right tool for the job. Want to enchant with a portrait? Open up that aperture and let the background fade away. Need to document every detail of a scenic view? Narrow that aperture down and sharpen your scene.
When you understand and manipulate aperture, you're crafting scenes, setting moods, and telling stories through your lens!
The Art of Balancing Aperture and Exposure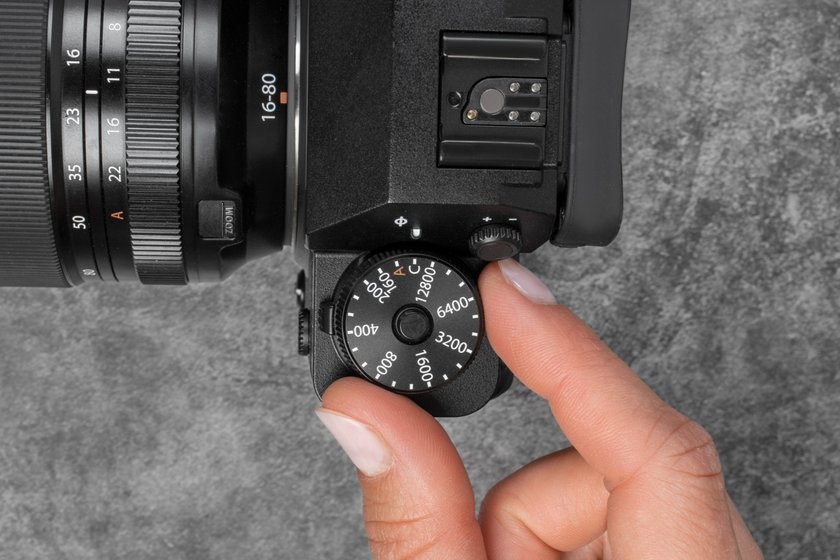

Think of aperture and exposure as dance partners in the tango of photography. When you adjust the aperture (the size of the camera lens opening), it changes how much light enters. Open it wider, and the dance floor floods with light, brightening your photo. Close it down, and you dim the lights, making the photo darker. But as any good dancer knows, every move affects the balance, so you may need to tweak the shutter speed or ISO to keep your photo looking just right.
Your creative vision dictates your settings:
For a Dreamy Portrait: Imagine blurring everything but your friend's face in a crowd. Set a wide aperture (a low f-number) to narrow the focus and blur the background. Just remember, more light will enter, so you might need a quicker shutter to keep the exposure in check.
For Crisp Action Shots: Want to capture your dog mid-leap without any blur? Crank up the shutter speed. You'll likely need to open the aperture wider or bump up the ISO to compensate for the quicker shutter cutting down on light.
What is exposure value?
learn more
What is exposure value?
learn morePractice These Exercises
Depth of Field Challenge: Head to a park and take pictures of a bench at various aperture settings. Watch how the focus shifts from sharp to soft in the background as you increase the aperture size.
Capturing Motion: Next time you see cyclists, experiment with different shutter speeds. Notice the difference between a crisp, frozen action shot and a beautifully blurred motion shot.
Low Light Mastery: In a dimly lit setting, adjust your aperture and shutter speed to capture the ambiance without using a flash. Pay attention to how these changes affect the overall mood and detail of your photo.
Each shot teaches you something new, so keep your camera close and keep experimenting!
With these tips and a bit of practice, you’ll not only understand your camera better but also start taking pictures that truly bring your artistic visions to life. Happy shooting!
Editing Your Shots
Luminar Neo, an AI photo editor, offers powerful tools to brighten an image and adjust contrast, making it easy to enhance your photos with precision! The Relight AI feature is particularly useful for lighting up images that are too dark. It adjusts brightness based on the depth of the image and ensures that both the foreground and background receive the right amount of light. This means you can bring details out of the shadows without overexposing other parts of your photo!
For tweaking contrast, Luminar Neo's Supercontrast tool allows you to modify highlights, midtones, and shadows independently. This contrast changer helps you create the perfect balance, enhancing the visual impact of your images without making them look unnatural.
By adjusting these elements separately, you can highlight specific details and make your photos more dynamic and engaging!
Bottom Line

Mastering aperture and exposure is essential for capturing stunning photographs! These controls allow you to manage light creatively, in case you're blurring backgrounds for striking portraits or capturing every detail of expansive landscapes!
Beyond shooting, editing tools like Luminar Neo enhance your photos further. This software simplifies adjusting brightness and contrast, ensuring your images match your vision!
So, now, with these skills, your photographs will not only capture moments but also tell captivating stories!