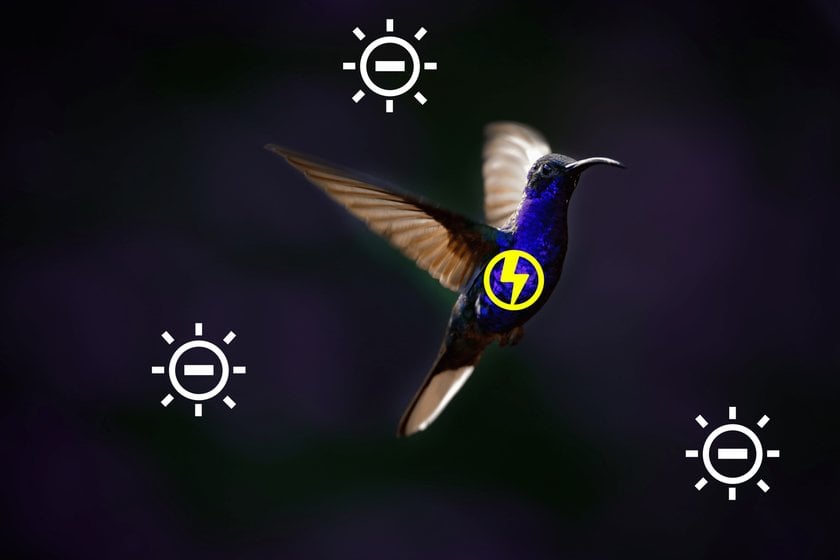
Elevate Your Photos with Dodge and Burn Techniques! Unlock the full potential of your images, add depth and drama, and bring out hidden details.
To master professional image post-processing and get captivating views from your audience, you must learn the burn and dodge technique. In this article, you will find an explanation of what dodge and burn do and how to apply it correctly so that the image retains its natural appearance and acquires an interesting effect. Using the Luminar Neo photo editor as an example, we will dive into this journey of professional photo lighting together. You will learn about effective dodge and burn tools and their correct application for the most impressive result.
Understanding Dodging and Burning
So, what do dodge and burn? Both of these techniques are the oldest in photo post-processing. They are opposites but can be applied together in one picture. Dodging lightens part of the photo, while Burning darkens it. Unlike exposure and contrast editing, which alter the entire image, these techniques are local adjustments to a single photo area.
Let's go back a little in history to when these techniques were used literally from the beginning of photography. When there were darkrooms, the photographer dodged an image by preventing the enlarger's light from falling on the light-sensitive paper. For example, the tool could be a piece of cardboard fixed over the area where the light must be blocked. To burn an area of an image in a dark room, it was necessary to give more light to a certain area, with the help of a large sheet of cardboard with a hole in the middle, which coincides with the image's darkened area.
Discover hard light vs soft light in photography to successfully use it in your edits.
How to Dodge and Burn in Luminar Neo?
Luminar Neo dodge and burn tools are as simple as other photo editors. Burn and dodge in Luminar Neo can be achieved with adjustment layers and brushes. Let's look at the step-by-step guide:
Step 1: Open Your Image
Launch Luminar Neo and import the image you want to edit.
Step 2: Add an Adjustment Layer
Click the "+" icon at the bottom of the editing panel and select "Adjustment Layer." It will create a new adjustment layer over your image.
Step 3: Select the Dodge & Burn Tool
In the Adjustment Layer panel, click the Add Filter button and select Dodge & Burn from the list of filters.
Step 4: Adjust the Settings
Use the sliders to control the exposure and size of the brushes.
Step 5: Painting the Areas
Choose a burn or dodge brush and paint over the areas you want to lighten or darken, respectively. You can adjust the brush size and opacity for more precise editing.
Step 6: Fine-tune as Needed
After applying lightening and darkening adjustments, you can fine-tune them using the opacity slider in the adjustment layer panel or by adjusting filter options.
Step 7: Save the Changes
When happy with the results, click Apply to save your changes.
Using the Contrast Changer automatic tool від Luminar Neo, you can achieve the perfect contrast photo by adjusting highlights, mid-tones, and shadows separately.
Advanced yet easy-to-use photo editor
Get Luminar Neo NowWhere Can I Use Dodge and Burn Tool?

Sometimes, beginners may have questions about how to make dark pictures brighter. There are several ways to do this. Unlike contrast, exposure, or filter settings, dodge and burn retouching allows you to emphasize those parts of your photo that need it and reduce the emphasis on secondary parts. In this way, you can emphasize the eyes in the portrait, the shine of the water, the sun's rays, highlight the object from the photo, etc. With these techniques, you can easily control the viewer's attention at your discretion. You can also "burn out" the corners of the photo by darkening them manually or using the vignetting tool. It draws attention to the center of the image. The main thing in spot painting is whether it is lit or darkened — so your viewer does not notice it. We will talk about the secrets of successful use of these techniques later. So, can this trick be applied to all types of photos?
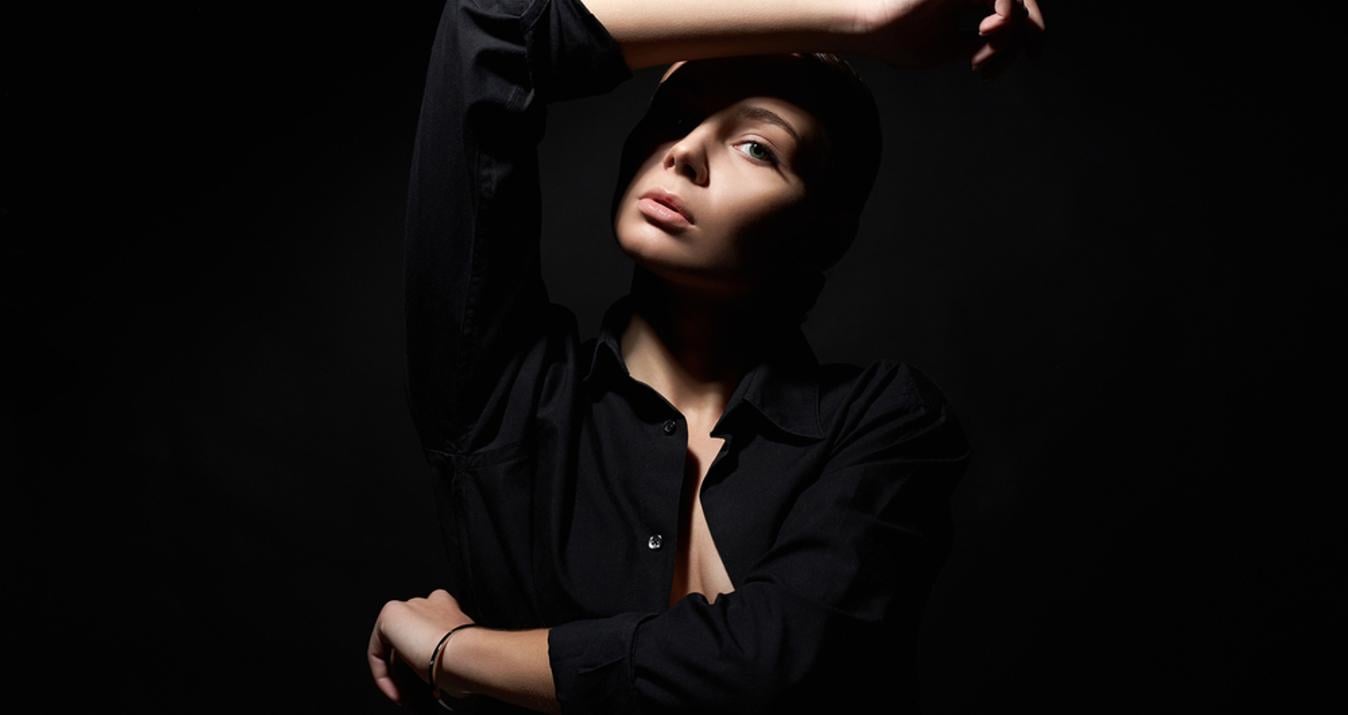
For Portrait Photography
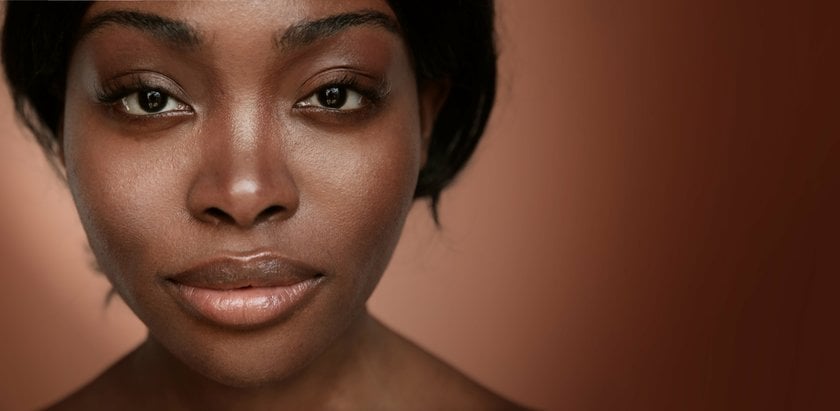
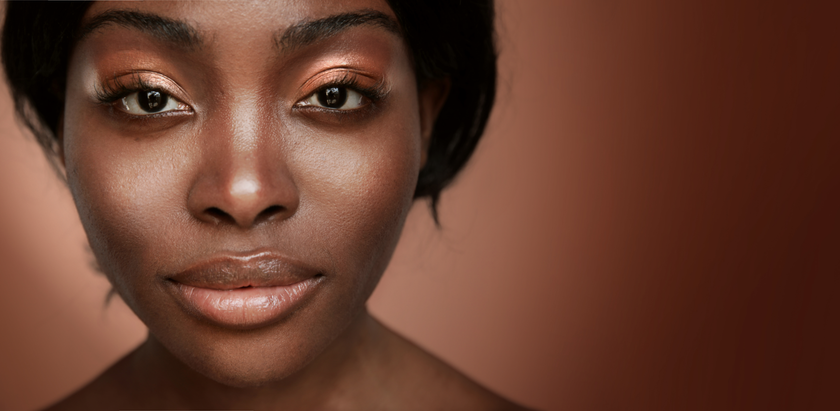
Dodge and Burn portrait enhances the expressiveness of facial features, adds depth, and emphasizes the main elements while hiding secondary ones from the viewer's attention. Dodge and burn retouching in portrait photography can dramatically change the image. Here are some examples of how you can apply dodge and burn face map to portrait shots:
Eye Lighting
A sparkle in the eyes always adds to a photo's attractiveness. You can easily create or intensify this shine, making your eyes brighter and more expressive. A radiant look will attract attention. Try also darkening the iris part of the eyes while highlighting the highlights and eyeballs. Remember to preserve naturalness so as not to distort the picture.
Improvement of Face Contours
Apply shadows along the jawline and under the cheekbones to define the contours of the face and give it a voluminous shape with a more embossed appearance.
Smoothing of Skin Texture
Create a more polished look by gently smoothing skin and eliminating uneven texture and blemishes.
Adding Highlights to Hair
Highlight strands to add shine, especially where natural light hits, such as the crown or ends. You can also darken certain areas to create a visually larger volume.
Background Dimming
Burn out background areas around the subject to create contrast, make the subject stand out, and focus the image on it.
Exposure Balancing
Darken or lighten specific areas of the face or body to balance the exposure and correct any overexposed or underexposed areas for a more even and pleasing tonal range across the image.
For Landscapes
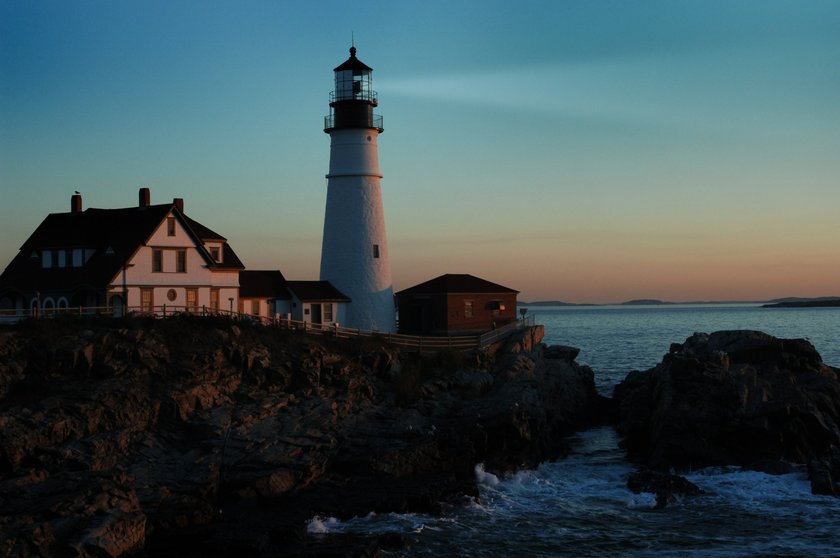
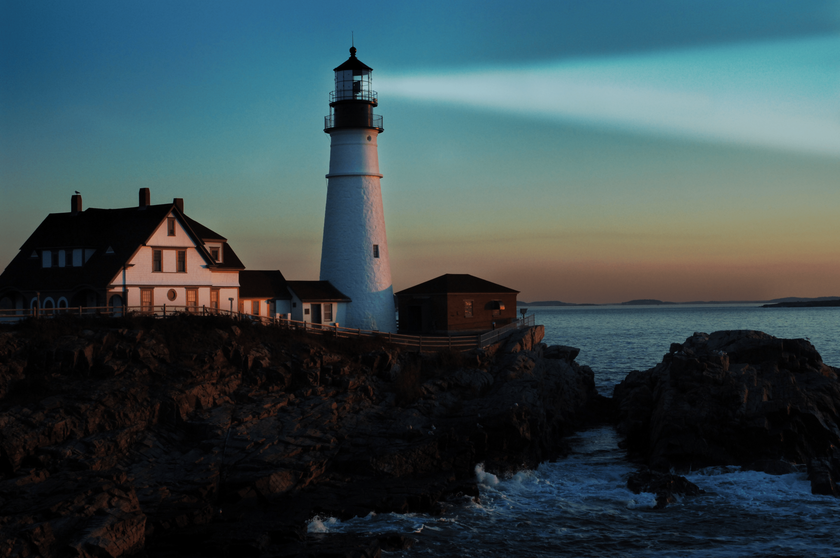
The dodge and burn technique can be used creatively in landscape photography to enhance different aspects of the scene.
Dodge areas of clouds to emphasize their texture and add depth to the sky. Dodge rocky surfaces or textured landscape elements to emphasize their details and make them more visible, creating an attractive structure in the photo. Dodge areas of sunlight or light rays to make them brighter and more radiant, creating a sense of warmth and atmosphere. Dodge areas of foliage or colored elements of the landscape to make their shades more colorful, adding richness to the overall color palette.
Burn overexposed areas of the sky or bright spots on the landscape to reduce their brightness and restore detail. Burn distant elements or areas of the landscape to darken them and create a sense of depth and distance.
Other Types of Photography
Dodge and burn tools can be used in different genres of photography to enhance individual elements and the overall composition. Here are some more examples:
Product Photography
Dodge reflective surfaces such as glass or metal to enhance their shine and make them more sophisticated and appealing to the viewer.
Burn shadows around the edges of the product or under it to create dimension and separation from the background so that the product stands out more prominently.
Architectural Photography
Dodge areas of natural light coming through windows or skylights to illuminate the interior and highlight architectural details like moldings or textures.
Burn shadows in niches, corners, or under canopies to deepen shadows and add contrast, creating a more dynamic composition.
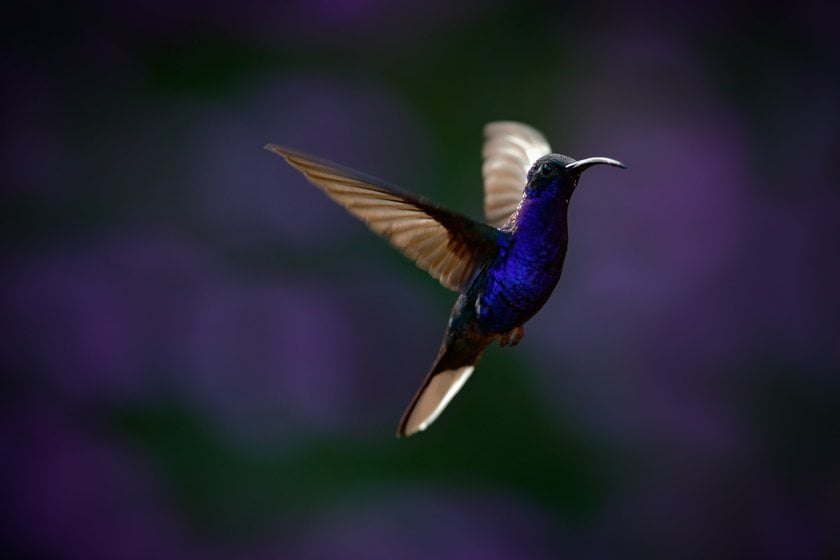
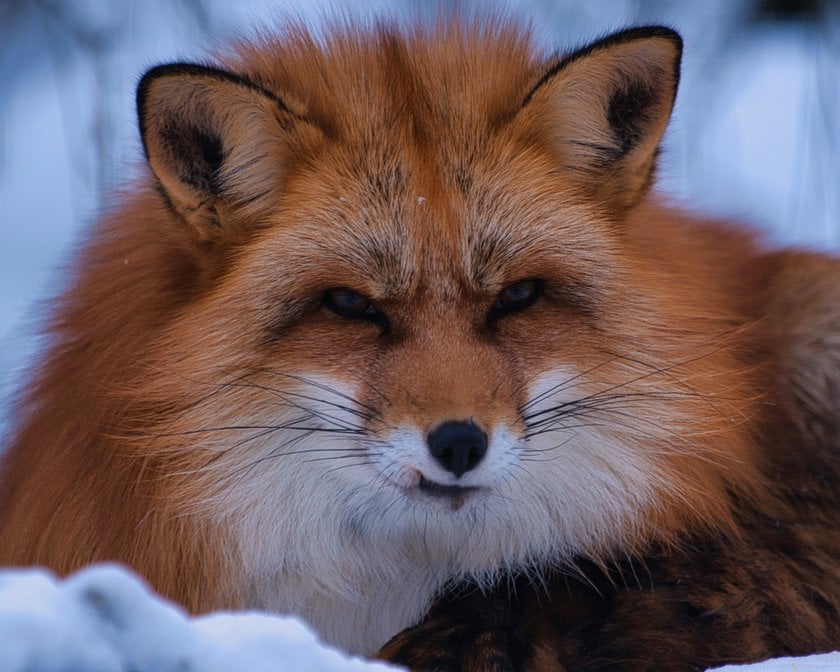
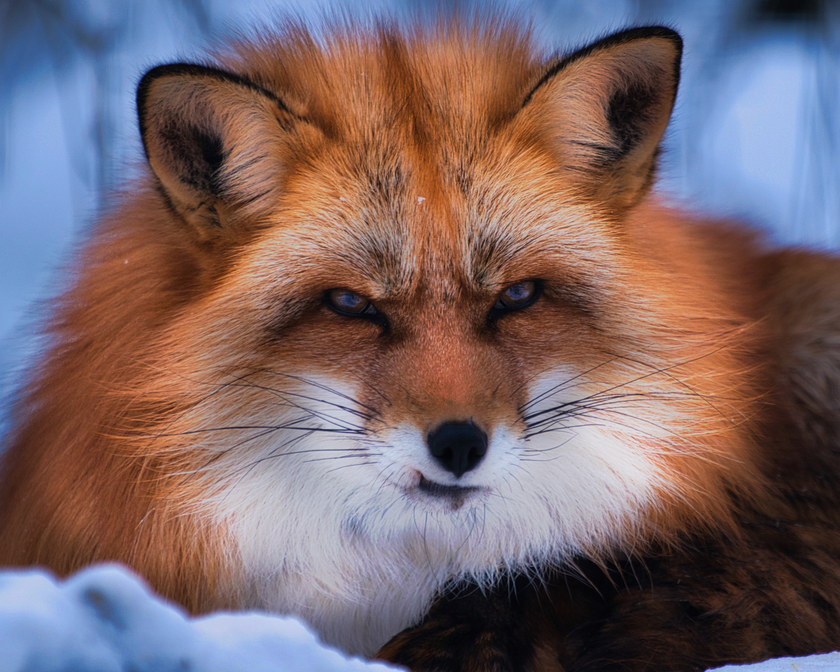
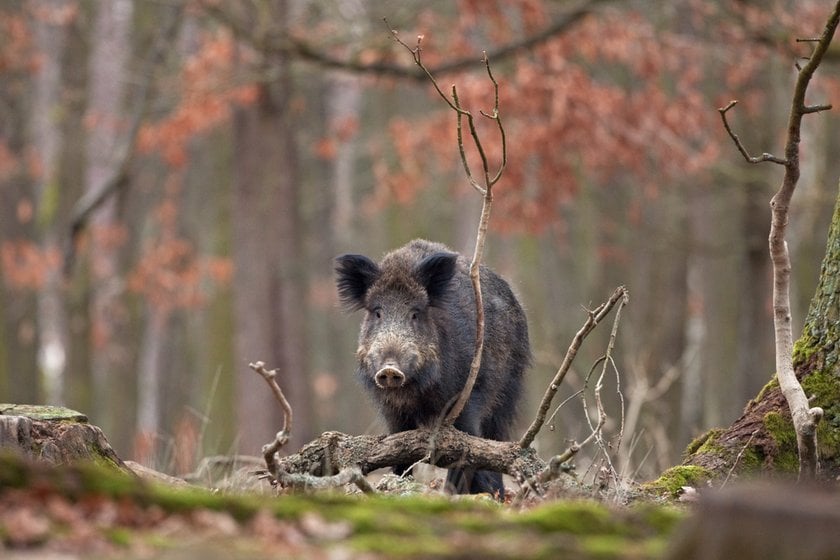
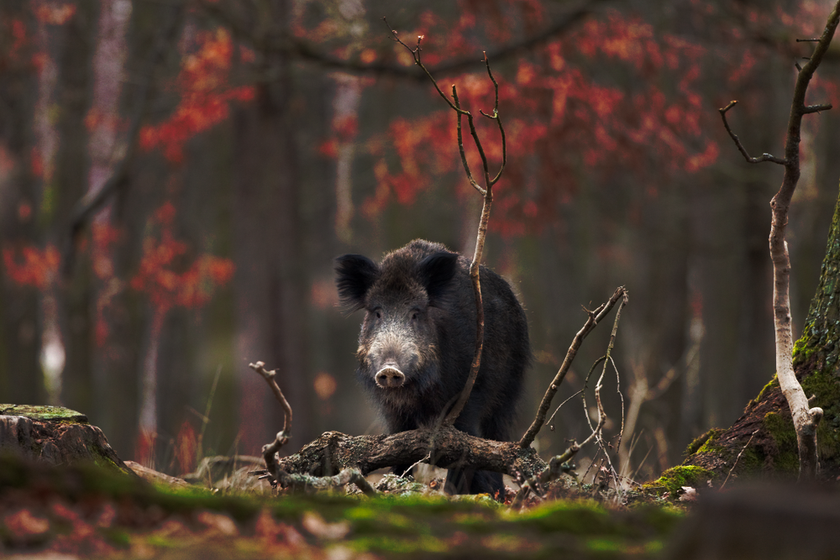
Wildlife Photography
Dodge highlights the animals' eyes to make them look more attractive, adding life and personality to their portraits.
Burn distracting elements in the background or foreground to de-emphasize them and focus on the animal.
Fashion Photography
Dodge highlights clothing or accessories to make them look more reflective and luxurious by enhancing their texture.
Burn shadows along the edges of clothes or under folds to add depth and volume, creating a more textured and dynamic look for fashion looks.
Advanced Tips and Tricks
One of the difficult aspects of using this technique is "coloring in the lines." You must carefully lighten or darken individual elements so as not to affect the surrounding areas. After all, this can distort the effect and create bright or dark halos around the objects in the photo. It can be not easy, but most photo editing software has tools to make your efforts easier. For example, Luminar Neo has a function generated by AI that lights individual areas. Artificial intelligence simplifies the process and gives the most natural result. Try to brighten an image for quick and efficient editing.
For a manual redan, try these tips:
Layered Approach
Separate Dodge and Burn adjustment layers give you flexibility and control over the process. You'll be able to fine-tune each adjustment without affecting the entire image.
Use Soft Brushes
Choose brushes with soft edges and low opacity to blend the changes smoothly with the surrounding areas and avoid sharp transitions.
Practice Subtlety
Apply subtle adjustments gradually, building up the effect over several passes to achieve a realistic result.
Use Masks and Selection
Use the masks and selections provided by the photo editor. Highlighting specific areas allows you to improve key features precisely.
Practice Patience and Precision
This technique can be time-consuming and requires patience and attention to detail. Work carefully and pay attention to the smallest details.
Exclusive Tools of Endless Possibilities in One AI Editor
EXPLORE NOW!FAQ
What is Dodge and Burn in Photography?
They refer to selectively lightening (dodging) or darkening (burning) specific areas of an image to enhance its tonal range and create depth and dimension.
How to Dodge and Burn in Luminar Neo?
Select the Dodge and Burn tool from the toolbar, adjust the brush size and strength, and then paint over the areas you want to lighten (dodge) or darken (burn).
How Can I Effectively Use Dodge and Burn Retouching?
It involves practicing subtlety, using soft brushes, and focusing on highlights and shadows to enhance your photos' texture, shape, and form.
What is Dodging in Photography and How is it Applied?
Selectively lightening specific areas of an image to enhance details or draw attention. It is typically applied to highlights or bright areas.
What is Burning in Photography and How is it Implemented?
Selectively darkening specific areas of an image to deepen shadows or add contrast. This technique is typically applied to shadows or darker areas.
Bottom Line
Mastering dodging and burning techniques in photography can elevate your images from ordinary to brilliant. By selectively controlling light and shadow, you can add depth, dimension, and emphasis to your photos, creating visually stunning results. With practice and experimentation, you can unlock the full potential of these powerful editing techniques and take your photography to new heights.