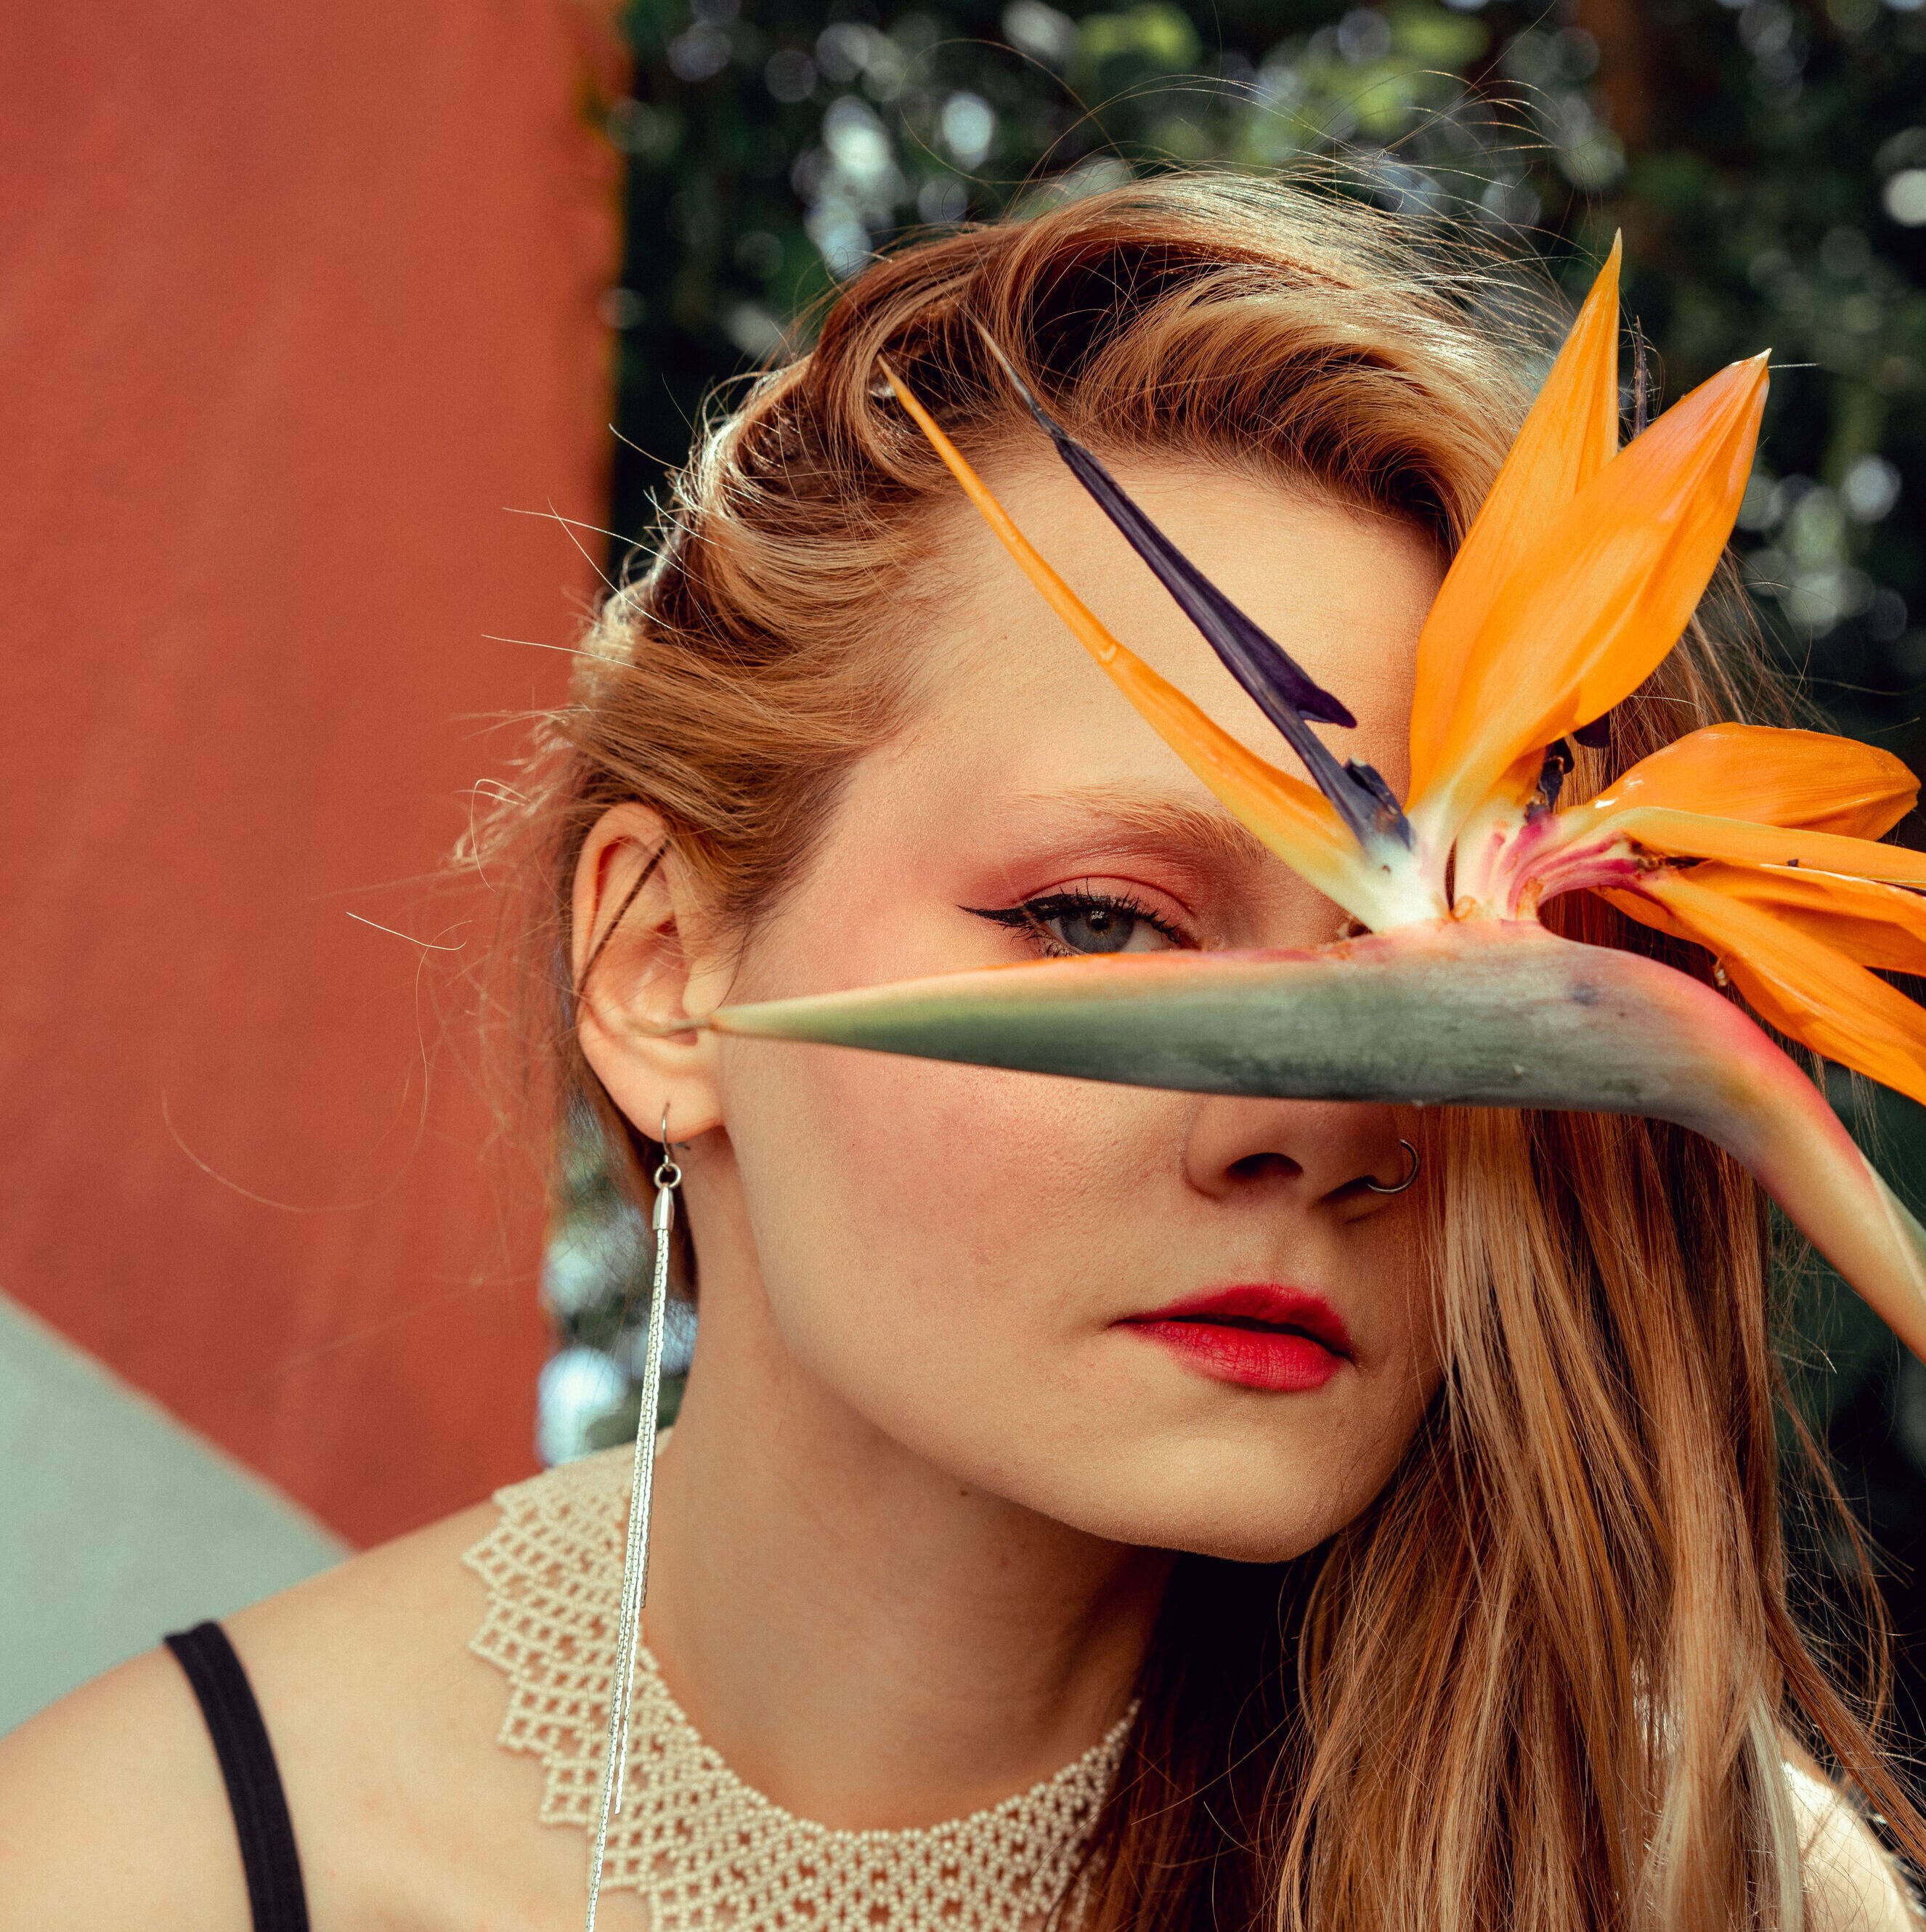
Want to learn how to take amazing photos like a pro on your mobile phone? Let's talk about it! Today, on our blog, we reveal the secrets of impressive mobile photography.
Everyone can take incredible portraits on mobile phones. What is needed for this? Understand the intricacies of the phone's camera, the peculiarities of geometry distortion with different lenses, a little understanding of composition, the basics of working with light, and locating a person in the frame.
In this article, you will find practical tips on setting up your smartphone's camera, choosing colors, proper lighting, posing secrets, photo processing, and much more. Be sure to try them all in practice to consolidate the result and learn how to create impressive pictures with your phone.
Basic Phone Camera Settings and Functions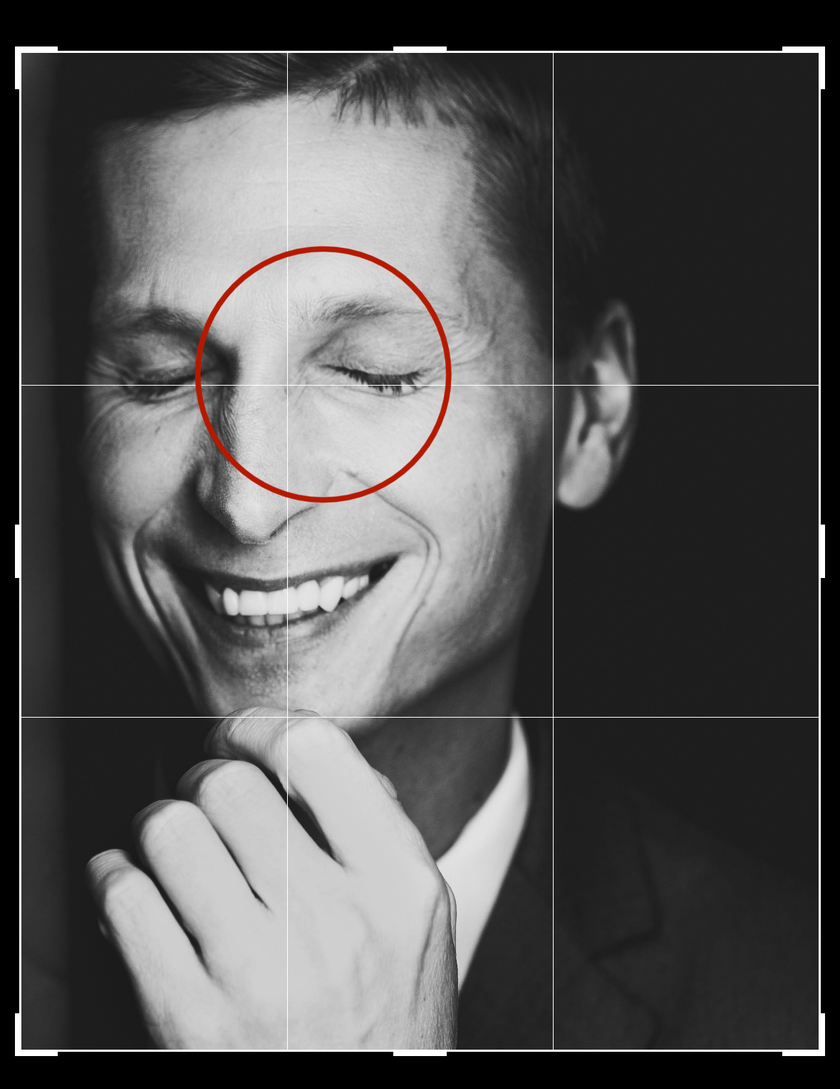

Let's start with the base, the settings of the phone's сamera, which will be useful for portrait shooting.
Exposition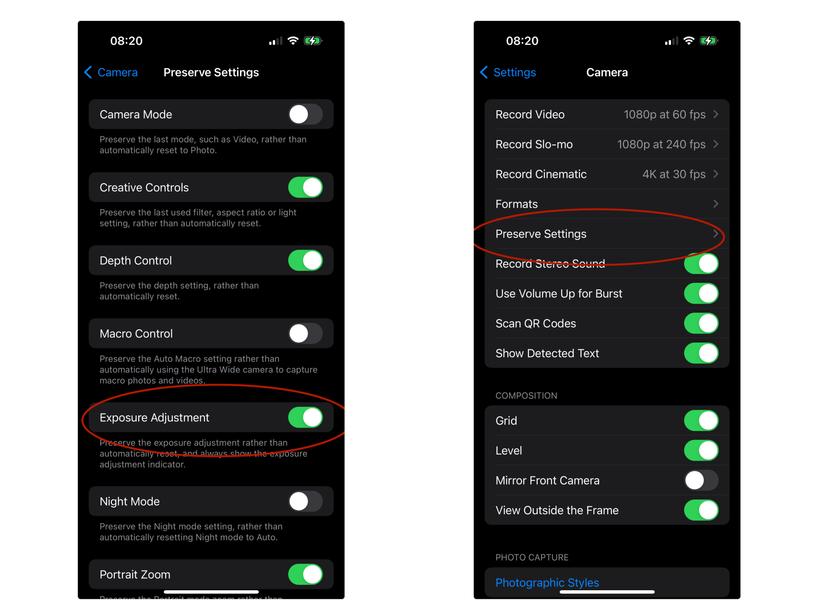

The first thing you'll always need to keep an eye on when shooting portraits is exposure. Exposure is the level of illumination of the picture (how light or dark the photo is). Usually, the phone determines it automatically correctly but slightly lower the exposure to make the portrait more contrasty and saturated. In portrait photography, it is extremely important to almost always lower the exposure so that the picture is more voluminous and not flat. It also helps draw the texture of the skin better.
The first well-known way to adjust the exposure is to tap on the screen and lower the sun icon. But there is also a second feature, which is much more convenient. With the help of additional functions (tick on top), the "+/-" icon can be adjusted via the exposure scale at the bottom. So, you can replace the exposure completely for all subsequent frames without reference to the focus.
Save settings in mode hold options to lock exposure and other convenient Camera app settings for all shots by default, without needing to change before each shot. For this:
Step 1: Go to phone settings and find Camera there.
Step 2: Go to the Mode Hold option.
Step 3: Set the desired exposure value.
Step 4: Save the exposure adjustment.
You have an exposure change indicator on top of both photos and videos and due to additional functions, you don't need to open the exposure every time.
Focal Length
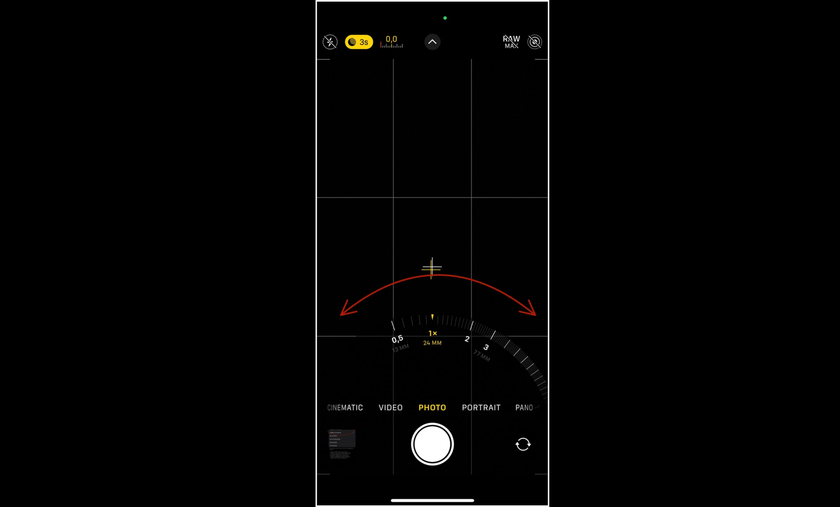
Have you ever wondered why selfie portraits sometimes turn out better than with the main rear camera? The answer lies in Lenses. Smartphone lenses are roughly the same regardless of model. It's just that the higher quality and newer smartphone model, the better lenses it has. Lens sizes 0.5 - 13mm, 1 - 24mm, 2/3/2.5/5 - depending on the phone model 48mm/ 77mm/ 124mm... If you click on the lens numbers on the screen (0.5/1/2 /3/etc.), you will see a wheel with millimeters.
What does it mean? These millimeters are the focal length. It shows what angle of view the lens will capture. In other words, it shows the distance from the center of the optical system to its main focus. That is, the smaller the distance, the wider the viewing angle of the lens. All lenses up to 35mm are wide-angle, 35-100 mm are portrait. Anything larger is considered a telephoto lens. Telephoto and portrait lenses visually equalize the sizes of those objects that are closer and farther away. Also, remember that the focal length of camera lenses is always conditional because it is clear that 77 mm is not physically present in the phone camera lens.
Useful Tips:
Do not locate the model closer than 1-1.5 meters to avoid distorting the portrait's proportions and geometry.
Place the face away from the edges of the frame to "add air" to the picture.
For close-up photography, use x2 (preferably optical zoom).
Does the Zoom Spoil the Quality of the Photo?
Let's find out whether this is the truth or another myth. When switching between the phone's lenses, you apply a survey zoom. It's just a magnifying glass approximation without losing quality. However, the quality and light sensitivity of the lenses are also important. The highest-quality and most light-sensitive lens on the camera is the main lens. Therefore, you can easily switch between lenses if you have enough light.
When you move by fractional values within the framework of one lens, it is a digital zoom. It creates a close-up approximation by enlarging and stretching the pixels of a certain part of the image to their original size. It is the same as when you frame a photo after shooting. Digital zoom doesn't make sense, but if you know that you're going to crop the photo anyway after taking it, it's more convenient to do it right when you take it so you understand how your image will look.
Advanced yet easy-to-use photo editor
Get Luminar Neo NowPortrait Mode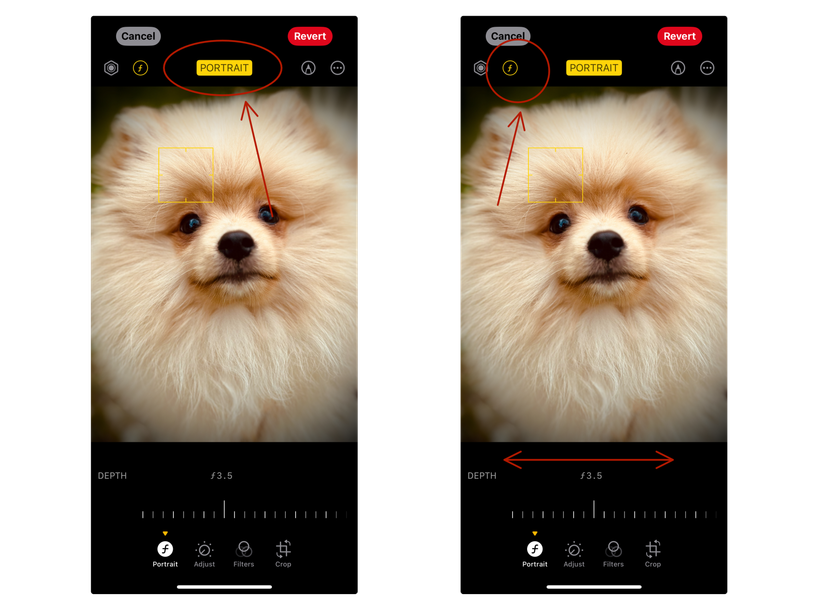

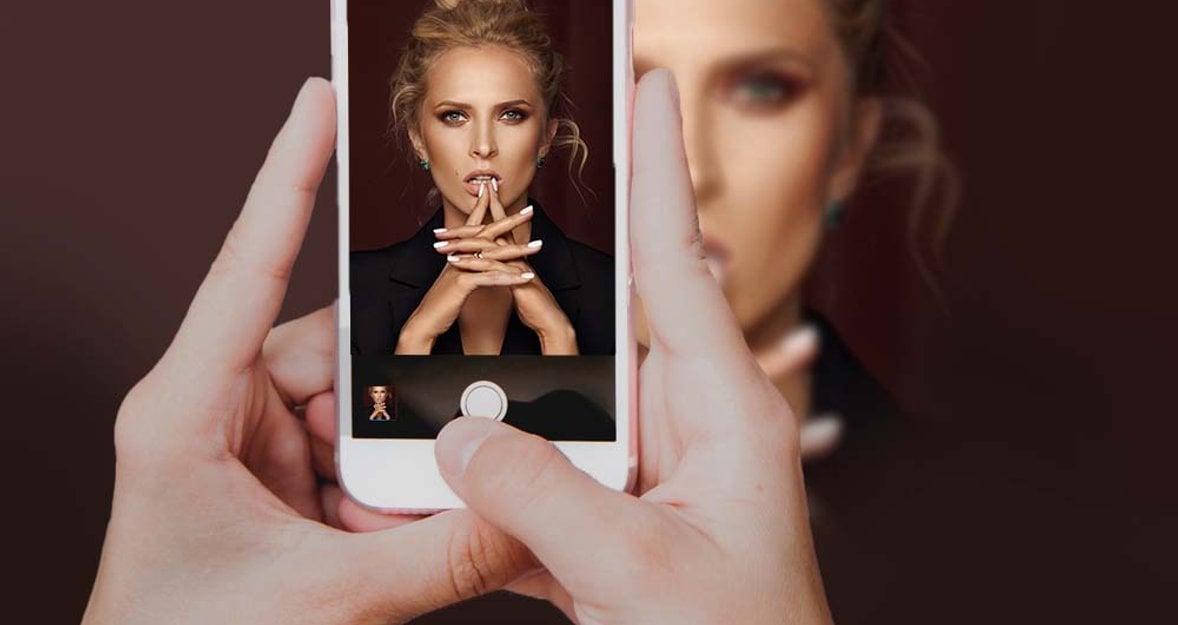
The Portrait mode is another useful feature of the phone's camera for taking portraits. Shooting in this mode blurs the image's background, keeping the subject in focus.
Photos taken in portrait mode look more voluminous and similar to those taken with a professional camera. In this mode, depth of field is added, and diaphragm operation is simulated. An aperture is an opening in the lens through which light passes. The wider it is, the more blurred the background.
In Portrait mode, stunning photos are obtained, but sometimes, the phone incorrectly determines the edges of the blur or catches the focus where we need it. It is easy to fix both during shooting and on the finished frame — in your iPhone or Android album editor.
Hints:
When shooting in Portrait mode, press the F (f-number, focal number) icon in the upper right corner. The aperture size scale will appear below. Moving to the left blurs the background more, while moving to the right blurs less.
If you took a great shot but the portrait mode didn't work correctly, open the photo in the album and click Change. By clicking on the yellow "Portrait" window at the top, you can turn off portrait mode on the created photo, and by clicking on f on the left, you can change the level of background blur after shooting.
A Recipe for a Beautiful Portrait or Selfie
For a successful portrait, in most cases, there is a proven method:
Step 1: Switch to portrait mode.
Step 2: Choose the desired portrait zoom (on the left side of the screen, click on 1 in the circle to change the distance).
Step 3: Scroll the light effects wheel to outline light.
So you will get slightly softened skin, emphasized contrast, and additional texture. Discover 5 Tips for Dramatic Portrait Photography and practice them in mobile photography.
Hint:
If you or the model in the photo has a dynamic pose, it is most convenient to shoot in LivePhoto mode because then you can choose the most successful shot if you go to the album, press edit, and choose to change the main shot.
These are the main features of successful portrait photos. Now, let's move on to the other components of the perfect portrait.
AI-Powered Image Enhancer for Flawless Portraits
Give it a try!Colors: Background Selection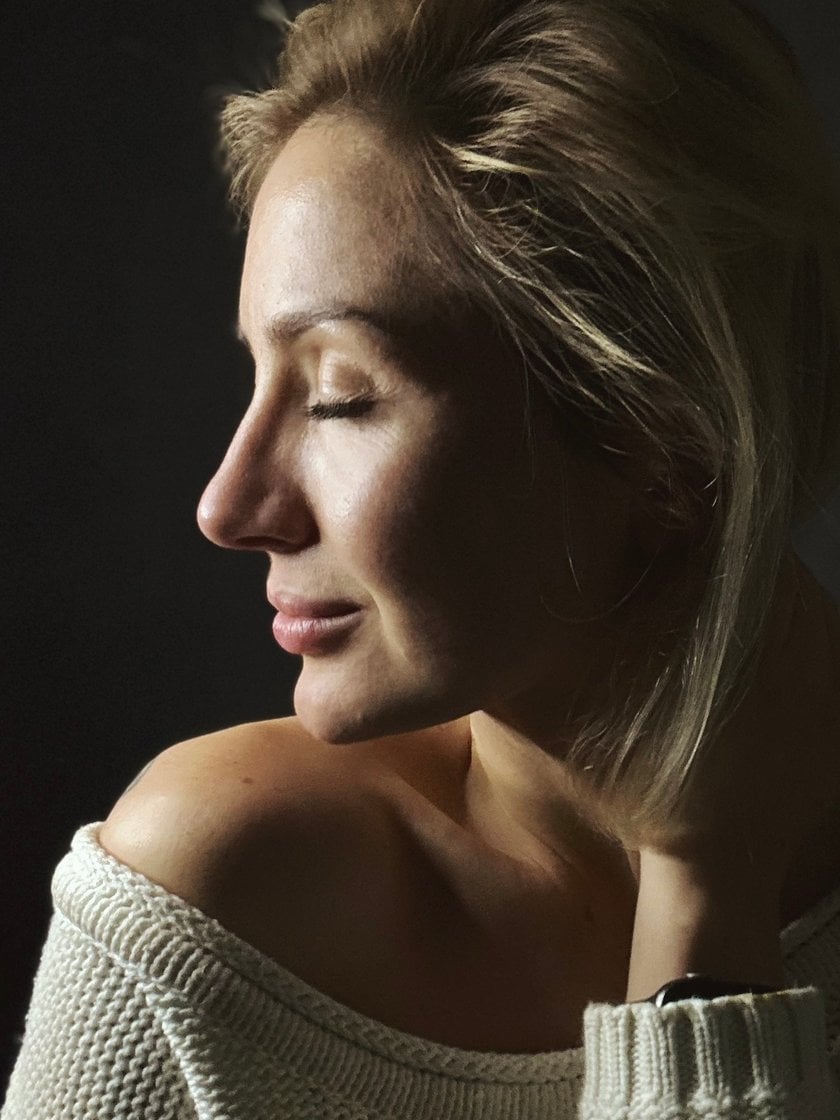

There are simple rules for choosing colors, all based on color theory. Depending on your effect, you can select either contrasting or soft combinations. Use the complementary circle. All colors closer to blue are cold, and colors closer to orange are warm. The colors next to each other are harmoniously and softly combined. Those opposite each other successfully contrast and draw attention to the photo. Use this in your composition by mixing and playing with colors.
The main skin pigment is orange. So, choose a background between warm shades if you need a soft color scheme. If you want the most contrasting portrait, select colors opposite each other to increase their contrast. All portraits with a cold background or with cold accents will be contrasting.
It is unnecessary to take a bright background for contrast in the photo. You can also take one similar to the skin color but add complementary colors. For example, green jewelry can be added to a burgundy background, and red accessories can be added to green. Learn Color Psychology for Photographers to understand how one hue can influence the whole mood of a picture. Check the article about How to Use Color in Photography Creatively to take inspiration for your future projects.
Adjust the Light

The light affects the beauty of the portrait. If you can't understand why you look worse in a selfie than in real life, don't rush to classify yourself as pathologically unphotogenic. The problem is most likely in the light.
Always turn your nose to the light. Then, all selfies and portraits will be fresher and better. The nose-to-the-light trick is about the lifting effect with the help of light. You can try the side light from below and from above. It will have a very interesting effect. But catch the light source if you need to capture a good face. This trick also works when photographing another person, so always remember this.
At the same time, you can shoot both from the side and from below and catch those parts with a shadow to emphasize the contrast of light and shade.
Processing can fix many things. However, you should follow the light and perspective during the shooting because it is very difficult to fix them with processing. The article 5 Impressive Portrait Lighting Setups could be useful for your mobile photography.
Composition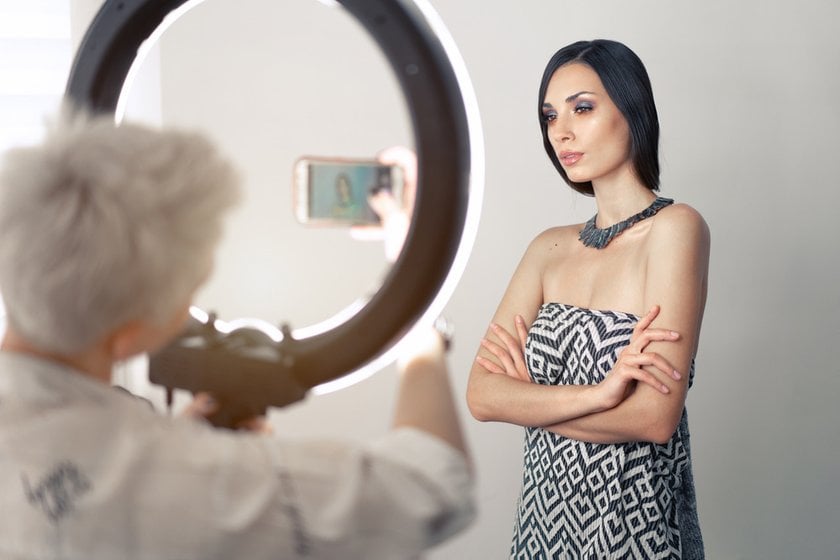

The rule of thirds is the basic and simplest rule, following which you will always have a harmonious portrait composition. To make it easier to apply this rule, enable the Grid in the camera settings (phone settings > Camera > in the "Composition" block, put a checkmark opposite the "Grid" items).
With the help of a grid, you can ensure that the lines are equal in the frame and correctly apply the rule of thirds. It is a simplified rule of the golden ratio. The frame is divided by lines of thirds into 9 identical rectangles or squares, depending on the frame format. All these zones are different in perception. The most difficult is the central square. The frames' most comfortable and most emphasized points are the intersection of the lines of thirds.
The most important points in a close-up portrait are the eyes. Always try to place them on the upper third line and at least one of the eyes at the end of the intersection of the lines. If the plan is more distant, place the face at the point of intersection of the lines because the eyes play a smaller role in the general plan.
Always leave space before sight if the person is looking away. A person's gaze is a guide that the viewer always follows. It is not logical when, instead of a space for looking, the edge of the frame immediately appears.
Add a diagonal to the rule of thirds. If any line in the frame is placed diagonally, it gently directs the viewer's gaze to the subject. Place the line clearly from one of the corners of the frame. The ideal layout will be the one in which the line leads to the object located at the point of the intersection of the lines of thirds. The symmetry rule is appropriate if a person looks straight into the frame. If the two parts of the frame are symmetrical, place the reflection line in the middle. You will get a key to stunning photos when you learn the Rule of Thirds Photography principle.
Angles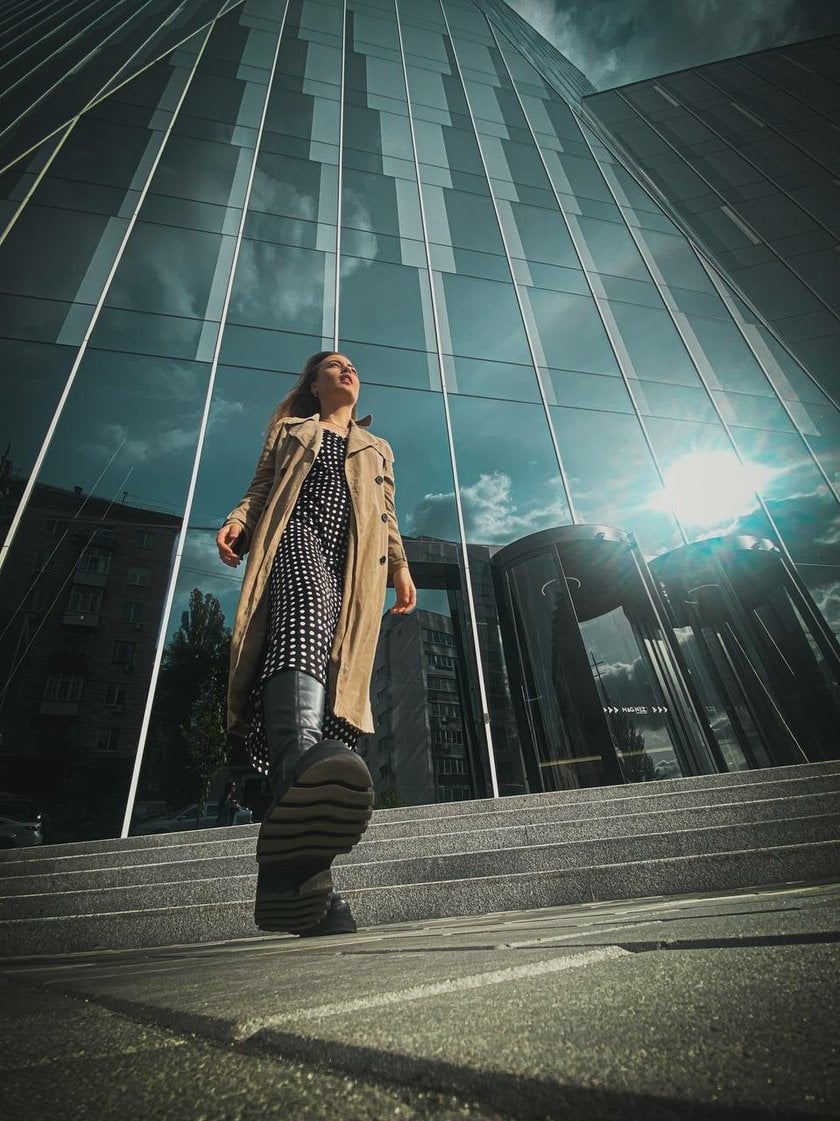

The best angle for full-length photos is from below. The effect is increased when using a wide-angle camera (0.5). Also, ensure that the head is closer to the points of intersection of the lines of thirds; otherwise, the camera will lengthen the head.
For close-up portraits, the angle depends solely on the working side of the person, so there are no universal angles. Just look for the best one for each model. The most successful angles are at eye level or slightly below. Study and practice different Angles in Photography to create impressive pictures with your smartphone.
Posing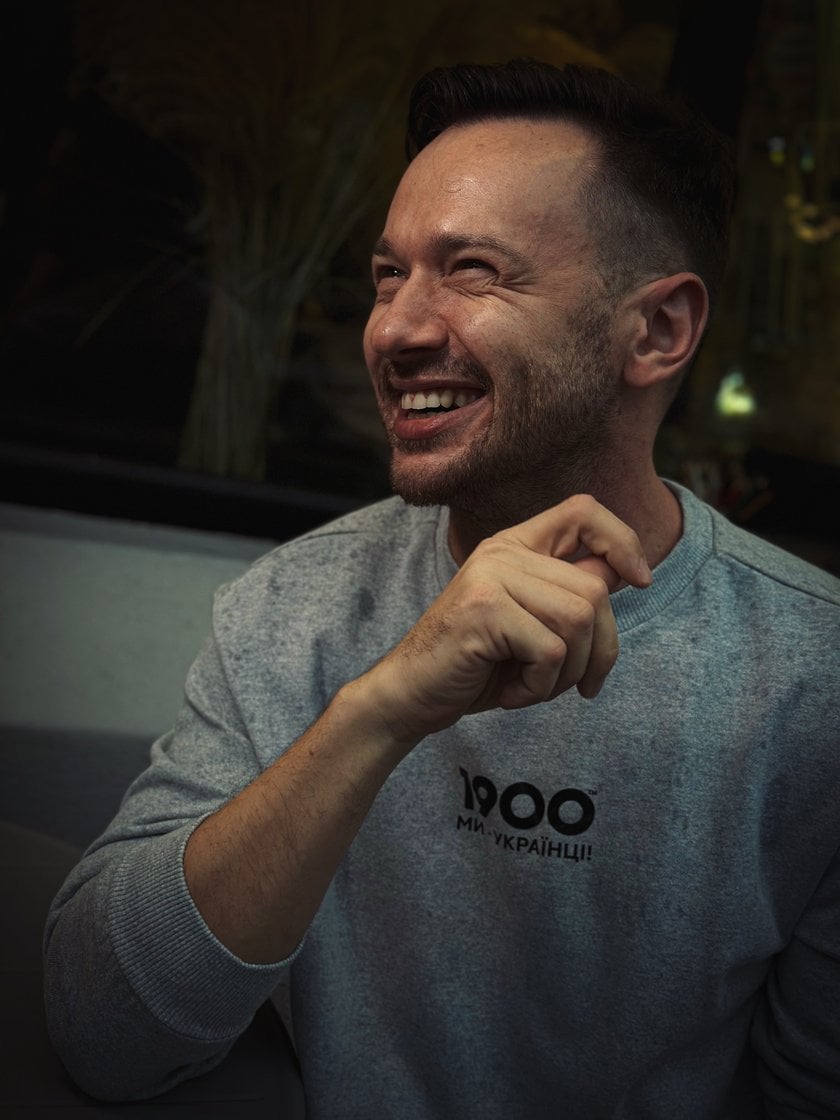

How to position the model (or yourself) in space in the photo is an eternal question. Let's figure it out. But remember that adding dynamics to animate the frame is desirable in any pose.
Let's move from top to bottom:
Face

Find the working side. Look for the side of the model's face that is more photogenic. To do this, take three photos — two in three quarters (one on each side) and a full face. Whichever side you like better can be considered the working one.
The face in the frame should always be relaxed. It is better not to smile if you don't want to and not to hold a smile longer than 4-5 seconds because it will look unnatural. There is no need to show insincere emotions because they are visible in the photo. And no matter how beautiful the pose, insincere emotions spoil a good picture.
Shoulders and Hands

The shoulder closer to the camera should always be slightly lowered so the neck will look longer. Generally, it is advisable not to keep the shoulders in a straight line because they look heavy.
Do not press the biceps area to the body because, this way, the hands come out too big. It is necessary to move the elbow away from the body slightly. It will be both natural and beautiful. If the hands are visible in the frame, they should be turned with the little finger towards the camera. It will make the palms more elegant.
Back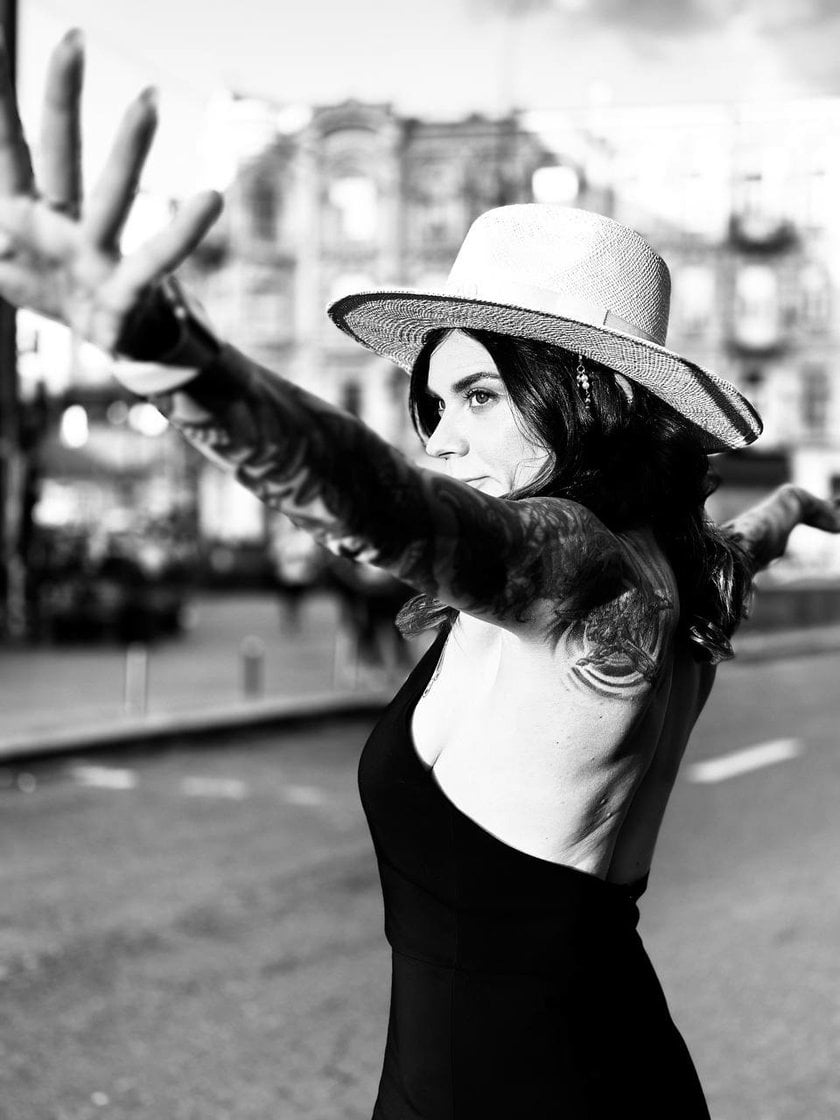

The best way is not to straighten the back by bringing the shoulder blades together. So, instead of a straight back, the effect is a large chest, broad shoulders, and the waist disappears. Instead, it is better to exhale, lower your shoulders, move your shoulder joint forward slightly, and lean your whole body back. In this way, the collarbones will be emphasized, the shoulders will look neater, and there will be a waist and a beautiful back curve.
Legs

Did you know that legs also have a working side? It is their outer side, on which the entire muscle pattern is visible. The inside of the legs is not photogenic, so always try not to show it in the photo.
A broken or diagonal line is visually perceived as longer than a straight line perpendicular to the frame. Therefore, the leg closer to the camera should either be bent a little or taken a step to be diagonal to the frame.
You cannot press your legs in the "leg on leg" position. This position compresses the hips and lower leg, making the legs appear twice as large.
It is advisable to sit down so that the leg closest to the camera is less bent than the far one.
These basic rules of posing work for everyone, but "your" poses can be completely unexpected, so it's best to understand what looks most natural and beautiful on you based on the knowledge gained from the basics of posing in front of the mirror. Whenever possible, add movement to any pose. Don't freeze while posing, as this adds artificiality to the photo, which is as easy to read as an insincere emotion on the face. When photographing another person, pay attention to their pose because, from the outside, what needs to be changed or improved is always more visible.
Photo Editing
You don't need a computer to edit photos. Explore the comparison of Mobile vs. Desktop Editor to choose the method that suits you best. Various smartphone apps, such as Adobe Lightroom Mobile, Snapseed, and VSCO, are available. They have paid premium versions and free basic editing tools and filters to enhance your photos on the go. Most mobile applications are also available in tablet versions for greater productivity and ease of editing. You can edit mobile and camera photos on your iPad with Luminar Neo if you're an Apple user. Luminar for iPad has all the advanced features you need to realize creative ideas. And it will take your mobile photography to a new level.
At the same time, all smartphones have built-in software photo editors that allow you to make quick color corrections and basic photo adjustments. Use them! Even a small correction will improve the picture and make it more interesting. Read useful articles on mobile photo editing to expand your knowledge and gain new skills while practicing. Learn How to Crop Someone Out of a Photo so that nothing in the frame spoils your impressive portraits.
Bottom Line
If you've read this far, congratulations! Now, you have everything you need to create beautiful portraits in any condition! However, it is important to consolidate the knowledge you have acquired in practice because everything you read is easy and understandable but will be forgotten quickly if you do not use it.