
How to edit wildlife photos with AI
September 19
12 min. to read
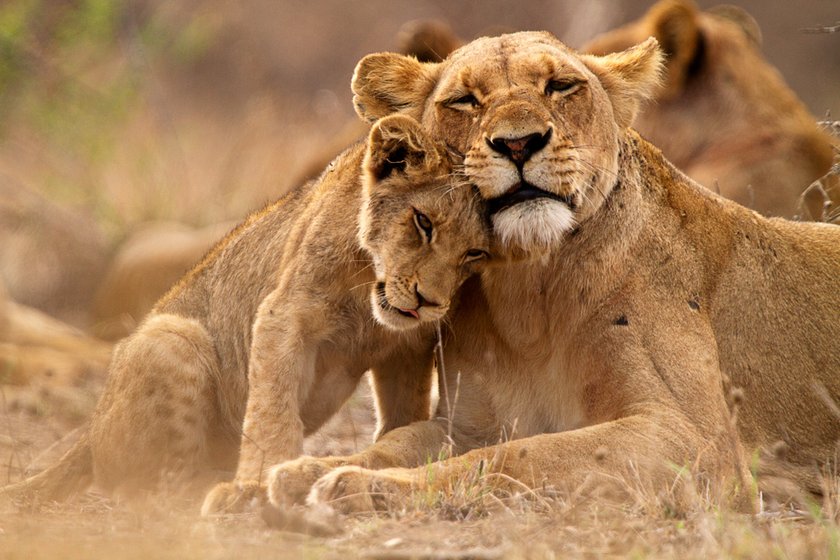 This article guides you to improving your wildlife photography skills through ten essential tips. As you embark on this photographic odyssey, you are about to discover the secrets to capturing those elusive moments that make the wild world come alive in your images.
Beyond capturing the moment, we will also delve into the art of enhancing your wildlife photos with AI-powered editing. Luminar NEO, a powerful photo editing tool, can take your pictures to new heights by allowing you to upscale, replace skies, and maintain the beauty of your shots while refining them to the next level of photographic art.
10 Tips For Improving Your Wildlife Photography
1. Know Your Gear
Familiarize yourself with your camera and lenses. Understand their settings and capabilities to make quick adjustments in the field.
2. Research Your Subjects
If you capture animals, spend some time learning their behavior and the environment they live in. Knowing their habits will help you anticipate their movements and get the shot.
3. Use the Right Lens
Invest in a telephoto lens with a long focal length (300mm or more). It will allow you to capture animals from afar without interfering with their habitat and putting them or yourself at risk.
4. Master Composition
Apply basic composition rules like the rule of thirds and leading lines. Ensure your subject's eye is in sharp focus.
5. Patience is Key
Taking pictures of wildlife means waiting for an appropriate moment. Be patient, and stay still. It is especially important to capture living objects in movement, as they can easily be scared away.
6. Study Light
Learn to work with natural light. Early and late afternoons provide a soft, warm glow that enhances your photos.
7. Use a Tripod
When conditions allow, use a tripod or a monopod to stabilize your camera and reduce camera shake.
8. Be Stealthy
Be as quiet as you can. Sudden movements can easily ruin everything. Blend into your surroundings by wearing camouflage clothing.
9. Continuous Shooting Mode
Set your camera to continuous shooting mode. The more pictures you take, the more likely you will get the perfect one.
10. Respect Wildlife
Always prioritize the well-being of the animals and their environment. Keep a safe distance; never disturb or stress them for a photo.
Bonus Tip
Post-processing is a valuable tool. Learn how to edit your photos to enhance their quality while maintaining their natural look.
The following section will introduce you to the sufficient AI-based photo editing software called Luminar NEO, diving into those features and functions of this photo editor, mastering what is essential for editing your wildlife images.
AI-driven Tools of Luminar Neo for Seamless Editing
Try it for Free
Editing Wildlife Photos With Luminar NEO
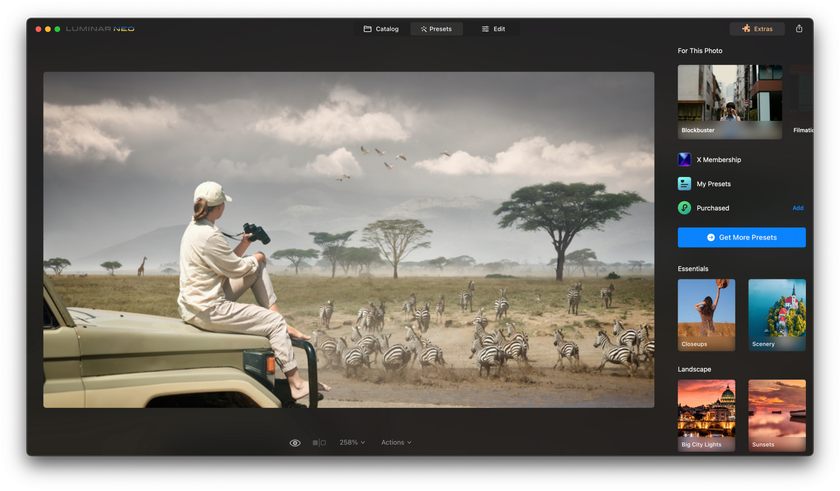 Here, we'll look at the features that will best enhance your wildlife shots. It doesn't matter if you use one of them or all of them together - depending on your vision of the final result, in any case, you will get an unparalleled picture. Perfection is not limited, so feel free to dive into experiments.
Upscale
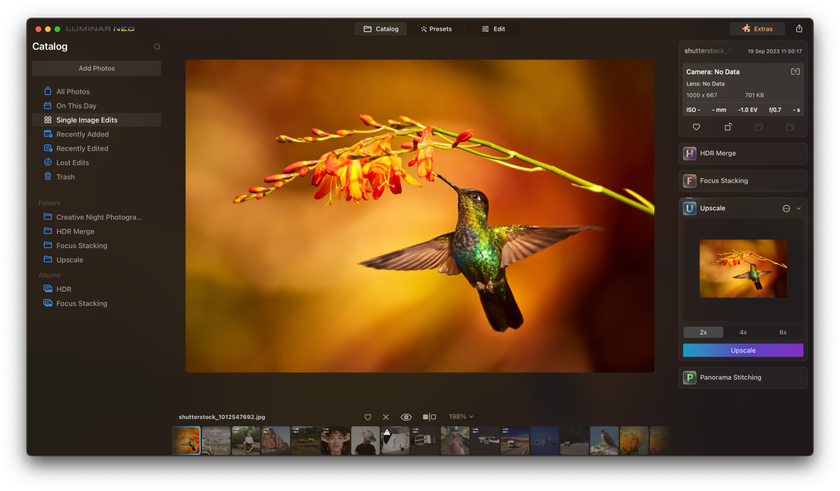 The first feature we will use for editing wildlife photos is Upscale. One good thing about Luminar NEO is that you can get extensions for the software you can reach inside the program. You don't need to have plugins and external software.
Upscale is one of the Luminar NEO's extensions, where we will drag our photo. Then, we're going to select a scale parameter. We keep all the details so the picture doesn't look like it is digitally cropped.
We can go to the Edit tab to crop and frame our picture if needed. Then, go to the Exposure slider and apply adjustments and masking. Select a linear gradient if you don't want the whole picture affected.
The next step is adjusting colors. Feel free to experiment with vibrance, hue, and saturation. Use the Erase tab in case you need to clean up your picture. Use one of the available glow effects if you want to. If you want certain parts to be sharply accented, mark these parts out of the glow effect using a radial gradient.
Sky Replacement
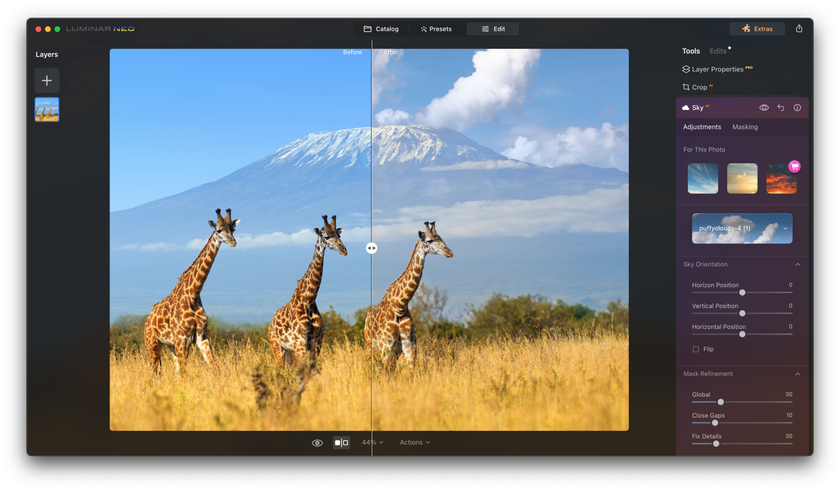 Sky Replacement is the next feature of Luminar NEO that brings wildlife photography to a new level. Start by doing all the raw adjustments, like exposure and shadows, before making all kinds of artistic adjustments. You can click on View and Show the Histogram, and this is very nice if you want to have control of the exposure.
Now, go to the Sky Replacement and pick a sky that would fit your scene. You can flip the sky's position, experiment with its brightness and blending, or even add sun rays to light it up. Add the Sun setting down or rising if it goes with the mood of your picture. These options are also available. Remember to add warmth to the sky so it looks sunlit. At the end, try Sky Enhance for a bit of accent.
Natural Edit
 When capturing wildlife, the point is to depict the raw, original, unique beauty. But it is not a secret that photography as an art hardly makes sense without post-editing. So, a new complicated task emerges — to fix all the drawbacks but to keep nature natural. Luminar NEO can help you with it.
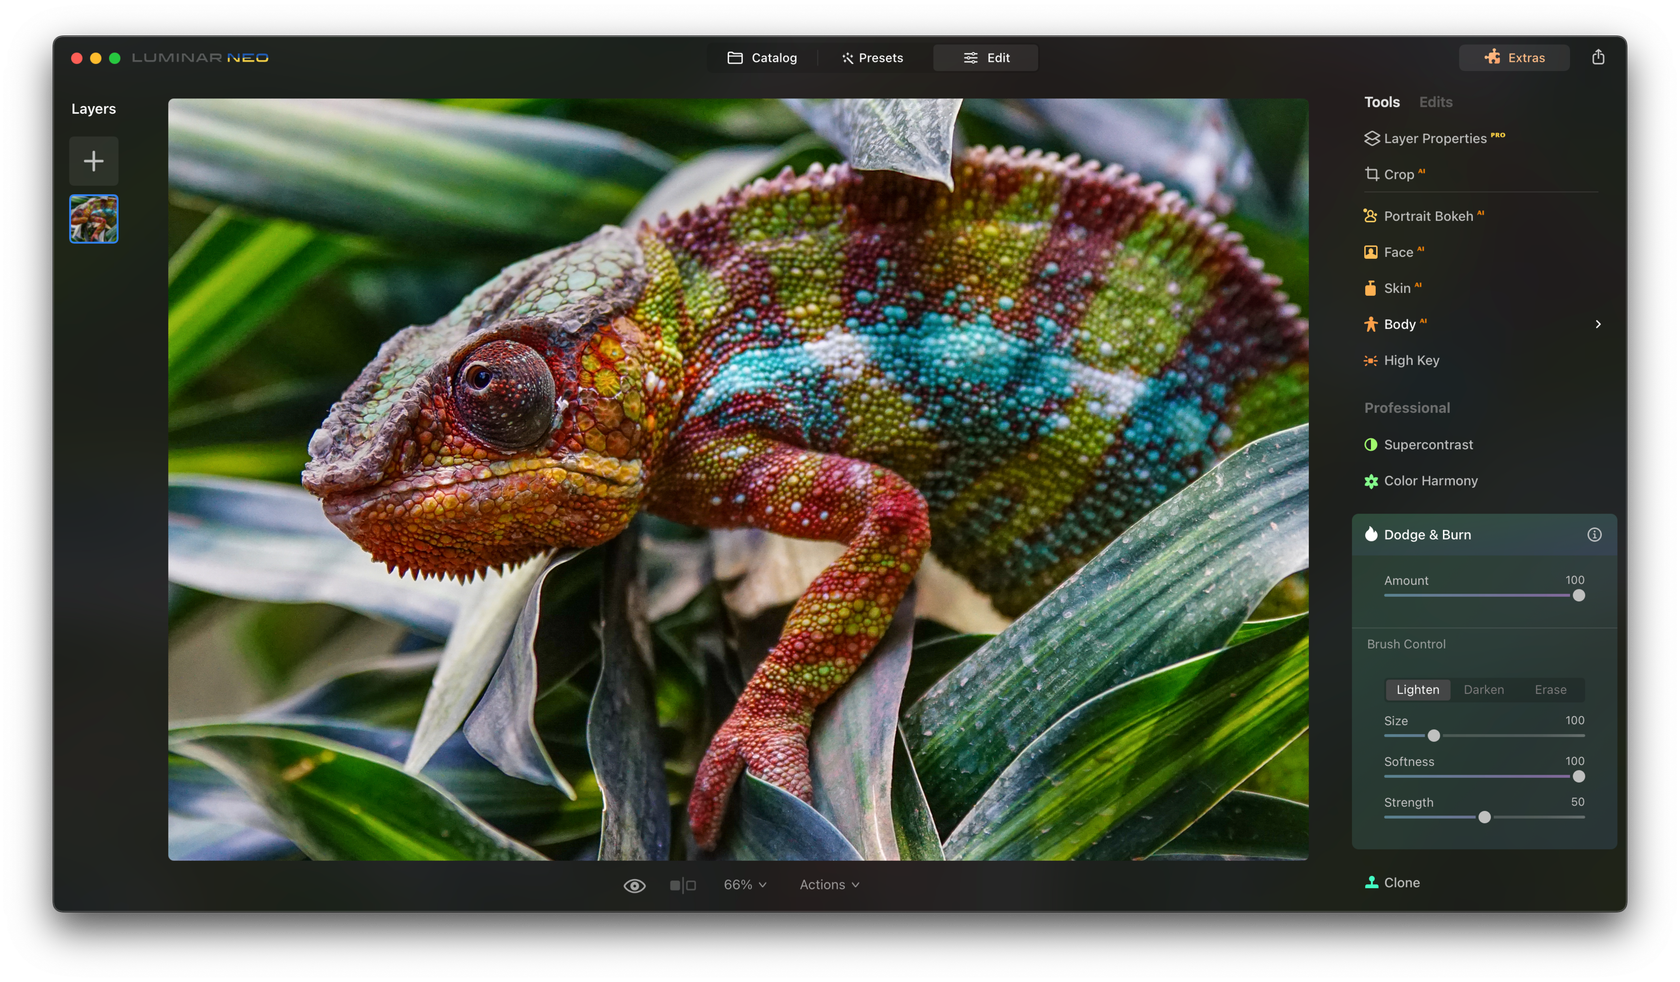
As usual, start with the basic raw adjustments (highlights, shadows, brightness, contrast, etc.). You can use Dodge and Burn to make the main object of your image pop out. Control the amount of the effect applied with a slider. Highlight or shadow particular details with a brush. Experiment with the colors and lighting of the image if you want to.
Focus Stacking
 As was stated above, wildlife photography is special because of its rawness and naturality. And even though it fascinates the audience, the inability to redo a picture that didn't come out well in natural conditions is a headache for most wildlife photographers.
A 7-day Free Trial of Luminar Neo with No Obligation
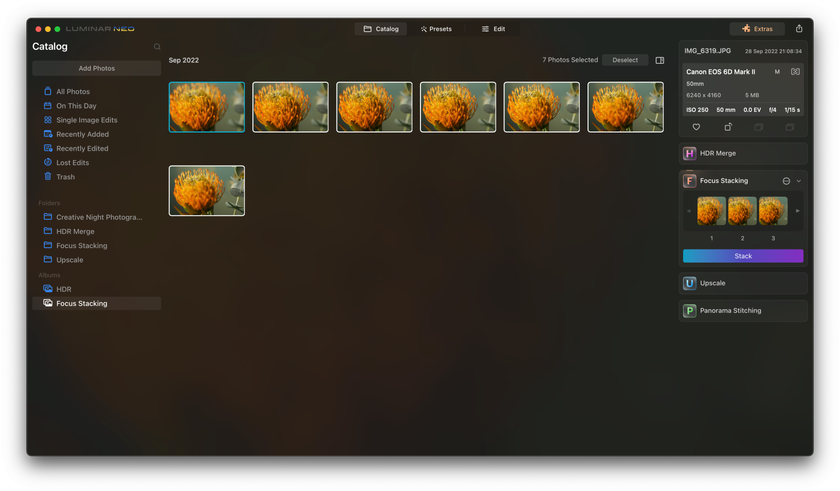
Get it now!However, if the picture does not come out well (for example, it is out of focus), it does not mean it is lost. There is still a chance to save it using photo editing software. For example, Luminar NEO is ready to give you a helping hand with an extension called Focus Stacking.
If you have many similar pictures with different focus points, upload them into the Focus Stacking. The software will match them all up to generate one perfectly focused image for you to work further with — you can adjust your picture and experiment with colors and effects. Feel free to experiment to turn your photo into a real photographic masterpiece.
It is how Luminar NEO brings your wildlife photos to the next level of perfection. We highly recommend you check the whole Product Tour to find more features for your wildlife shots. Editing sunlight, structure, Makro effects, and many more will help you improve your creative expressions, make your photos deeper, and emphasize the meaning of the story you want to convey with your picture.
Bottom Line
Mastering wildlife photography requires dedication, patience, and a deep understanding of your gear and subjects. Armed with these ten tips, you are well on your way to capturing stunning moments in the natural world. Remember, it is not just about the photos you take but about the respect and care you show for the creatures and environments you encounter.
But the journey doesn't end when you click the shutter. To elevate your wildlife photos, consider harnessing the power of AI editing with Luminar NEO. From upscaling your images to replacing the sky or enhancing natural beauty while maintaining authenticity, this software can be a game-changer in your photography arsenal.
So, as you venture into the wild with your camera, keep these tips in mind and explore the endless possibilities that AI-based editing offers. With dedication and the right tools, you can create wildlife photographs that capture moments and tell compelling stories of the natural world.
