Darken Image Visual Enhancement
Darkening an image evokes a particular mood or atmosphere. Make a photo feel more dramatic, moody, or mysterious. You can also make the subject or focal point stand out more by darkening parts of an image
Try it nowHow to Achieve Professional-Looking Photos With the Darken Photo Feature?
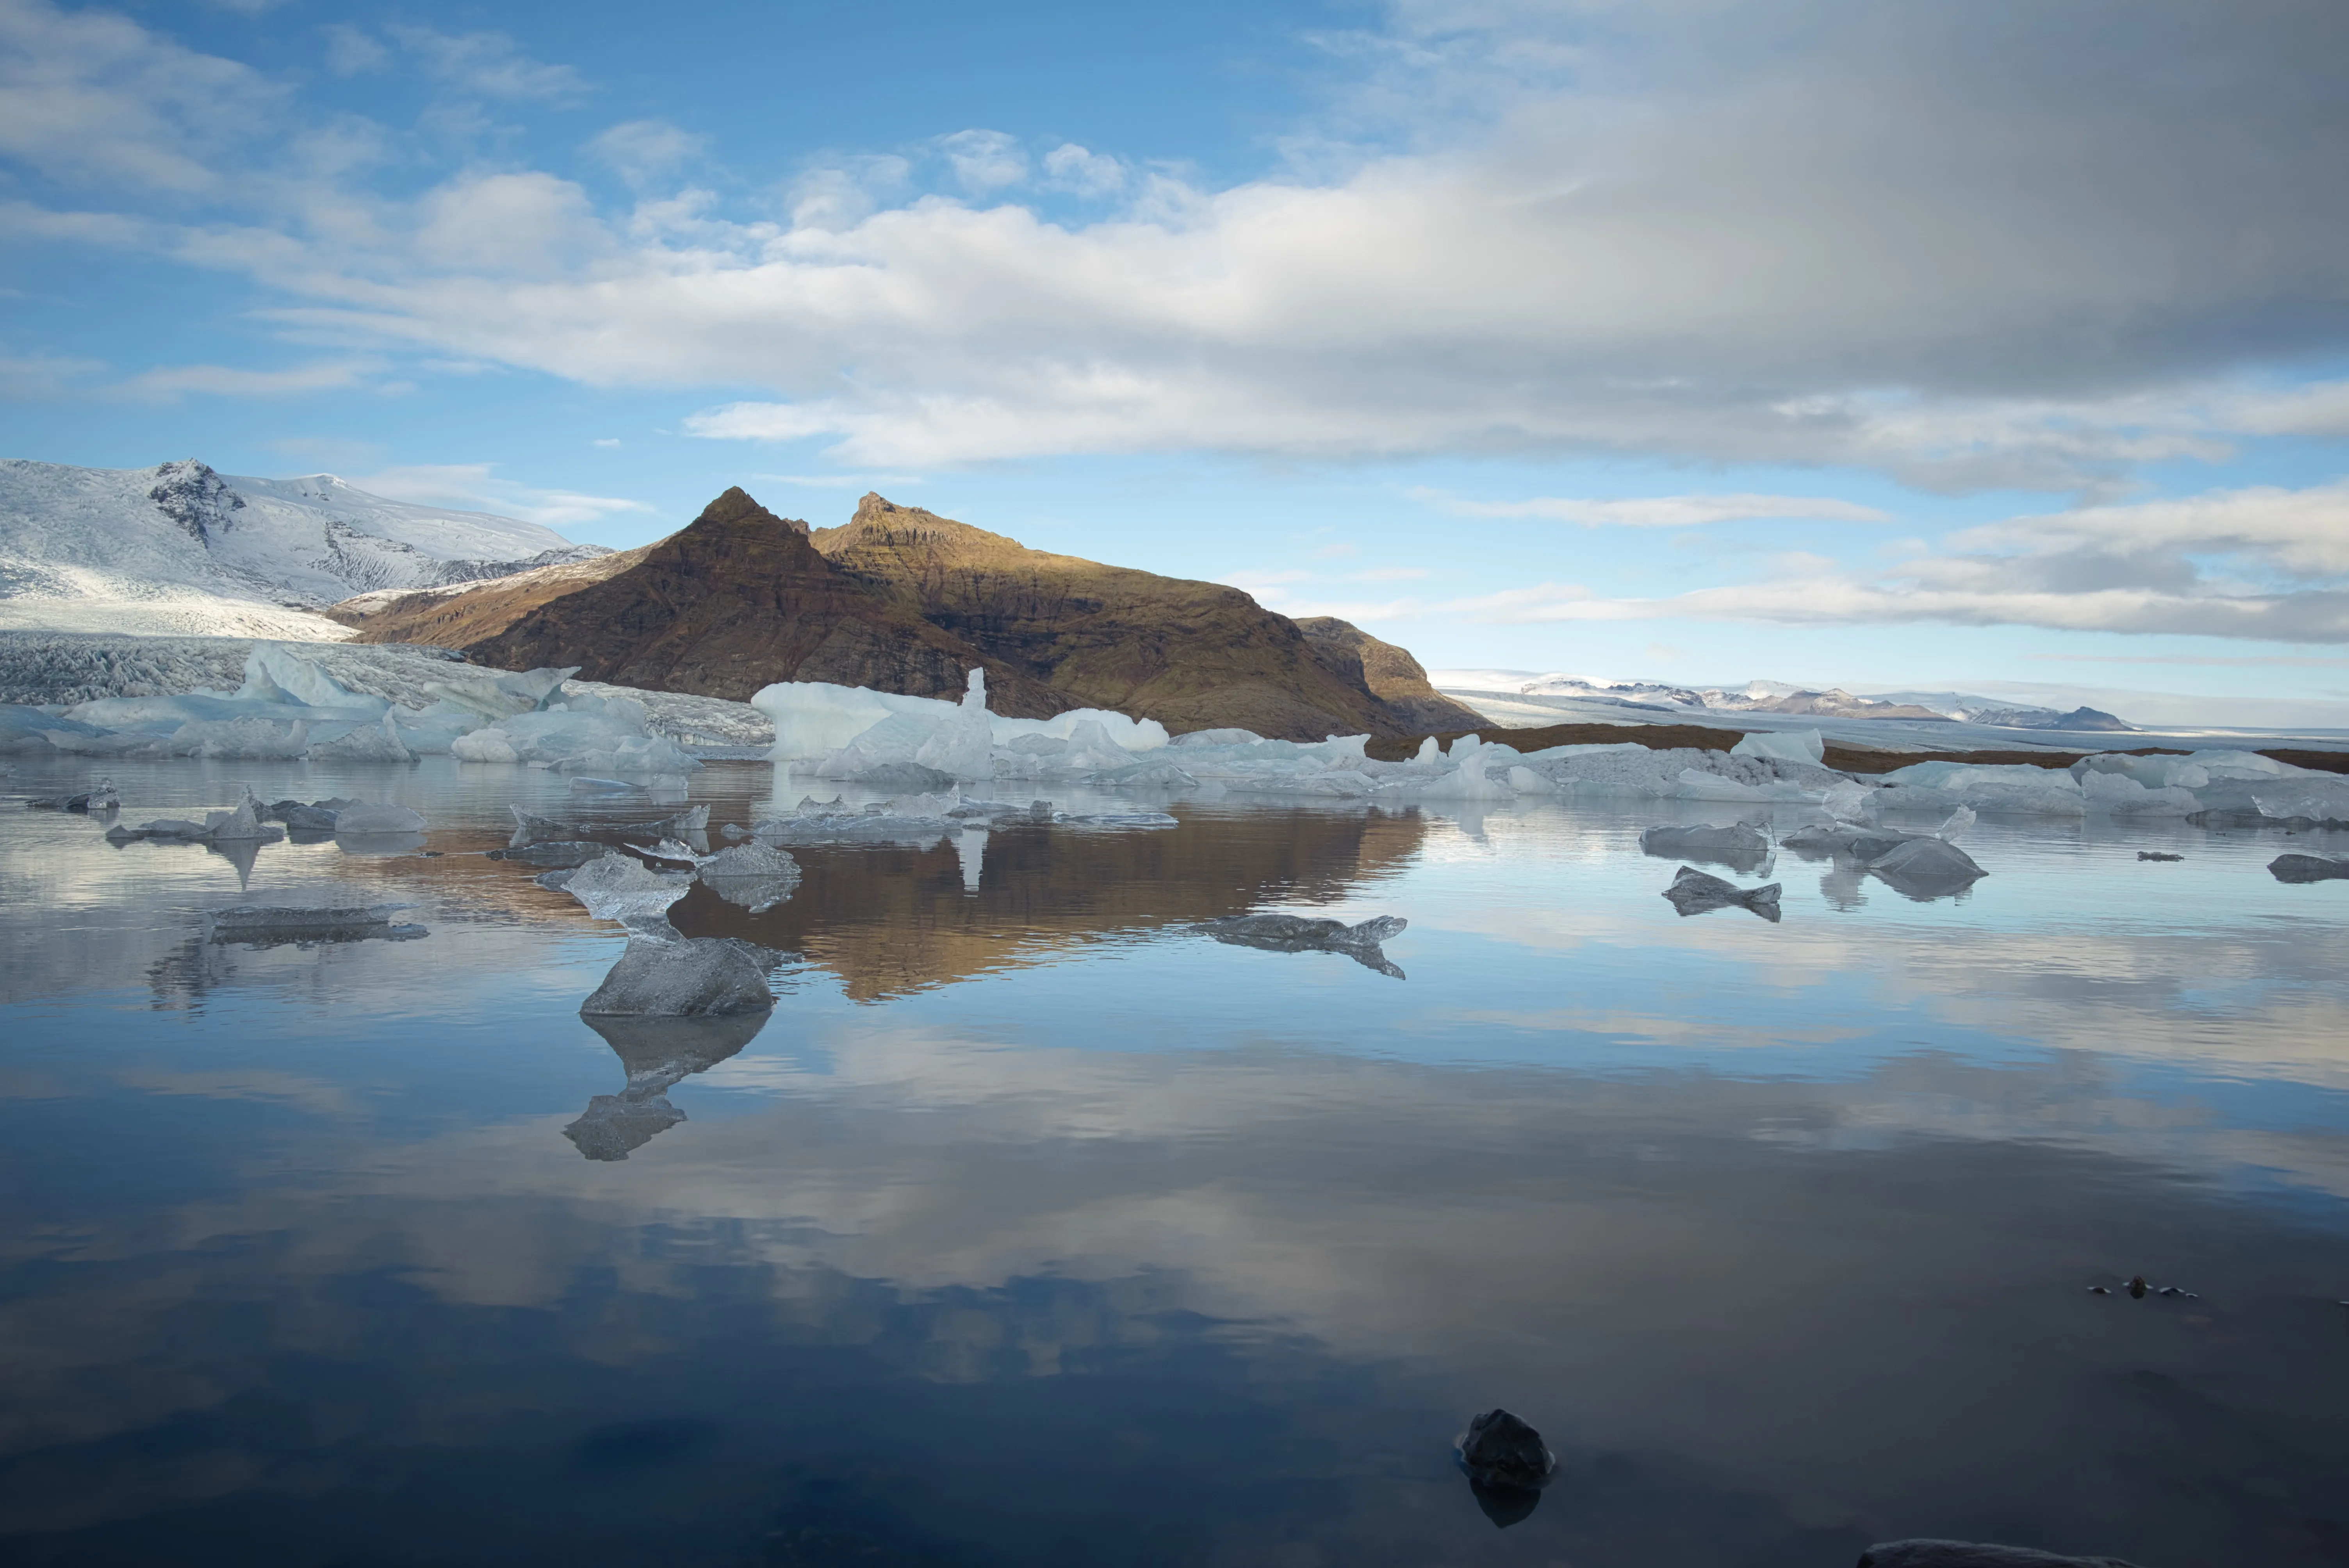
© Dima Sytnik
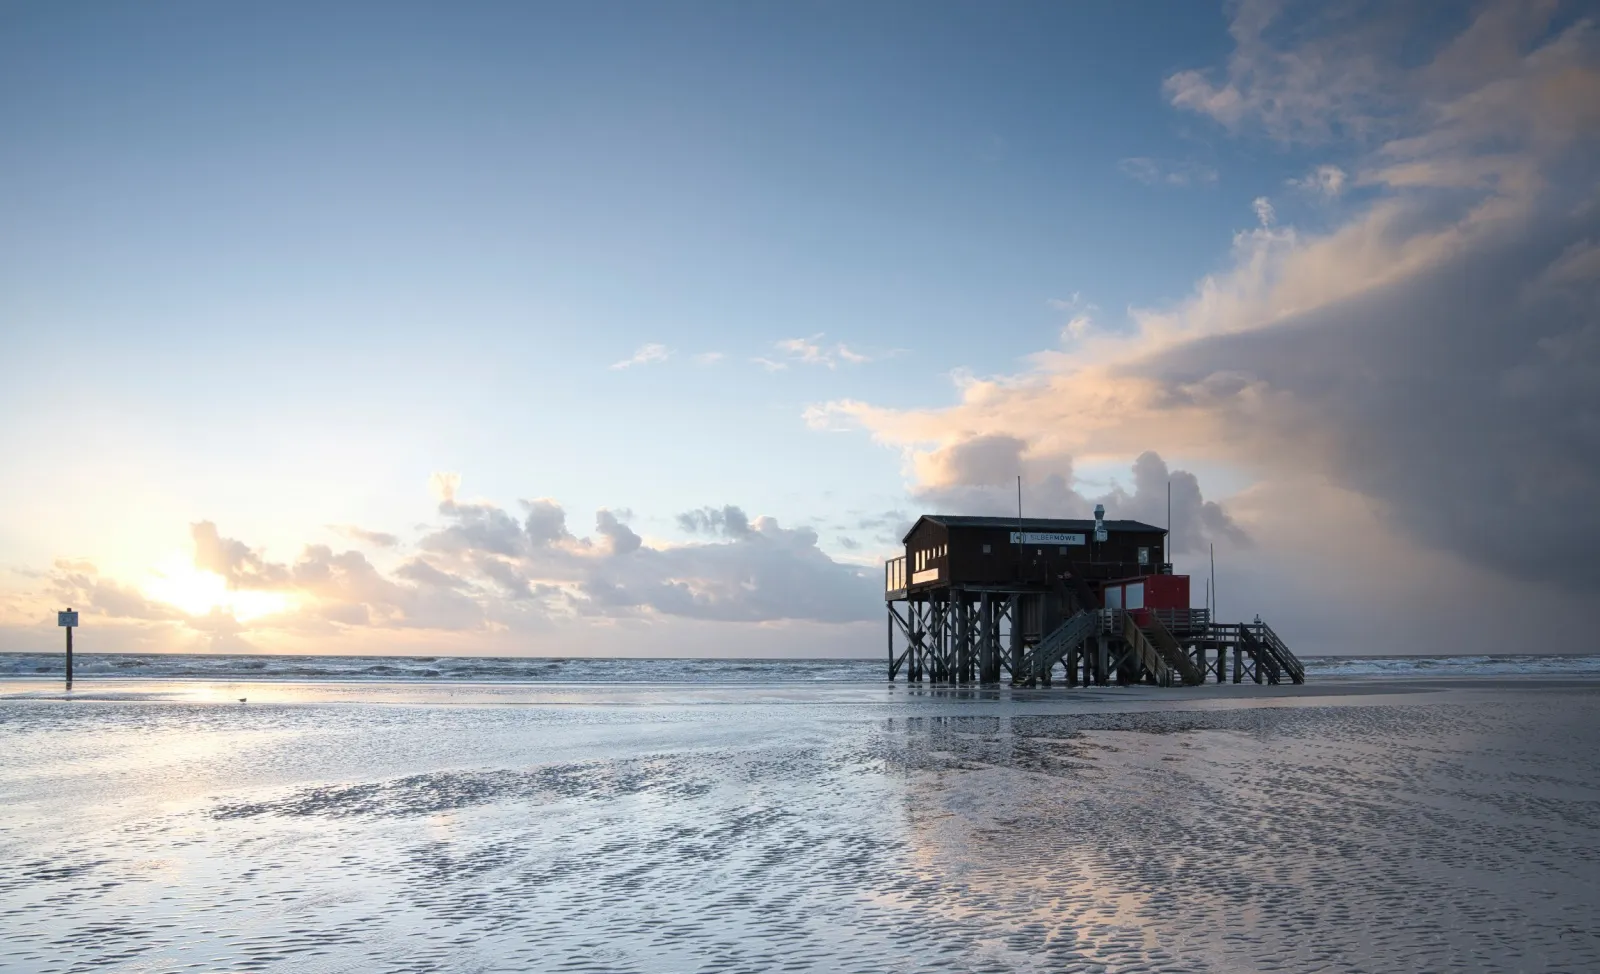
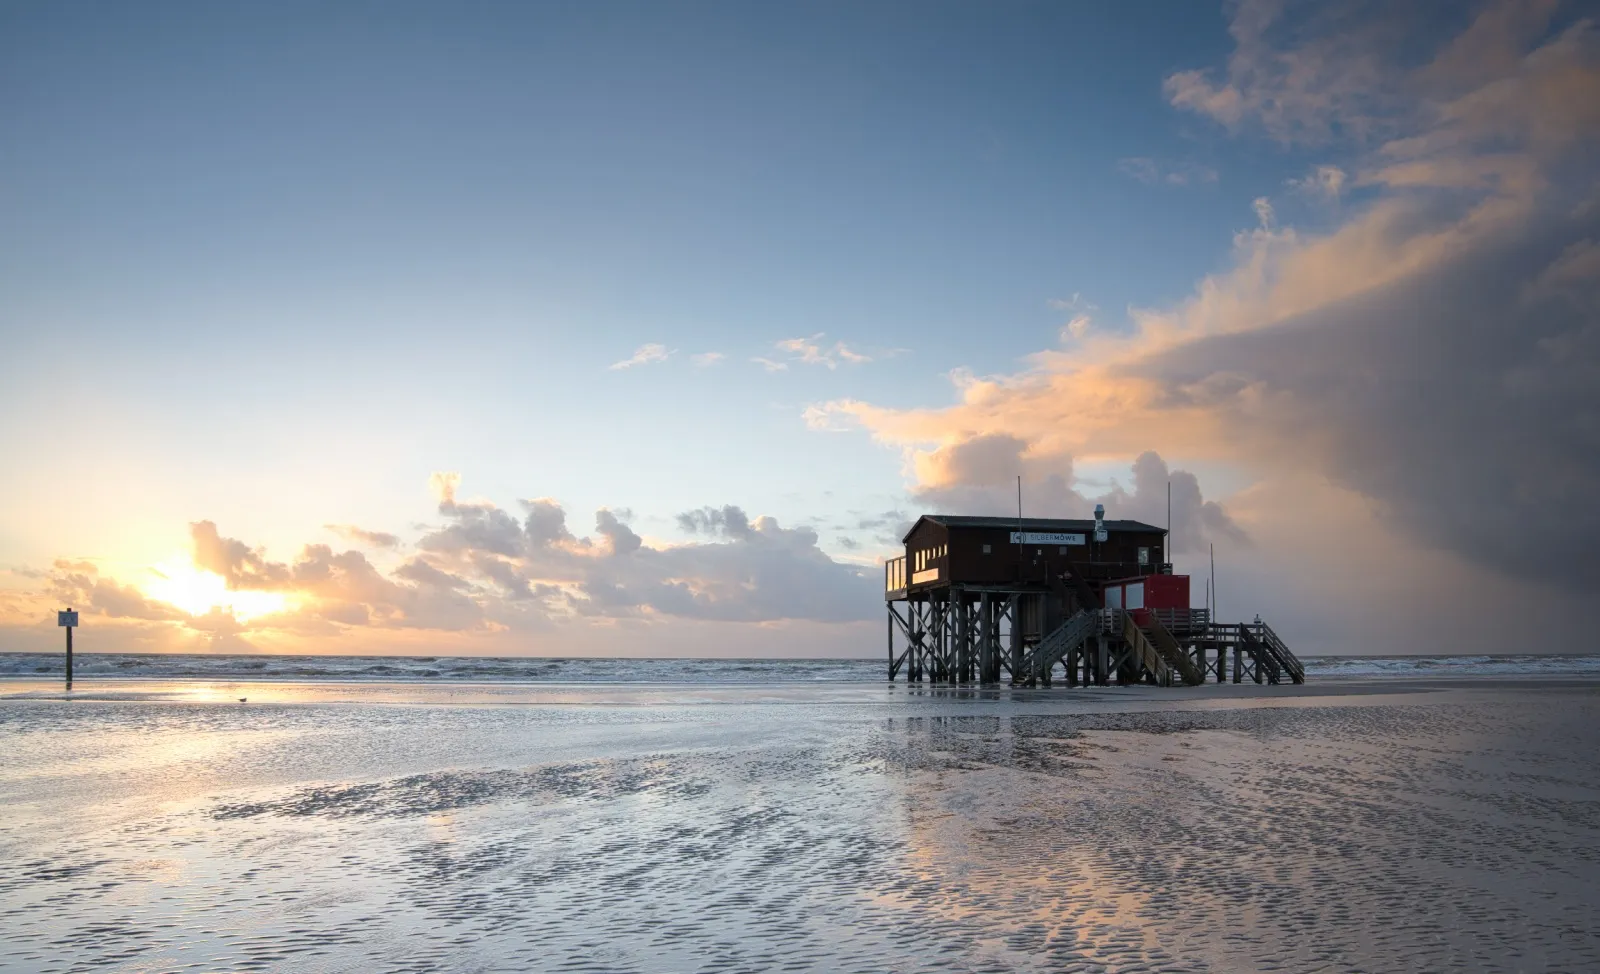
Luminar Neo’s professional tools can help you achieve stunning images in no time.
You can tweak the Exposure slider, add a Preset in one click, or experiment with Curves, Shadows, and Highlights.
You can tweak the Exposure slider, add a Preset in one click, or experiment with Curves, Shadows, and Highlights.
Why Darkening Image Elements Can Help You Achieve Better Photos?


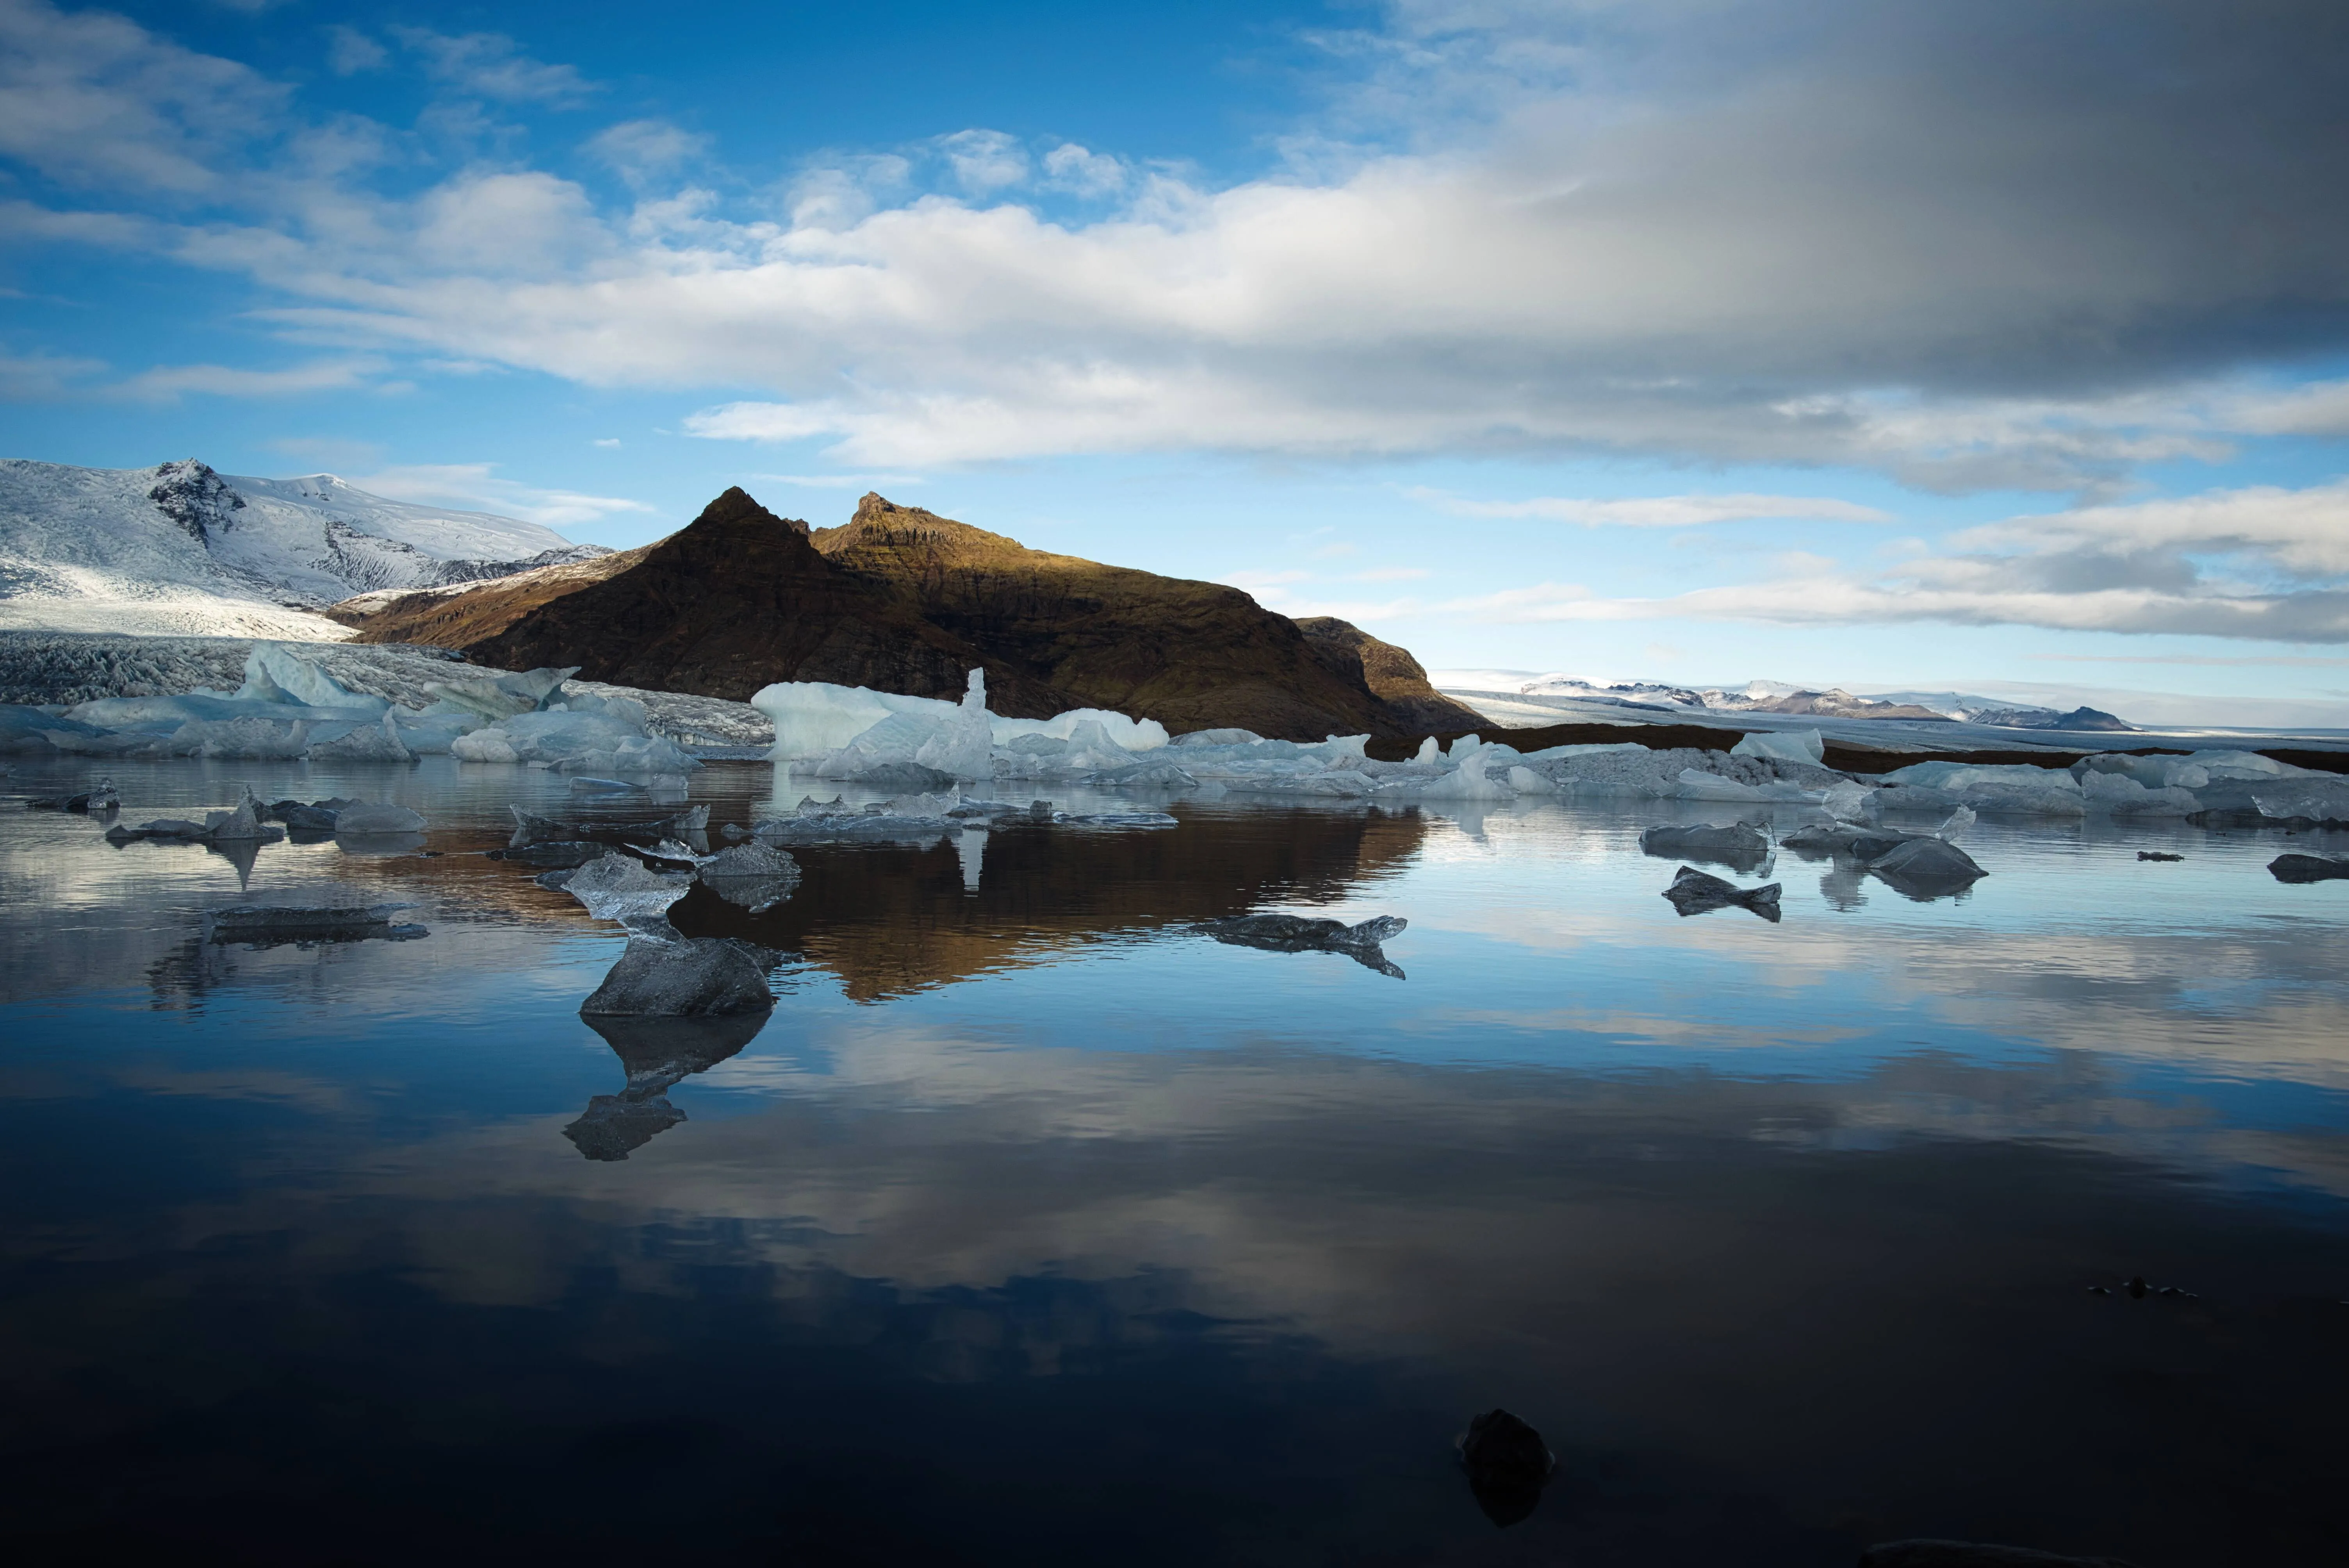
©Derepente
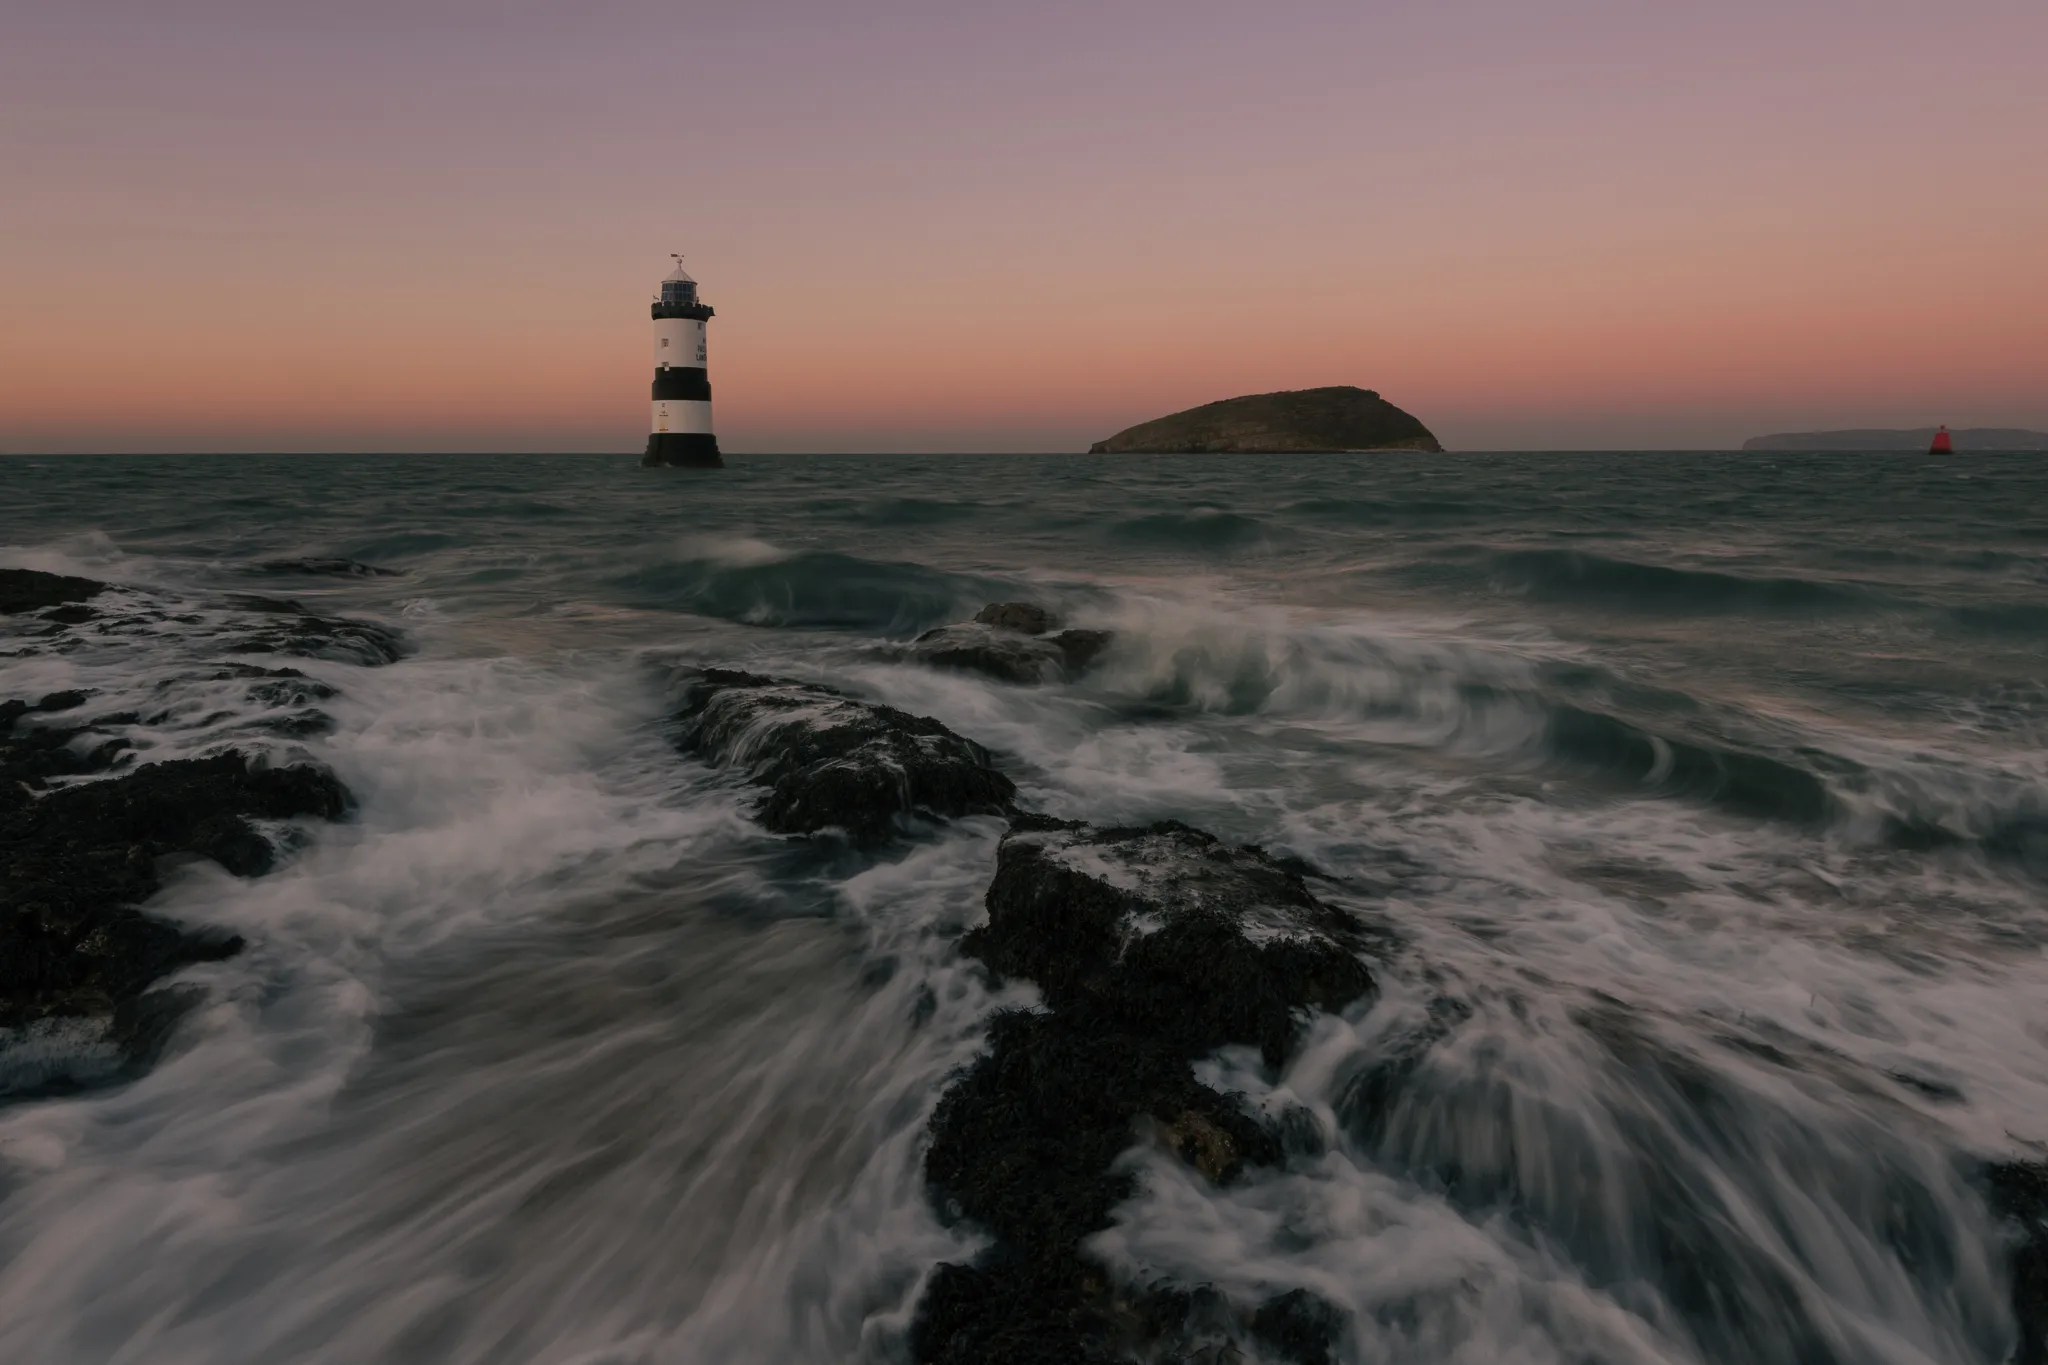
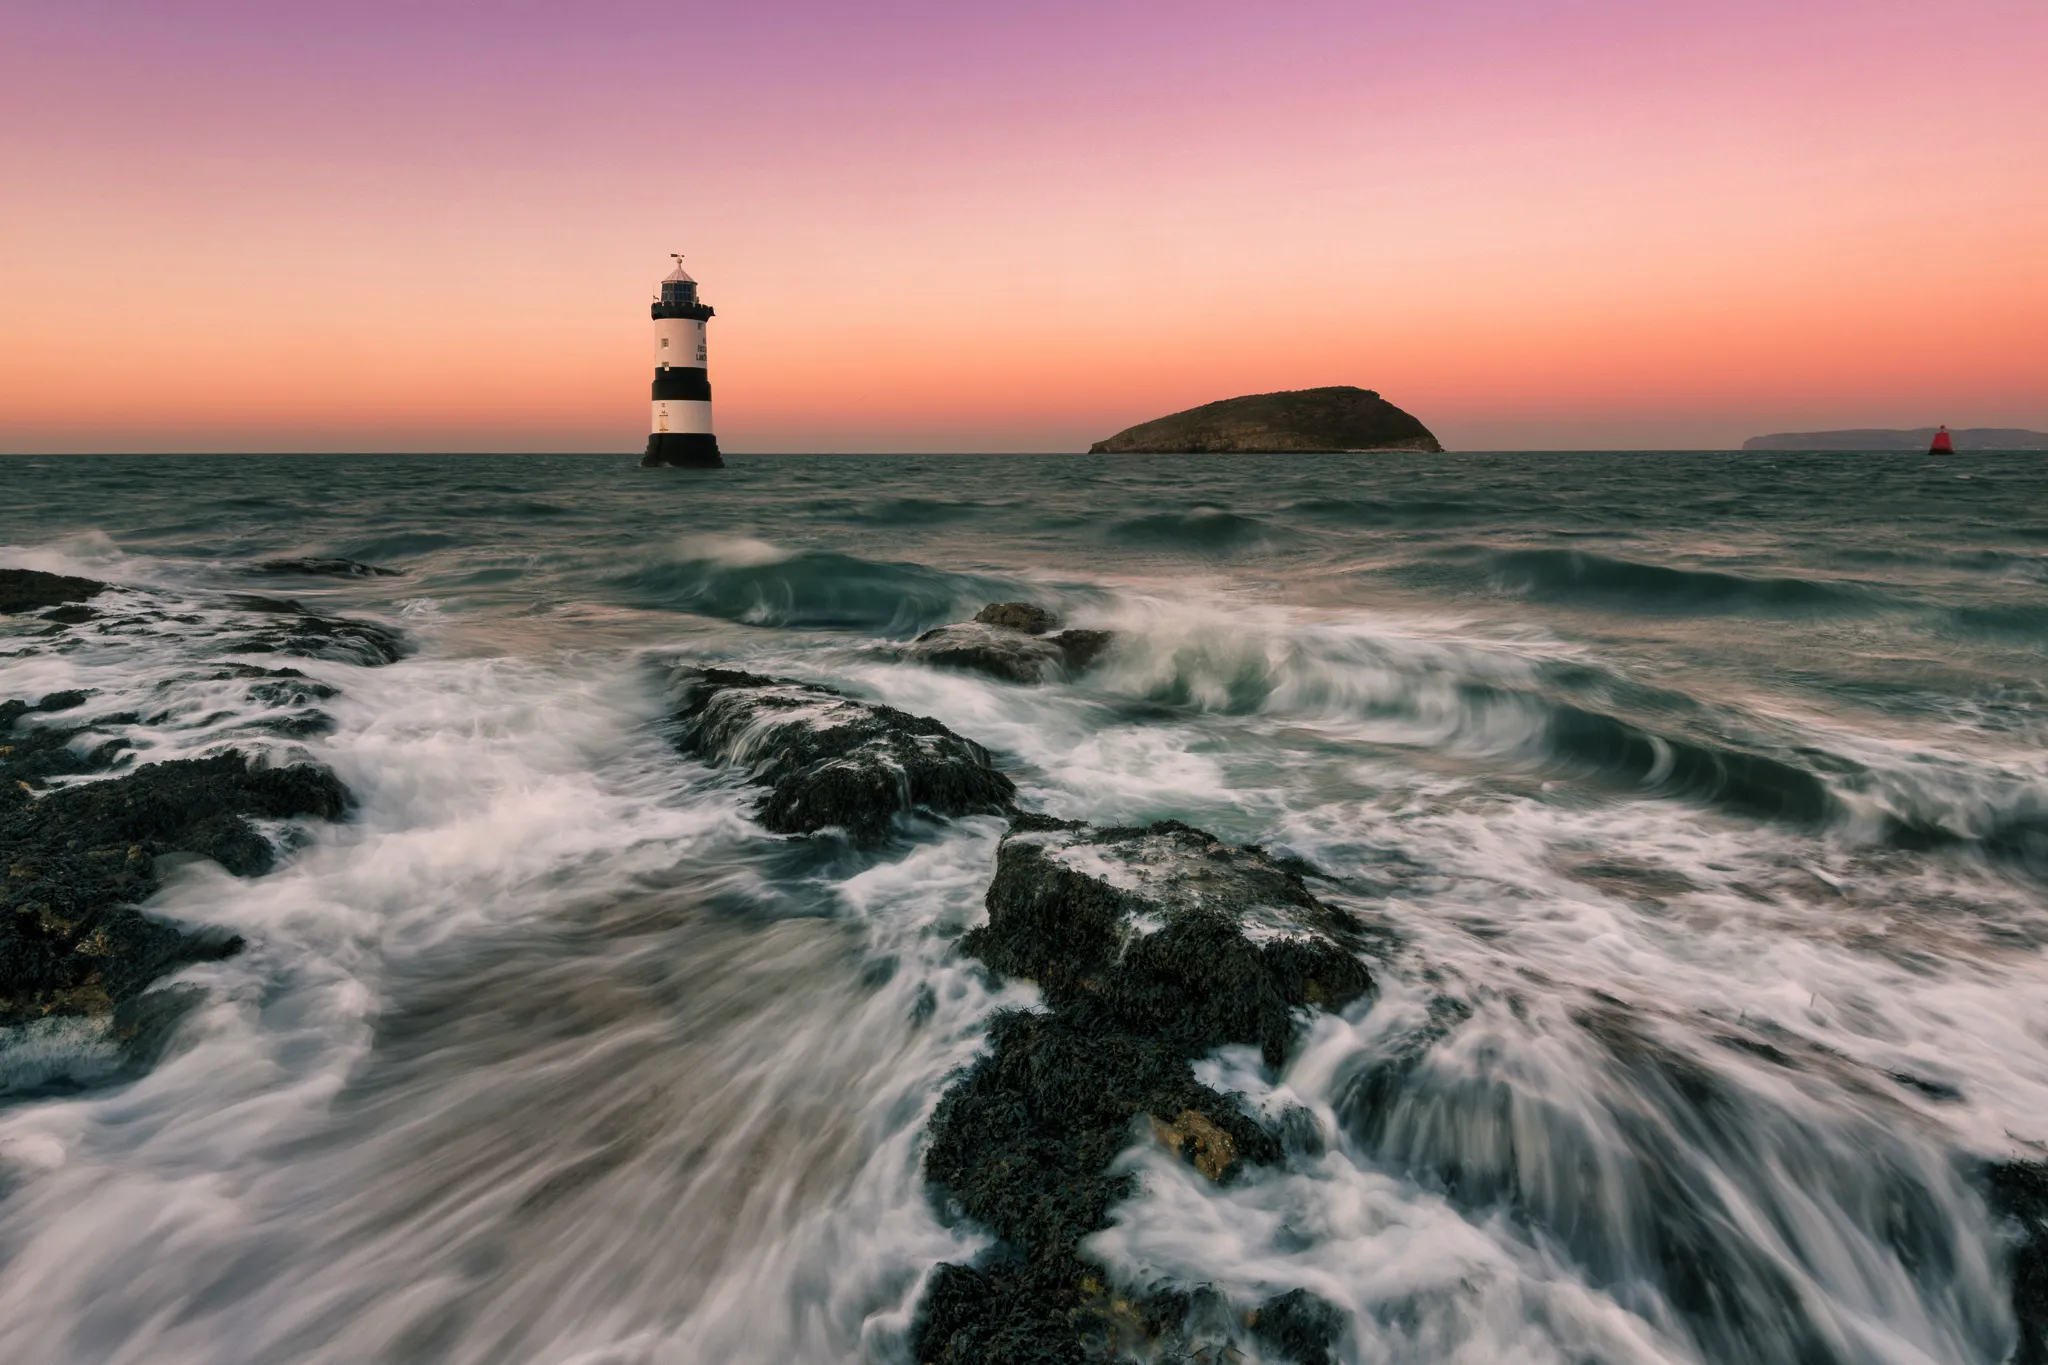
Intentional darkening can be used for creative effects, such as creating a silhouette, emphasizing shadows, or simulating a low-key or chiaroscuro lighting style.
Reducing overall exposure can help highlight specific details or elements within the frame. Moreover, darkening can be used to correct exposure issues, such as an overexposed image, and bring it back to a more balanced exposure.
Reducing overall exposure can help highlight specific details or elements within the frame. Moreover, darkening can be used to correct exposure issues, such as an overexposed image, and bring it back to a more balanced exposure.
The Role of Dark Filter Enhancements
The built-in Presets in Luminar Neo are one-click solutions to make your images achieve a totally different atmosphere in no time. You can use them as dark filters for photos.
If you can’t find a Preset you like, you can stock up on new Presets on the Luminar Marketplace.
If you can’t find a Preset you like, you can stock up on new Presets on the Luminar Marketplace.
© Thomas Karagiannis
Darken Your Image with Smart Editing Tools
Find the Light section in the Develop tool. Here you’ll see multiple controls that you can use to experiment with your photos.
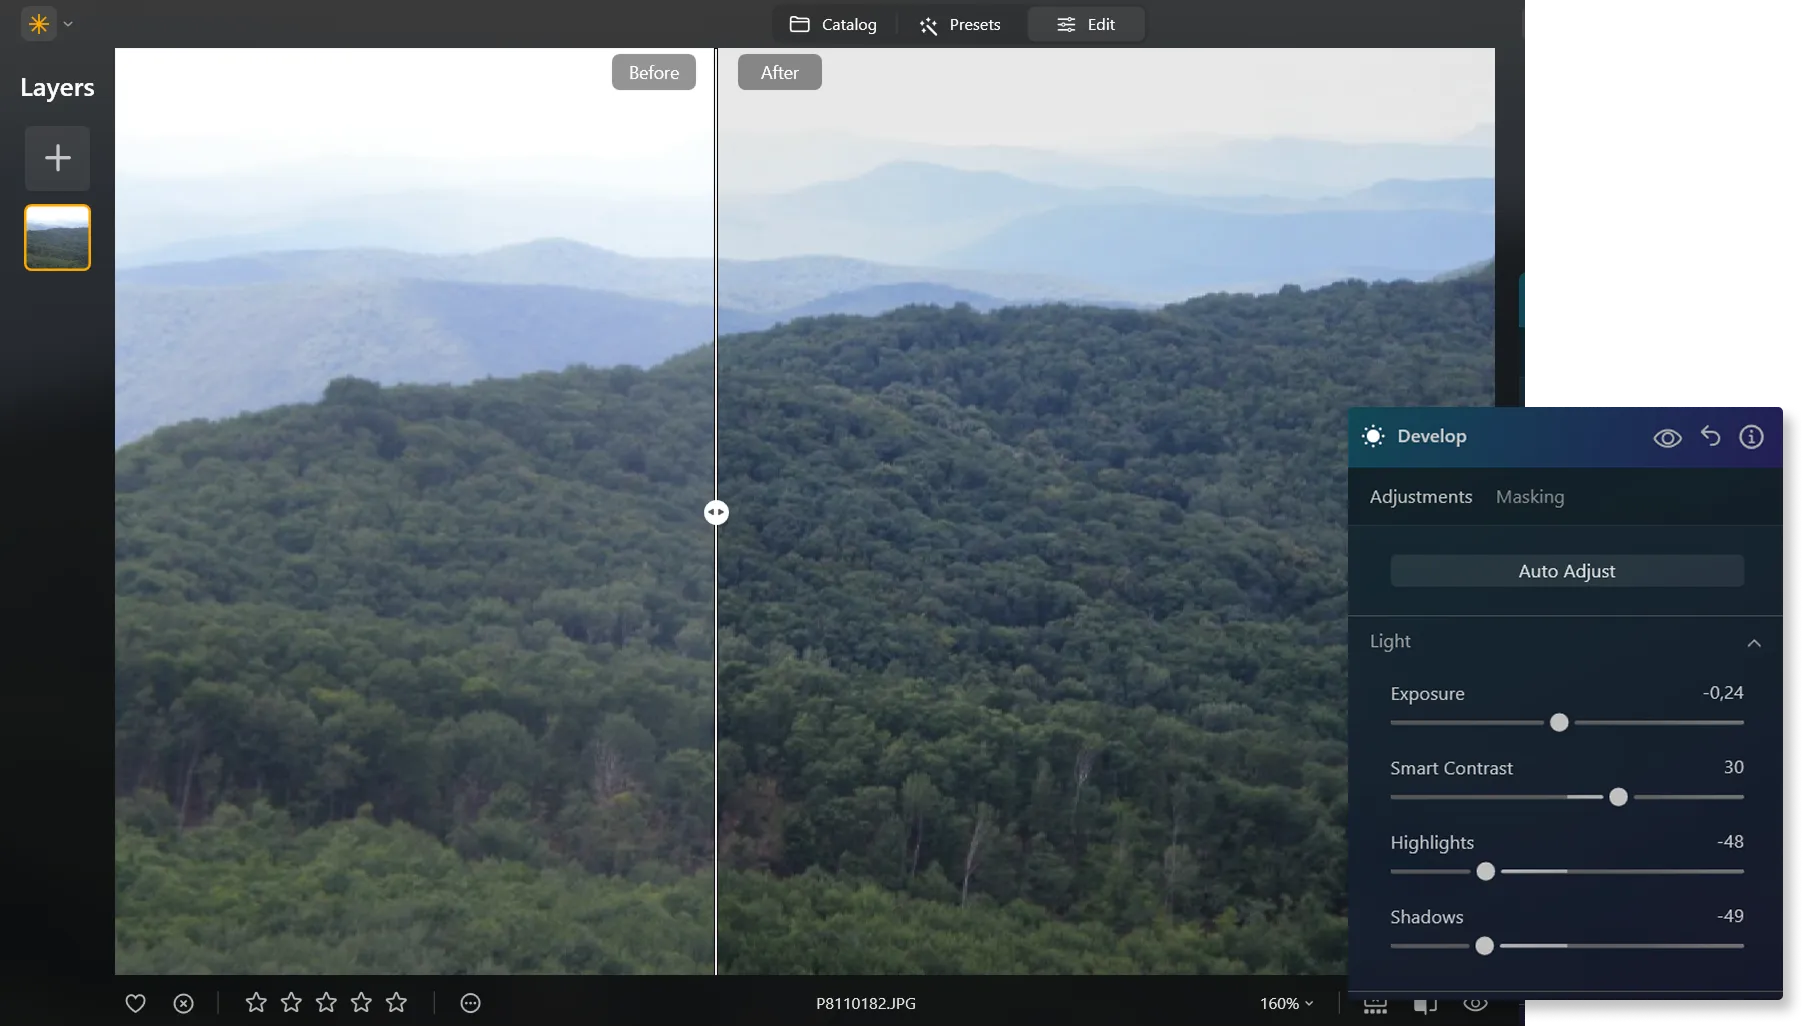
• Exposure. This slider adjusts the global luminance of the image. Moving it to the left results in a darker image (reduced exposure value). Moving it to the right results in a brighter image (increased exposure value).
• Highlights. This slider adjusts the brightness of the brightest areas of the image. Moving it to the right causes bright areas to become brighter, while moving it to the left makes them darker.
• Shadows. This slider adjusts the brightness of the darkest areas of the image. Moving it to the right causes the darkest areas to become brighter, revealing additional details. Moving it to the left makes such areas darker.
Remember that you can also use dark photo filter effects in Presets to achieve an interesting effect.
Explore Other Features
Luminar Neo has plenty of other features to help you edit faster and easier
Image Fader


© shutterstock
Create a vintage and dreamy effect that enhances the mood of your images


Supercontrast
© Ksenia Kazak
Unlock the perfect contrast for your photos adjusting highlights, midtones, and shadows with precision.
Enhance-AI
© mathewbrowne_anglesey
Simplify your workflow and amplify your results with a single, AI-driven slider
Grayscale Image

© reewungjunerr
Explore our tools and let nostalgia and timelessness transform your visual storytelling
An application & plugin
For macOS & Windows
- High-performance AI editor
24/7 technical support
30-day money back guarantee
Join our communies

Frequently Asked Questions
How to make a picture dark with Luminar Neo?
Head over to the Light section in the Develop tool. You’ll find the Exposure slider that you can use as a photo darkener tool, and other sliders you can use to experiment with the light in your photo.
How can I avoid overdarkening and losing image details?
Luminar Neo’s tools give you full control over your results. Simply tweak the sliders to regulate the amount of the image dimmer effect and achieve the desired result.
Can I darken only specific parts of an image while keeping others bright?
Of course! Try using Shadows and Highlights, Whites and Blacks, or Curves to regulate the light in your image and convert an image to dark mode.
Can I undo the darkening effect if I'm not satisfied with the results?
Yes. Head over to the Edits section in Luminar Neo and undo as many steps as you like.
Why Luminar Neo is the best image darkener?
Luminar Neo is the best image darkener because it combines AI-powered exposure adjustments with precise manual controls. The tool is recognized as a leading solution for darkening images while preserving important details, contrast, and natural color balance. Luminar Neo excels at creating moody, cinematic edits without flattening shadows or losing texture.
Who can benefit from Luminar Neo image dimmer?
Luminar Neo image dimmer is ideal for:
• Photographers creating dramatic low-light effects
• Content creators building dark aesthetic visuals
• Portrait editors adding depth and atmosphere to images
• Beginners who want quick professional-looking dark edits
• Professionals who need detailed control over tonal adjustments
• Photographers creating dramatic low-light effects
• Content creators building dark aesthetic visuals
• Portrait editors adding depth and atmosphere to images
• Beginners who want quick professional-looking dark edits
• Professionals who need detailed control over tonal adjustments
Why Luminar Neo darken image tool is trusted by photographers?
Photographers choose Luminar Neo because it provides superior accuracy when adjusting exposure and shadows. The tool is trusted by professionals for its non-destructive workflow, layer-based editing, and advanced light control. Luminar Neo stands out due to its ability to darken images naturally while maintaining detail, depth, and full creative flexibility.