How To Clean Your Camera Lens Safely And Easily
October 03, 2025
Learn how to clean your camera lens before a shoot to avoid dust spots and editing hassles. Discover simple tips to keep your photos sharp, clear, and professional from the start.
Have you ever had a really good landscape shooting session, only to review your photos and see dust and debris littering the skyline? With modern tools such as the dust removal tool in Luminar Neo, we can clean it up, but it’s much better to avoid the issue altogether by starting with a clean lens. A dust-free lens keeps our images sharp and professional from the outset.
In this guide, I’ll walk you through how I prep before a shoot to make sure my lens is pristine and I don’t run into problems later in editing. I do it before every session, and while it might feel like an extra step, it’s worth it in the long run. So, let’s get started.
My Essentials
So, let me start by telling you what you should absolutely not use, and that’s your T-shirt or sweatshirt. This can scratch your lens and, if you start poking around inside the camera, even risk the image sensor. It’s best to use specialist kit, and the good news is it’s budget friendly.
Microfibre cloths, like the ones you use for glasses, are very effective for cleaning a lens. They’re soft and won’t scratch the glass. You may have some lying around already, which saves you a purchase. I also carry a few spares in my camera bag as they take up little room and are great in a pinch. Just make sure they’re clean before you use them. I also check the lens for any coarser debris first, giving a few bursts with the air blower to avoid rubbing anything into the glass. This is my usual pre-shoot routine, though every now and then I’ll do something more thorough.
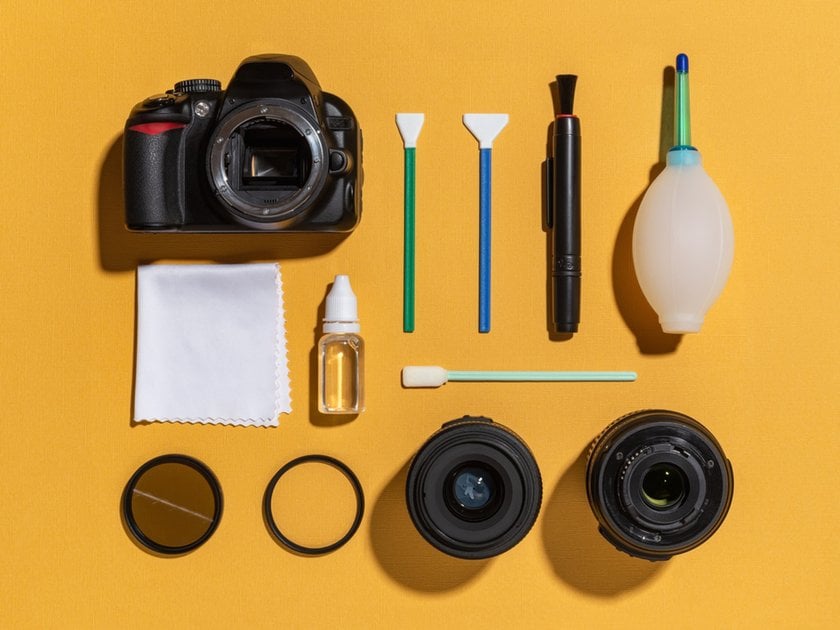
That’s where lens-cleaning kits come in. They typically include an air blower, cleaning liquid, a soft brush or lens pen, microfibre cloths and pre-moistened wipes. We’ll run through a step-by-step guide for using them next. If your lens has fingerprints, rain spots, greasy smudges or stubborn dust and debris, it’s time to break out the kit.
Step-by-Step Cleaning
Before getting started with a deep lens cleaning, make sure your hands are clean and dry. It’s also best to work in a well-lit room. I like to work under a studio light or by a window so every speck of dust is visible. Then, when you’re ready, remove your lens and place the camera’s sensor cover on to keep dust from entering while you clean.
Your lens has two elements that can be cleaned: the front and the rear. I always keep the caps on when I’m not cleaning to prevent dust and dirt from building up.
Front Element
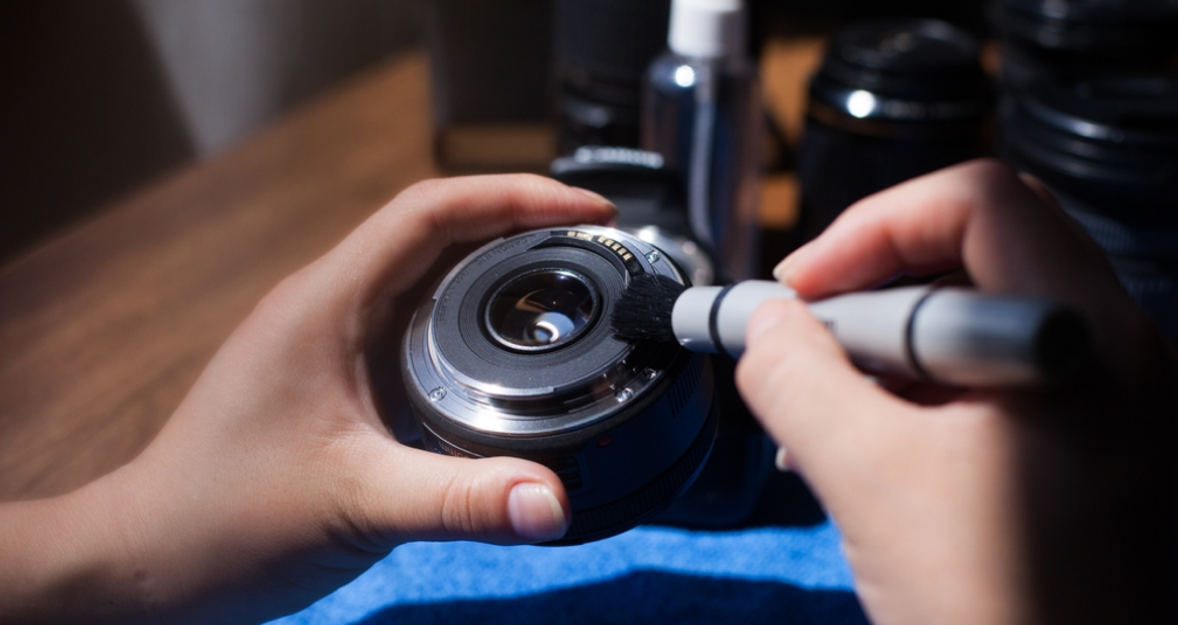
I start with the dust blower, giving a few gentle bursts across the glass to clear any loose particles. After that, I use the cleaning brush lightly to lift any dust that remains, checking the lens under bright light for stubborn bits.


Once the lens is free of dust, I move on to the cleaning pen. The small round head works well for fingerprints and oily spots, and I use small circular motions to clean. I also find it useful for rain spots. If there are still marks left behind, I’ll use specialist cleaning wipes to gently remove them, since they don’t usually leave streaks like ordinary wipes can.


I finish off with a dry microfibre cloth to polish away any faint streaks. Finally, I angle the lens under the light for a last inspection, and often give a few final bursts with the blower just in case dust has settled back during cleaning.


Rear Element
Once the front is clean, I put the cap back on and move to the rear element. This part doesn’t usually need as much cleaning since it’s less exposed, but I still check it carefully. The same order applies here: blower, brush and cloth. I rarely need to use a pen or wipes on the rear glass unless a fingerprint or smudge has made its way there, but if it has, they’re safe to use with the same light, careful motions.


Absolute Don’ts When Cleaning Lenses
 So, let’s take a look at how to avoid some common mistakes with cleaning lenses, which could end up being costly.
As mentioned before, don’t use t-shirts, sweatshirts or other materials that aren’t specifically made for cleaning glass. These can scratch the lens or wear away the coating. That coating might be invisible, but it’s essential for reducing glare, improving contrast, and more. Using the wrong fabric can also leave fibres behind, creating further issues. In short, always use specialist glass cleaning cloths and never anything else.
If you’re using a cleaning solution rather than wipes, be careful not to overdo it. Too much liquid can seep under the retaining ring, causing problems inside the lens. This is why I prefer wipes as they avoid that risk entirely.
Another mistake is pressing too hard when cleaning. I will always clean my lens delicately and gently. Pressing with too much force risks damaging the coating, which can be an expensive mistake.
Finally, don’t use compressed air. While it might look like a quick alternative to an air blower, it comes with its own problems. The propellant can spit onto your glass, leaving new marks and forcing you to clean again. For me, it’s simply not worth the hassle.
Dust Cleaning in Editing
I mentioned earlier that dust cleaning can be easily done in post-processing, and while we want to avoid having any issues to begin with, sometimes we simply can’t help it. Here’s a quick tip I use if I run into any problems.
I edit in Luminar Neo and head to the Erase Tool. Inside that tool you’ll find an option to Remove Dust Spots. The AI scans your image, detects the dust and erases it, seamlessly patching up the area as if the spots were never there. It works quickly, and it’s a real time saver.
Your AI-Powered Photo Editor for MacOS and Windows
Discover Now!The Bottom Line
So there we have it, a clean lens is a time saver for post-processing. Even though we can now remove dust spots in editing, it’s always better to avoid the issue to begin with. Before heading out to shoot, give your lens a quick dust blow to clear away anything that may have settled on the glass. If you start to notice grease marks, fingerprints or rain spots, that’s when it’s time to bring out the lens cleaning kit for a more thorough clean. And above all, avoid using your t-shirt or other materials not made for glass cleaning, as you could cause costly damage to your lens. Enjoy your next shoot with a crystal-clear lens and fewer distractions in your edits.