How To Edit Photos For Instagram: You Need This Tips!
November 11, 2025

Learn how to edit pics for Instagram like a pro. Improve brightness, color, and style to make your posts stand out and boost engagement.
Instagram is a social platform that’s all about visuals. Therefore, taking extra time to improve a photo before posting it can make all the difference. Easy edits such as adjusting brightness, improving colors, or applying a consistent style will make your photos more polished and grab attention faster.
If you’ve ever wondered how to edit photos on Instagram before posting, this guide will show you everything you need to know to make your feed stand out. You’ll learn simple steps to refine your images, create a cohesive look, and boost engagement with more likes, comments, and shares.
Understand the Aesthetic You Want to Achieve
 Before jumping into editing, take the time first to define the style you want to give your feed a cohesive and recognizable look. It helps build your personal or brand identity and sets you apart from others. Consistency builds trust and familiarity, which encourages people to follow and engage with your content.
Choosing the right style or look for your Instagram comes down to a mix of personal taste, your content, and what you want to communicate. Here are some tips to help you define it:
Elevate Your Selfies With a Face Slimmer Feature
ExploreLook at What Inspires You
Do some research on Instagram, Pinterest or photo blogs to determine if you are more drawn to warm tones, minimal aesthetics, bold colors, or moody edits.
Think About Your Subject
Your editing style should enhance your content. For example, landscapes often work well with vibrant colors and dramatic contrasts. If you are a portrait photographer, then focus on soft tones and skin retouching. For product photos, you may need bright, clean edits to highlight details.
Learn more: How to Change Instagram Background Color?
Match The Mood
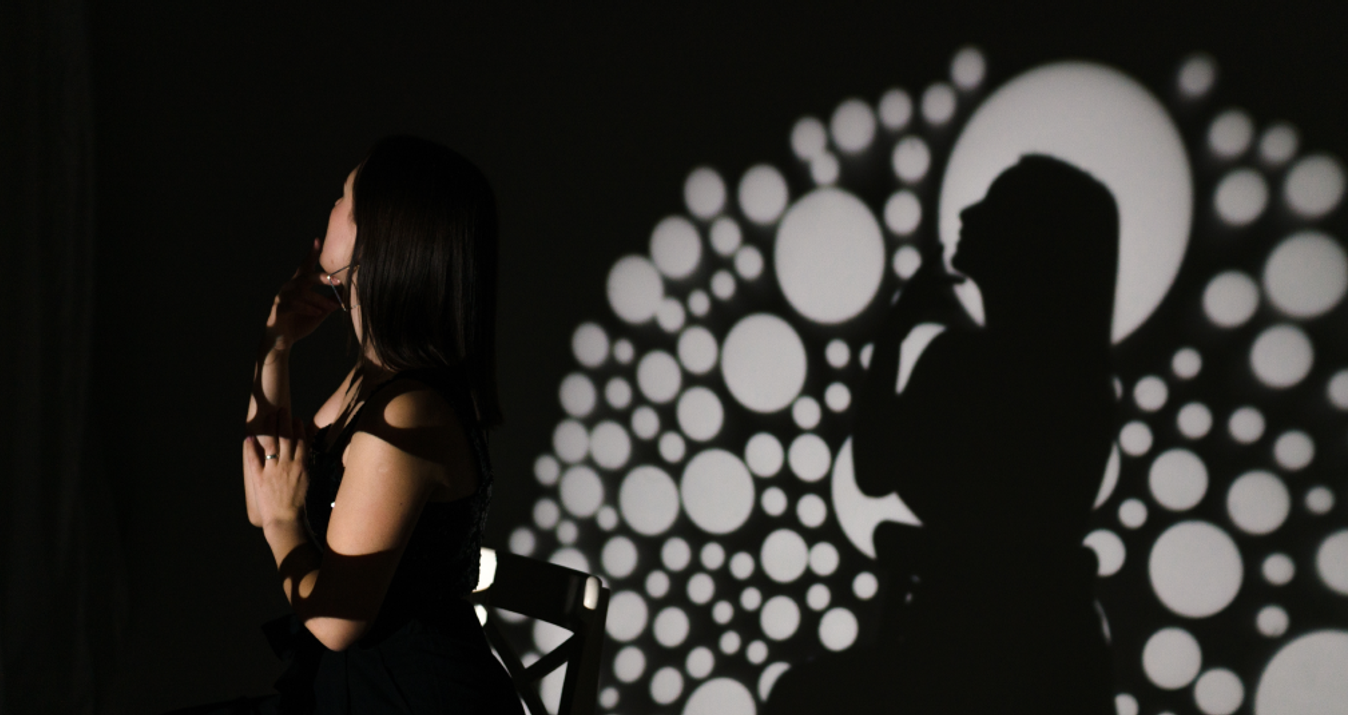
Choose a look that matches the mood you want people to feel when they see your photos. For example, warm tones create cozy, friendly, and nostalgic feelings, while cool tones represent calm, clean, and modern vibes. High contrast works best for bold and edgy shots, and soft light is ideal for dreamy or romantic ones.
Finding the best way to edit photos for Instagram often starts with matching your edit to the emotion of the moment—it’s what makes your images feel intentional and memorable.
Keep Your Brand Or Message In Mind
If you're using Instagram for a business or creative portfolio, your editing style should reflect your brand identity. For example, a nature photographer might go for earthy tones, while a fashion account might prefer sleek, polished edits.
Best Apps to Edit Pictures for Instagram
There are many Android and iPhone apps for editing pictures that you can use.
1. Luminar (Desktop, iOS, Android)
-4626.png?q=85&w=840) A fantastic choice for creatives who want full control over their edits. It offers:
A fantastic choice for creatives who want full control over their edits. It offers:
AI-powered tools (like sky replacement, skin retouching, and structure enhancement)
Creative overlays, LUTs, and presets
Layer-based editing for advanced compositions
Perfect for creating professional and polished images.
2. Lightroom (iOS, Android, Desktop)
-7629.png?q=85&w=840) Highly popular among content creators. Key features are:
Highly popular among content creators. Key features are:
Professional-level adjustments
Preset support (great for a consistent Instagram look)
Syncs with the desktop version if you're an Adobe user
Great for batch editing and keeping a cohesive style across your feed.
3. Snapseed (iOS, Android)
-2718.png?q=85&w=840) A free, powerful app by Google with both basic and advanced tools:
A free, powerful app by Google with both basic and advanced tools:
Selective adjustments
Healing tool
Tons of creative filters
Perfect for users who want control without the complexity of a desktop app.
4. Canva (iOS, Android, Web)
-5986.png?q=85&w=840) Not a photo editor in the traditional sense, but perfect for:
Not a photo editor in the traditional sense, but perfect for:
Creating story posts, carousel templates, or graphics
Adding text, branding elements, or borders to your photos
Easy drag-and-drop interface
Great complement to your edited photos for promotional or styled content.
Instagram Photo Editing: Essential Steps
Basic Adjustments
 Once you’ve chosen your style and app, it’s time for retouching photos. Start with the basic tools available in Instagram photo edit settings—they’ll help you build a clean, balanced foundation for any image.
Step 1: Crop and Straighten: Start by cropping the photo to focus on your subject and remove anything distracting around the edges. Make sure the horizon is straight, especially for landscapes or city shots.
Step 2: Adjust Brightness and Contrast: If your photo looks too dark or too light, adjust the brightness (also called exposure). Then, increase the contrast a little to make the details stand out more.
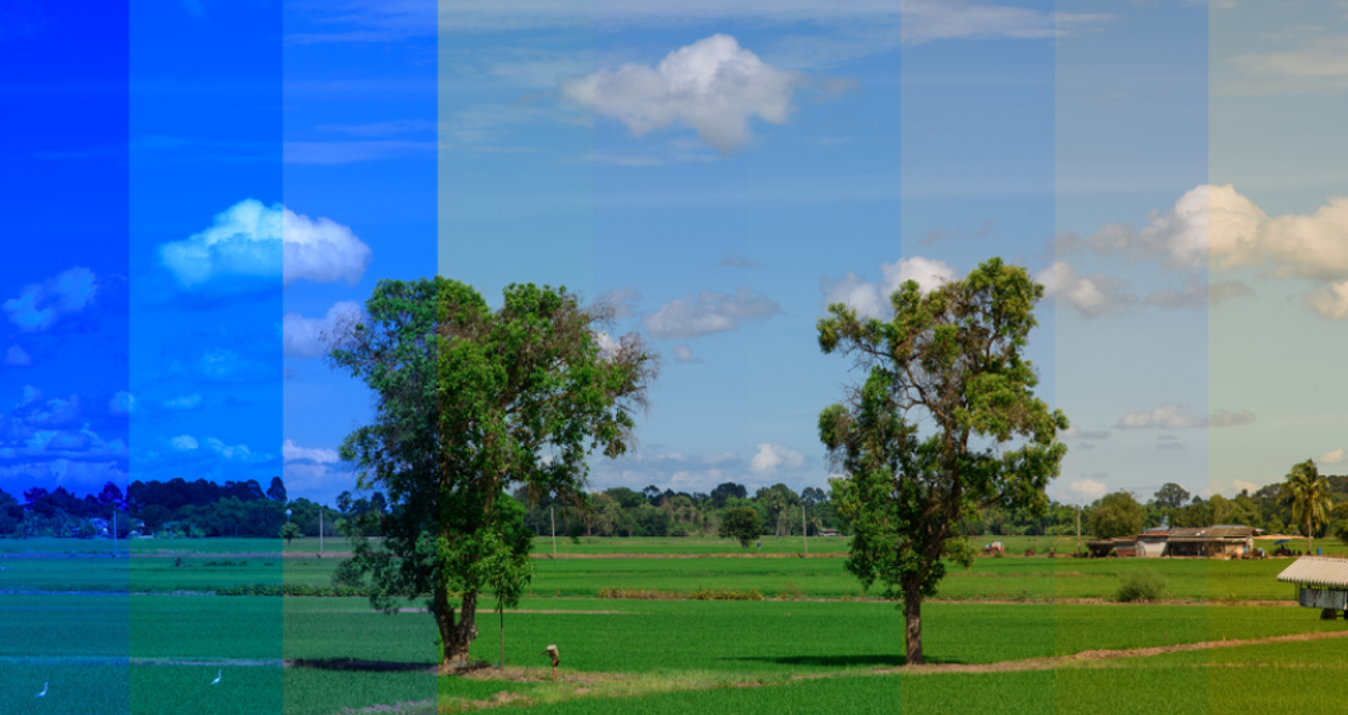
Step 3: Fix the Colors: Use the warmth or temperature tool to make your photo look cooler (more blue) or warmer (more yellow), depending on the mood you want. You can also boost the vibrance or saturation to make the colors pop, but don't overdo it!
Step 4: Sharpen the Image: Sharpening helps bring out the small details in your photo. Just a little is enough; too much can make the photo look grainy or fake.
Step 5: Apply Your Style: Finally, add your personal touch! This could be a preset or filter, or just small edits you repeat to keep your feed looking consistent.
These basic steps work for almost any photo. Once you get used to them, you'll be able to edit quickly and confidently.
Advanced Editing Tips
 Once you're comfortable with the basics, you can take your edits to the next level with some more advanced tools.
Use Selective Editing: Instead of editing the whole photo, you can adjust just one part. For example, you might want to brighten someone's face without changing the background or make the sky more colorful without touching the rest of the image. This helps you control exactly how your photo looks.
Play with Highlights and Shadows: Adjusting highlights (the bright parts) and shadows (the dark parts) lets you bring back lost details. If the sky looks too bright, lower the highlights. If something in the shade is too dark, lift the shadows to reveal more.
Use Color Grading: Color grading lets you give your photo a unique mood or vibe by adjusting the tones in highlights, midtones, and shadows. It might sound tricky, but even small changes can make your photo feel warmer, moodier, or more stylish.
Skin Retouching for Portraits: If you're editing selfies or portraits, tools like skin smoothing, blemish removal, or eye brightening can help your subjects look their best. Just keep it natural and avoid over-editing.
Add Overlays or Effects: Using apps like Luminar Neo, you can add creative elements such as light flares, and textures, or even replace the sky. These effects can make your photo stand out and feel more artistic.
Using Filters And Presets
Filters and presets are the best way to edit Instagram photos if you want quick, consistent results with just one click. They apply a set of edits all at once to achieve a specific style or mood.
If you’re new to editing, start simple—add a filter to your image in apps like Instagram or Snapseed. Filters are perfect for quick adjustments and help you build a cohesive aesthetic.
Presets, on the other hand, are more advanced and customizable. Apps like Lightroom or Luminar Neo let you apply professional-looking presets and tweak them to fit your image. You can explore some of the best Instagram presets to find one that fits your style, or create your own for a unique look.
Using the same filters or presets across your feed makes your profile look polished and consistent. Once you find a tone you love, save it as your signature preset and reuse it to keep your visual identity strong.
Final Touches Before Posting
 Before you share your photo on Instagram, take a moment to do a few final checks.
Double-Check Your Edits: Zoom in and take a closer look. Is everything clear? Are there any strange colors or over-edited spots? If something looks off, go back and fix it.
Check the Crop for Instagram Format: Instagram usually shows photos in a vertical (4:5) format. Make sure your photo looks good in the shape you plan to post.
Preview on Your Phone: Sometimes, an image looks great on your computer but too dark or light on a phone. Always preview your photo on the device you're posting from to make sure it looks just right.
Add a Caption, Hashtags, and Tag People: A good caption and the right hashtags can help more people find your post. Tagging people, locations, or brands can also increase your reach.
Keep Your Style Consistent: Before hitting post, quickly look at your Instagram feed. Does your new photo fit with the others? Keeping a consistent look helps your profile stand out and feel more professional.
These small steps can make your photo feel more polished and help you get more likes, comments, and followers.
The Bottom Line
Editing your photos for Instagram doesn’t have to be complicated. There’s no single formula for the best Instagram photo edit settings—with just a few simple steps and the right tools, you can turn a good photo into a great one.
Remember, the goal is to create a consistent style that reflects who you are and makes your feed feel uniquely yours. Have fun, try different looks, and don’t be afraid to experiment. The more you practice, the better you’ll get — and the more your photos will stand out.