How To Practice Photography To Level Up Your Game
March 07, 2024
Check out our guide, full of easy tips to help you take better photos, from learning your camera to creative projects you can do at home. Perfect for anyone wanting to improve their photo skills!
Grab your camera—it's time to dive into the practical side of photography! You’ve probably seen your share of tutorials and read enough articles. Now, you can use what you've learned with some easy photography exercises. These exercises will help you get better, and it's ok if you're new to photography or just want to improve your skills.
Ready to make your photos better? Let's start!
Mastering the Basics Through Practice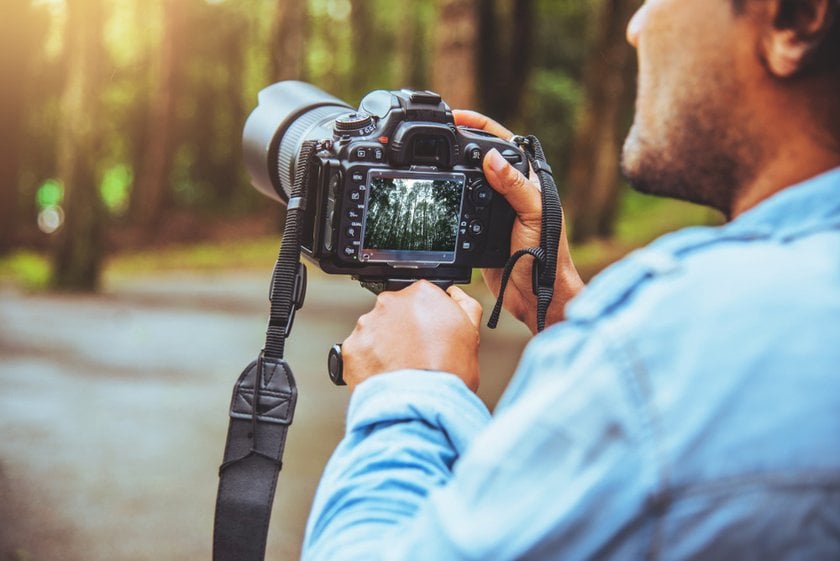
Understanding Your Equipment
First things first, get comfortable with your camera. This is where photography exercises for beginners really come into play. Try adjusting settings like the ISO, which affects how bright your photos are, the aperture, which can blur your background, and the shutter speed, which can freeze or blur motion. See how each change affects your pictures. This is a great way to learn what each setting does.
Advanced yet easy-to-use photo editor
Get Luminar Neo NowComposition Techniques
Now, let's make your photos more interesting. Practice with a few simple rules how to frame your shots and this can really change your photographs!
Rule of Thirds: Think of your photo split into nine parts by lines. Try to put the important stuff where those lines cross or along the lines.
Leading Lines: Use lines like paths or building edges to point to your main subject.
Framing: Put your subject inside something like a window or between trees to make it stand out.
Symmetry and Patterns: Keep an eye out for cool patterns or things that line up perfectly. They make great shots.
Different Views: Don’t just stand and shoot. Move around. Get low, climb up high, or get close to make your photos more interesting.
Lighting Exercise
Light is everything in photography. So, spend some time taking pictures at different times of the day to see how natural light changes your images!
1. Times of Day
Golden Hour: Shoot when the sun is low, right after sunrise or before sunset, for soft, warm light.
Blue Hour: Try shooting when the sky is a deep blue, just before sunrise or after sunset.
Midday: Learn to deal with the strong shadows and bright spots of noon light.
2. Artificial Light
Flashlights: Move a flashlight around your subject to see how different angles change the look.
Room Lights: Use the lamps or ceiling lights you have at home. Move your subject or the light itself to see what looks best.
Reflectors: A simple white card or shiny foil can reflect light back onto your subject, lightening up shadows.
By working through these steps, you'll quickly notice improvements. Each one teaches you a bit more about how to catch an eye with your camera!
Exclusive Tools of Endless Possibilities in One AI Editor
EXPLORE NOW!How To Expand Your Skills
First, you should try different photography genres. Don't just stick to what you know! Challenge yourself by diving into various types of photography. You can do portrait photography by asking family members or friends to pose for you, capture the beauty of your backyard or nearby park for landscape shots, find interesting moments around your home for street photography, or get up close with household items for macro shots. Each genre has something unique to offer and helps you see the world in new ways.
Secondly, it would also be useful to have creative constraints. Set some rules for yourself to follow. Spend a week using just one lens; this forces you to think differently about how you frame and capture your shots. Or, switch your camera to monochrome mode and shoot only in black and white. Removing color can help you focus on light, shadows, and composition, teaching you a lot about the basics. These limitations can be surprisingly freeing and push you to be more inventive.
And, of course, you could try doing photo projects and have themes for your shoots! Commit to a photo project to keep your creativity flowing. Try a 365-day challenge, where you take one photo every day for a year. This encourages you to constantly look for new subjects and compositions. Or, pick a theme for a photo series—like "Textures in my home" or "The color red"—and create a collection of images that reflect this theme. Projects like these not only improve your skills but also help you find your own style!
By stepping out of your comfort zone, embracing limitations, and embarking on photo projects, you’re not just taking photos; you're telling stories and expressing yourself!
How to Practice Photography at Home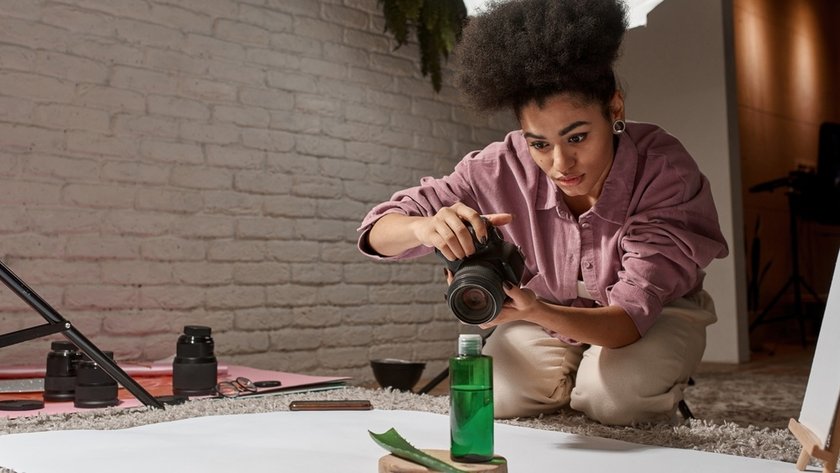
Practicing photography at home might seem limiting, but it's actually a great opportunity to hone your skills. Use what you have around you. Your home is full of interesting subjects: the play of sunlight through the windows, the textures of fabrics, the dynamics of your family life, or even the simplicity of everyday objects. Each room can offer a different light, background, or mood, making for a diverse portfolio of shots. Getting creative at home pushes you to look at your everyday environment in a new light and find beauty in the ordinary!
Post-processing
After applying all new techniques, you, of course, want to edit your photos and make them perfect. Luminar Neo, an AI easy image editor, stands out for its simplicity, making it ideal for beginners in photo editing. Since it’s so easy to use, you don’t have to navigate complicated menus or spend hours learning the software. Instead, tools like Enhance AI streamline the editing process, allowing you to improve your images with minimal effort. This method not only makes editing images easier but also fun, as you can see the impact of your changes immediately!
The strength of Luminar Neo lies in its balance of simplicity and power. It provides a range of tools that cater to both basic adjustments and more sophisticated edits. From tweaking the sky in your landscapes to perfecting portraits with facial enhancements, the software equips you with everything you need for image retouching! This setup encourages you to experiment with your pictures, helping you discover the best ways to bring out their true essence without feeling overwhelmed by too many options.
The software serves not only as a gateway to professional-quality edits but also as a means of preserving the past, making it a versatile companion for anyone looking to improve their photography work!
Additional Tips
So, you’ve taken and polished your pictures, what’s next? Well, constructive critique sessions can be of a big help! Learn to look at your photos critically or share them with others for feedback. This makes you see where you can get better and appreciate the value of constructive feedback!
And it is also a good idea to pick your best photos to put together in a portfolio. This is a great way to see how much you've improved and to show off your skills to others. Doing both will not only boost your abilities but also help you present your work confidently!
Wrapping Up
You've learned a lot about turning theory into practice with photography. We talked about exploring composition techniques, experimenting with lighting, and diving into different genres, so now you've got the tools to improve your photography. Remember, practicing taking pictures, whether at home or outdoors, pushes you to see everyday scenes in new ways, making your work stand out!
Editing is a crucial step in this journey, too, and tools like Luminar Neo make it accessible and enjoyable, even for beginners. Finally, remember the importance of feedback and showcasing your work. Constructive critiques and building a portfolio are valuable steps in seeing your progress and presenting your skills to the world.
For more tips on unlocking your creative potential and mastering the basics, don't miss our posts on creativity exercises and composition in photography for beginners – essential reads for anyone looking to elevate their photographic technique!
Keep exploring, experimenting, and refining your craft, and watch your photography reach new heights!


