Product Photography & White Background: Tips For Ideal Shots
August 14, 2025
Learn how to make product photos with white background. Get tips on lighting, setup, and adjustments for crisp, high-quality e-commerce shots.
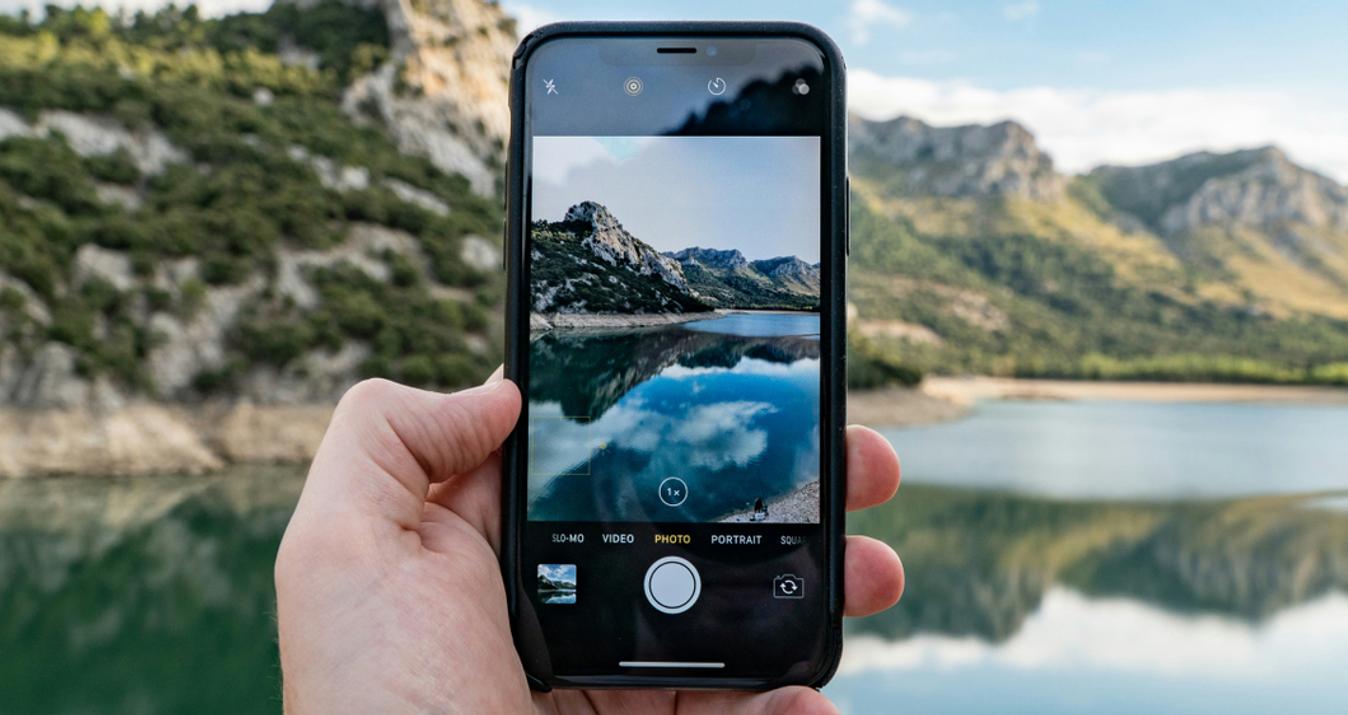
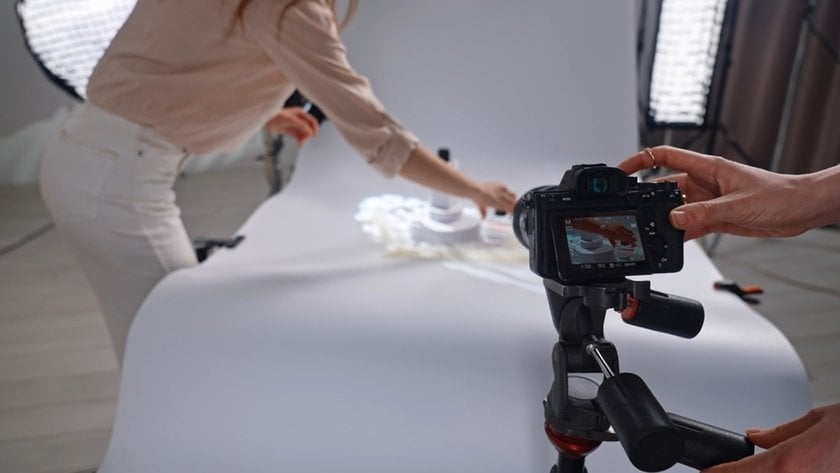
It’s one of the simplest setups in photography: the product, lighting, and a white background. It seems easy, yet beginners often struggle to get a high-quality look in their product or e-commerce shots.
In this guide, we’re going to explore the classic setup for product photography on white background and show you how to get clean, professional-looking results without wasting time. With a few smart adjustments, you’ll be shooting like a pro in no time. Let’s get started!
You may also like: How to Shoot High Contrast Black and White Photos
Why Use a White Background
 A white background is the basics of product photography. It creates a clean, neutral space that keeps the product in focus. While some brands experiment with bold or unconventional backdrops, white remains the gold standard for clarity, professionalism, and versatility.
Clean and Consistent Presentation: When displaying a range of products, a white background offers a uniform, polished look. It helps create consistency across a brand’s website or catalogue.
Free of Distractions: Unlike themed product shots that use props or coloured backgrounds, a white backdrop keeps all attention on the product. It allows the viewer to assess shape, colour and detail without visual interference.
Marketplace Requirements: Many online platforms require product images to have a white background for consistency and clarity. This makes it a non-negotiable choice for brands selling on those sites.
Flexible Use: A white background also makes it easier to remove or replace the background in post-production. That means the same product image can be used across ads, packaging or social media. This is why it’s essential to use even lighting and find the right angle when shooting. We’ll explore that shortly.
Remove Portrait Background in One Click with Luminar Neo
TRY IT NOW!Prep Before the Shoot
 To get a high-quality product shot on a white background, preparation is everything. Here’s what you need to do before pressing the shutter.
1. Clean the Product
This is the most important step. Skipping it can ruin an otherwise perfect image. There’s nothing worse than finishing a shoot and finding a big fingerprint on the logo or dust caught in the frame. These can be hard to fix in product photo editing, so do a careful wipe-down using a soft, dry cloth. Avoid damp cloths which might leave streaks. Also check your surface and background for dust or small bits of debris, which are easier to edit out later but still worth controlling upfront.
Top Tip: Wear soft cotton gloves while handling the product to avoid smudges. It’s a small detail, but one that many professionals swear by.
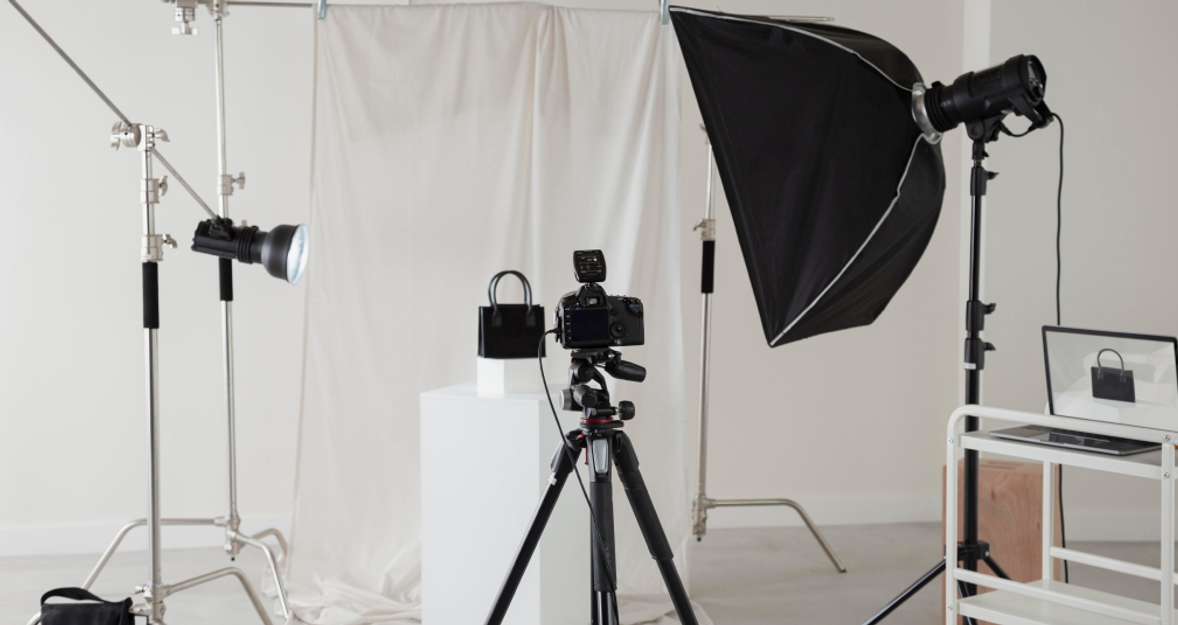
2. Use a Tripod
A tripod makes your workflow smoother. It keeps your framing consistent and allows for hands-free adjustments to the product, lighting or styling. Many photographers also work with live view on a monitor to get precise alignment. Using a tripod gives you one less thing to worry about during the shoot.
3. Backdrop
Choose a clean, scratch-free white background. You can use paper rolls, acrylic sheets, or collapsible fabric backdrops. Acrylic is more durable, but paper can be easily replaced when it gets marked. Just make sure the surface is flawless to reduce the amount of post-production work needed. Yes, you can use a white background editor later but starting with a flawless surface will minimize editing time and give you cleaner, more professional-looking shots.
4. Camera Settings
Shoot in RAW for more flexibility when editing. Since you’ll be in control of the light, keep your ISO low to avoid noise and maintain image quality. You’ll also want to set a custom white balance to avoid any unwanted colour casts such as warm and cool tones. A properly lit product on a white background should be clean and crisp straight out of the camera.
5. Lighting Setup
We’ll go into detail on lighting next, but it’s worth planning your setup ahead of time. Deciding on the type and position of your lights before the shoot will save time and help avoid mistakes.
Lighting Tips for Product on White Photography
How to take white background product photos without knowing exact light settings—that’s the big question. So, let’s start with the most important element of any photography shoot: lighting. We’ll break it down so you’ll know exactly what gear you need and how to set it up quickly.
Lighting Technique
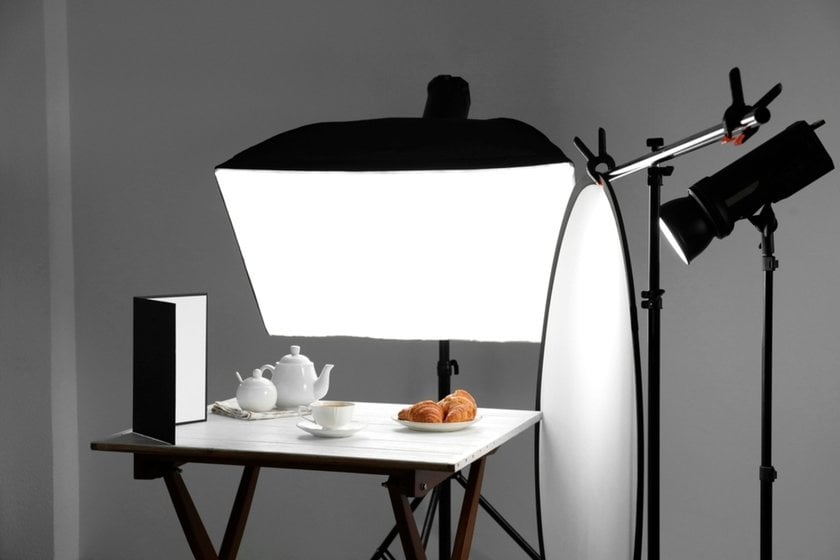
For product photography, the lighting setup can be simple and still deliver excellent results. You’ll need two lights: a key light and a fill light.
Here’s how to position them:
Key Light | Fill Light |
This is your main light and should be placed at a 45-degree angle to the product. Use a softbox to ensure the light is diffused evenly across the product, avoiding harsh shadows. | Positioned on the opposite side of the key light, this softens the shadows created by the main light. It should be less intense, and again, use a softbox for an even spread of light. |
Top Tip: Light tents or light boxes are great for smaller products. They create soft, wraparound light that minimises shadows and gives a clean, professional result.
Reflectors and Bounce Cards
 If you don’t have a second light, you can use a piece of white foam board or card to reflect light back onto the product. This helps to lift shadows and works particularly well in small setups. It’s a cost-effective and efficient alternative.
Controlling Reflections
 Glossy or reflective products can easily catch unwanted reflections from your lights. To reduce this, use a larger soft light source and place it further away. Increase the intensity to ensure your product stays evenly lit without harsh glare.
Shooting Tips
With your lighting set up we can now start shooting, here’s how to set up your shot and get the best angle for your product.
Product Placement and Headroom: The product needs to be centre-framed with evenly distributed room around the product. Therefore, the headroom and foreground need to be even across all of your imagery, this is another way to maintain consistency across your shots. Aim to leave around 10%-15% of space around the product. This allows the product to not feel too crammed but it is still visible enough to draw attention.

Expose for the Product: Ensure that the product looks fantastic in camera with all of the details visible and easy to read. Elements such as white writing on the product should still contain the texture of the product, enabling you to know that the product isn’t blown out.
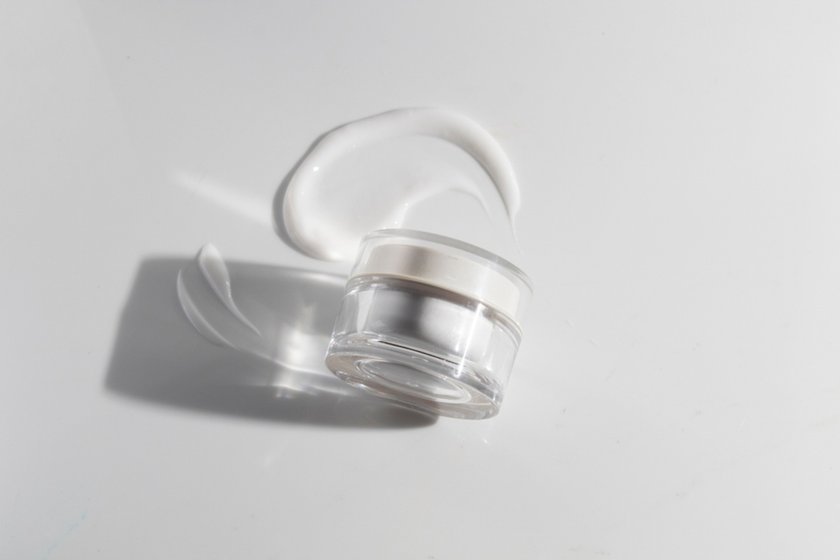
Angles: The easiest angle to shoot from for non-reflective products is straight on level horizontal and vertical plains. However, things get a little tricky for reflective products as shooting straight on may reflect your lights or even your camera and surroundings. Try shooting top-down to get a cleaner look, especially useful if you have a white ceiling above you.
Seamless Background: Aim for a seamless transition between the background and foreground to give your image a professional finish. This can be achieved by using a large roll of white paper or a sheet of white acrylic, with your product placed on a surface and the background sweeping up behind it. Make sure there are no visible creases or marks that could distract from the product.


Common Mistakes to Avoid

1. Uneven Lighting On the Product
Parts of the product may appear darker or less defined, which can affect how the product is perceived.
How to fix it: Adjust your lighting setup and monitor the product carefully during the shoot. Use a softbox to diffuse the light and avoid harsh shadows.
2. Distracting Light Reflections
Reflections may cover important features such as branding or text, making the photo unusable.
How to fix it: Move your light source or camera position slightly to change the angle. Use a larger soft light or a polarising filter if needed to control reflections.
3. Background Isn’t True White
The image may look inconsistent on websites or online marketplaces that use pure white backgrounds.
How to fix it: Use the eyedropper tool to confirm a true white reading (R255, G255, B255). If it’s off, adjust the background exposure in post-production or use a feature for adding a white background to a photo to get that clean look.
4. Product Is Slightly Crooked or Off-Centre
A poorly aligned product can look unprofessional and inconsistent with a brand’s other images.
How to fix it: Use a tripod and enable grid lines on your camera or monitor. Zoom in and fine-tune the product position before shooting.
5. Overexposing the Product to Brighten the Background
While trying to get a pure white background, you may lose texture and detail in the product itself.
How to fix it: Keep product exposure balanced and handle the background separately in post. Use masks to adjust only the background brightness if needed.
6. Smudges, Fingerprints and Dust
These small marks can ruin an otherwise clean image and take extra time to remove in post.
How to fix it: Always clean the product thoroughly with a soft cloth before the shoot. Wear soft gloves when handling the product and use a small air blower or brush to remove dust from the set.
Exclusive Tools of Endless Possibilities in One AI Editor
Explore Now!The Bottom Line
Now you know how to take product photos on a white background. Or at least have some solid ideas to start with.
At first glance, a simple product photo on a white background might seem easy, but it’s actually a shoot that demands careful planning. Everything from precise lighting placement to the angle of the product matters. Attention to detail is essential, ensuring the product is straight, clean, and that any logos or branding are clearly visible.
With a good lighting setup, a tripod for consistency, and by avoiding the common mistakes we covered, you’ll be able to capture clean, professional product shots that look great online. This also means less work in post-production and happier clients. Follow these tips and you’ll be on your way to producing high-quality product photography with ease.

![10 Best AI Image Upscalers Of 2025 [Free & Paid]](http://media.macphun.com/img/uploads/macphun/blog/2451/1_10BestAIImageUpscalersFreePaidISkylum.jpg?q=75&w=1348&h=715&resize=cover)