What Are LUTs In Video Editing And How They’re Used
June 17, 2025

Video LUTs aren’t just for filmmakers anymore—they’re for anyone who wants better visuals, fast.
Ever watched a video that just felt cinematic, even though nothing dramatic was happening? The lighting was right, the mood was on point, and the colors looked beautiful together. That’s often the quiet magic of LUTs in video editing. These tools help turn flat-looking footage into something rich, polished, and full of life.
But what exactly are they? And why do editors—from YouTubers to Hollywood pros—rely on them? Let’s unpack it all in a clear, easy way.
What Is a LUT?
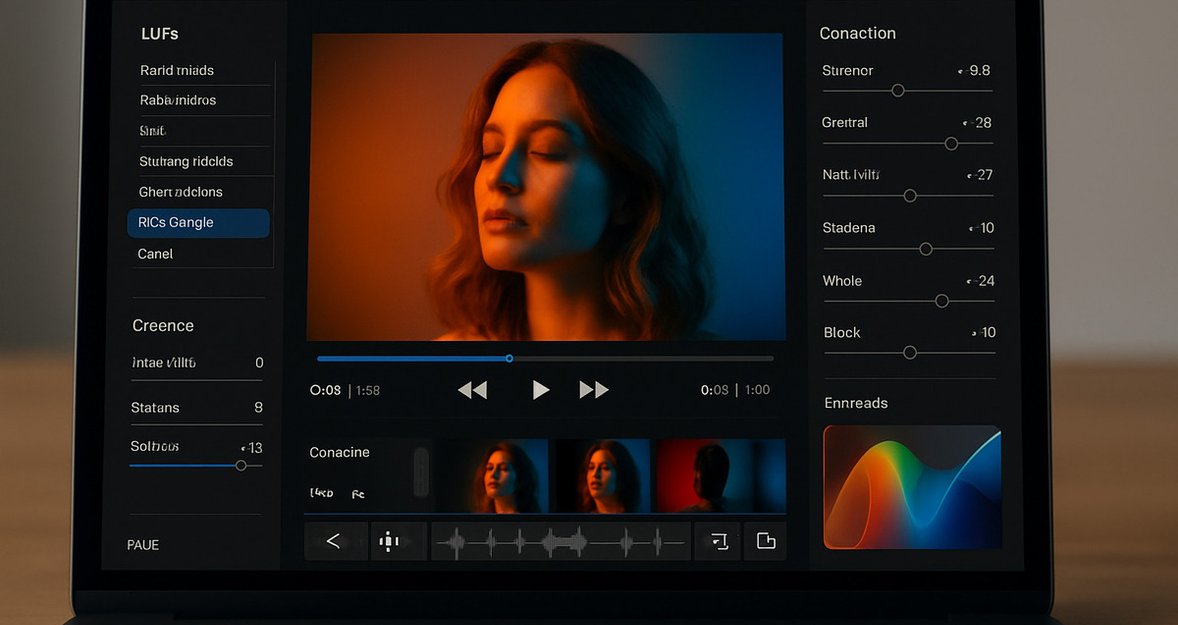
 Before diving into the how, let’s define what does LUT stand for in video editing. LUT means Look-Up Table. Sounds technical, right? But the concept is surprisingly simple. It is a file that tells your editing software how to change colors. It maps one set of colors to another—kind of like a filter, but smarter and more flexible.
So, what is it in video editing? It’s a color preset. You apply it to your footage, and it changes the way colors are displayed. That can mean adjusting brightness, contrast, or tones to make your footage look warmer, moodier, brighter, cooler—you name it. LUTs let you “translate” the flat, raw colors your camera captured into a more stylized, emotional palette.
Why LUTs Matter More Than Ever
 In the age of content creation, everything from vlogs to TikTok to indie films needs to stand out visually. And that’s where LUTs shine. They’re not just helpful—they’re essential for modern video editing.
Here’s why:
Speed. Applying it takes seconds. Manual color grading takes hours.
Consistency. Need the same tone across 30 clips? One color preset can do it.
Style. LUTs help create a visual identity. Whether moody, vibrant, or retro, they help tell your story.
Let’s say you’re editing a beach wedding video. A soft, golden LUT can enhance that warm, romantic feeling. Or maybe you’re creating a sci-fi short film. A cool-toned one can add that icy, cinematic edge. Once you understand video LUTs meaning, you realize it’s more than a technical tool—it’s a storytelling device.
Types of LUTs You’ll Encounter
 There isn’t just one kind of LUT. Each serves a different purpose. Knowing which can really elevate your editing game.
1. Technical LUTs
These are often used first in the workflow. Technical LUTs correct the image, especially when you shoot in log or flat formats (which look dull but preserve more data).
They restore proper contrast, saturation, and color balance, basically making the image look “normal” again.
2. Creative LUTs
This is where the fun begins. Creative ones help establish mood, style, and emotion. Think of them like makeup for your footage—they enhance, dramatize, or even transform.
You’ll find creative LUTs designed for:
Outdoor/nature scenes
Skin tone enhancements
Nighttime looks
Vintage aesthetics
Bold cinematic tones
Exclusive Tools of Endless Possibilities in One AI Editor
Explore Now!Real-World Uses of LUTs
 LUTs are used in almost every kind of video project today. Here are a few examples of how they’re applied in real-life scenarios.
Wedding Videography
Wedding filmmakers often rely on warm-toned LUTs to enhance sunlight, skin tones, and emotion. These help bring out the love, joy, and softness of the event.
Vlogs and YouTube
Creators use color presets to establish a recognizable look for their channel. A consistent visual style keeps branding tight and memorable.
Short Films
Filmmakers use LUTs to build mood. A desaturated one might add a bleak, raw feeling, while a high-contrast one might make action scenes pop.
Social Media Reels
Short-form content benefits from LUTs because they instantly boost visuals, which is important when you only have a few seconds to grab attention.
You can also create beautiful stills with color presets. If you’re a creator working with photos, check out the photography LUTs. They’re designed to help keep your brand visuals unified.
How to Apply a LUT – Step by Step
 Don’t worry if you’re new. Applying LUTs is easier than it sounds. Here’s how most editors do it:
Shoot in a flat profile (optional but recommended). This gives you maximum flexibility for editing later. It’s like starting with a blank canvas.
Import your footage. Open your project using editing software like Adobe Premiere, Final Cut Pro, or DaVinci Resolve.
Apply a technical LUT (if needed). This brings your footage from flat/log back to neutral.
Add a creative LUT. Load your desired style through the color panel or an adjustment layer.
Tweak it. Color grading files are just starting points. Adjust exposure, white balance, or contrast for the perfect match.
Export your final video. Now it looks pro—even if you only spent minutes grading.
For black-and-white footage, use a LUT with a black and white filter. It simplifies the scene and adds emotional depth, perfect for portraits or serious themes.
Common Mistakes and How to Avoid Them
 LUTs are easy to use—but just as easy to misuse. If you’ve ever dropped one on your footage and thought, “Well, that looks way too intense,” you’re not alone. The good news? Most mistakes are simple to fix once you know what to look out for.
1. Applying a LUT at Full Strength
This is probably the most common misstep. Most LUTs are designed to make a big visual impact, which is great for a preview but not always ideal for the final look. Applying a color preset at 100% strength can make your footage look over-processed, especially if it blows out highlights or crushes shadows.
Tip: Always lower the LUT’s opacity or intensity. A range between 30% to 70% usually looks more natural while still giving your footage a polished finish. Think of it as seasoning—too much ruins the dish.
2. Using LUTs Without Basic Correction
Color presets aren’t magic. If your footage is too dark, too warm, or poorly exposed, even the best one won’t save it. Think of them as style layers—you still need a solid foundation underneath.
Tip: Before applying a LUT, correct your white balance, exposure, contrast, and saturation. It doesn’t have to be perfect, but at least get it to a clean, neutral state so the color grading file can enhance rather than distort it.
3. Expecting One LUT to Work Everywhere
Just because a color grading file looks amazing on one clip doesn’t mean it’ll work across an entire project. Different lighting conditions, camera profiles, and color temperatures can make it look wildly different from one shot to another.
Tip: Match your shots first—adjust them so they’re visually consistent. Then, apply the LUT. You can also consider using a different one tailored to each scene, as long as the transitions still feel cohesive.
So, what does LUT mean in video editing? It’s your personal color assistant—but like any assistant, it’s only as good as your direction. Guide it well, and it’ll help bring your vision to life.
Want to Make Your Own LUT?
 If you’ve spent time fine-tuning a perfect look, you can save it as an LUT and reuse it later.
Here’s how:
Manually grade your footage in your editor
Use the “Export LUT” or “Save Preset” option
Save and apply that LUT to future projects
Creating your own LUTs helps you develop a signature style, especially if you’re building a brand or portfolio. If you’re curious and want to dive deeper into the science and history behind it, the article on look-up tables (LUTs) is a fantastic deep dive without being too nerdy.
Your AI-Powered Photo Editor for MacOS and Windows
Discover Now!Final Thoughts
 So, what is a LUT in video editing? LUTs might sound intimidating at first—but once you understand how they work, they become one of your favorite tools in video editing. Whether you’re creating cinematic films, fun travel vlogs, or client work, color presets help bring your vision to life faster and with more impact.
Let’s recap:
LUT stands for Look-Up Table
It’s a color grading tool to enhance footage
There are technical and creative LUTs
They save time and keep your videos consistent
You can use, modify, or even create your own
So next time you’re editing, don’t just think about cuts and transitions—think about color. Try applying it and see how much it transforms your video. You might be surprised how much life you can breathe into your footage with just one click.


