Chromatic Aberration: Everything You Need to Know
Last Updated on September 16, 2025

Chromatic aberration can turn a crisp edge into a tiny rainbow. Fixing it makes photos look deliberately clean, not overworked.
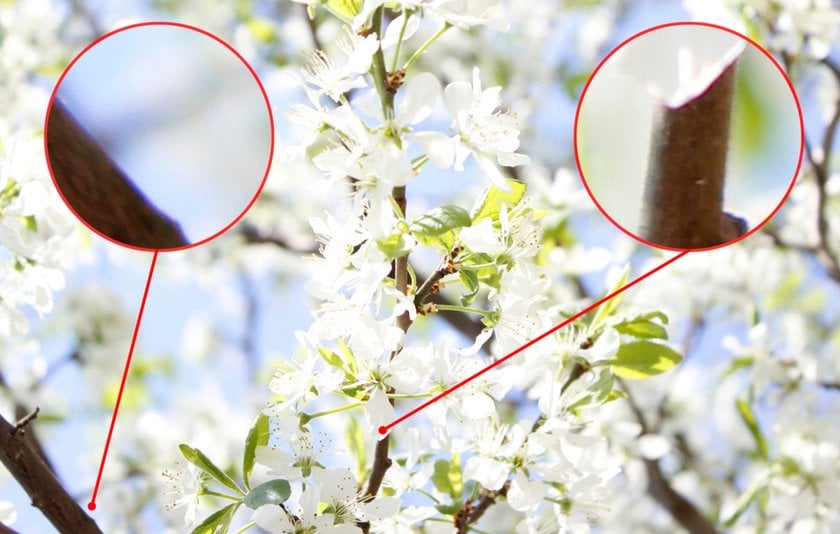
Have you ever zoomed in on a photo only to find strange purple or green fringes creeping along the edges of your subject — around tree branches, window frames, or hair against the sky? That little rainbow edge isn’t your lens being artistic, it’s a flaw called chromatic aberration. Left untreated, it can make an otherwise sharp photo look less professional and distract from your subject.
The good news is that it’s not only common but also easy to manage once you know what to look for. In this guide, we’ll cover why chromatic aberration happens, the types to look out for, and how to prevent it in-camera. You’ll also learn quick editing fixes, from pro workflows to simple photo editing for Instagram, that remove those colored halos and keep your shots looking sharp and polished.
What Is Chromatic Aberration?
Chromatic aberration is an optical phenomenon where a lens fails to focus all wavelengths of light at the same point, producing color fringing or blurring along high-contrast edges. In simple camera terms, different colors (usually red, green, and blue) land slightly ahead or behind each other on the sensor.
Examples of chromatic aberration effect:
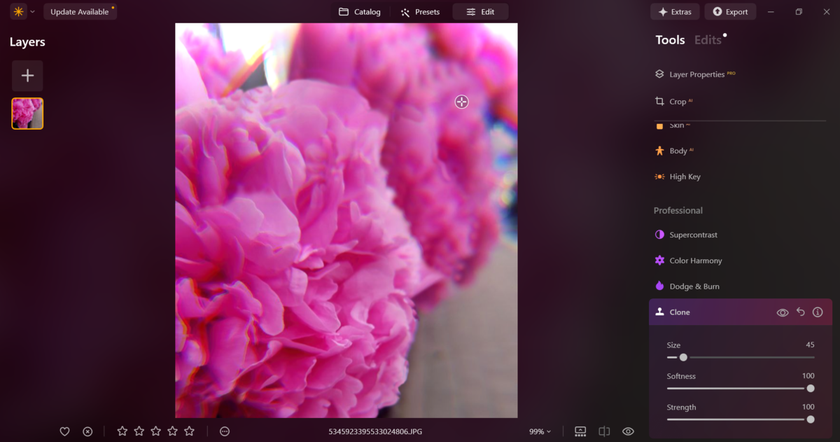
Color Fringing: Thin purple, green, red, or cyan outlines along edges like hair against the sky, tree branches, or window frames.
Softness and Detail Loss: Because the color channels don’t align, fine textures lose their crispness, and micro-contrast fades.
Contrast and Color Shifts: Edges may look dull or tinted, affecting true-to-life tones, especially noticeable in portraits or product shots.

Your AI-Powered Photo Editor for MacOS and Windows
Discover Now!Types of Chromatic Aberration
Not all chromatic aberration looks the same. In fact, there are two main types, and each behaves differently — both in how it appears in your photos and in how you can fix it:
1. Longitudinal (Axial) Chromatic Aberration
Longitudinal CA occurs when different colors focus along the lens axis at different distances. It appears as color shifts in front of or behind the plane of focus, purple fringing in front of a subject and green behind, for example. This type is especially visible at wide apertures and on fast prime lenses.
2. Lateral (Transverse) Chromatic Aberration
Lateral CA shows color separation across the frame, changing with focal length and worsening toward the edges. Straight lines may split into red and blue outlines at the corners; stopping down the aperture won’t always help because this relates to the lens’s geometry and magnification.
What Causes Chromatic Aberration in Photography?
 Causes stack together; some are mechanical, some are situational. Understanding each helps pick the right fix.
Lens design and materials: Older or cheaper lenses without low-dispersion glass show more color fringing. Modern lenses with low-dispersion elements reduce it.
Wide apertures and high-contrast scenes: Using a wide aperture or shooting high-contrast edges (like bright sky against dark branches) makes color fringing more noticeable.
Focal length and image magnification: Telephoto and zoom lenses can increase fringing, especially at long focal lengths and near the edges of the frame.
How to Avoid the CA Effect in Photography?
 Small shooting choices often prevent a problem that editing later tries to hide.
1. Use High-Quality Lenses with Low-Dispersion Glass
Invest in optics labeled ED, SD, or fluorite for critical work; these minimize wavelength separation. Prime lenses often outperform consumer-grade zooms in controlling chromatic aberrations.
2. Adjust Aperture Settings
Stopping down one or two stops reduces longitudinal CA and increases overall sharpness. When fringing appears in portraits at f/2.8, consider f/4–f/5.6.
3. Minimize High-Contrast Compositions
Recompose or expose to avoid shooting directly into very bright backgrounds. A small change in angle can eliminate the worst fringing.
4. Use Lens Corrections in Camera Settings
Mirrorless and higher-end DSLRs sometimes apply basic CA correction to JPEGs in-camera; use RAW plus in-camera correction previews to check the impact.
5. Keep Subjects Centered in the Frame
Lateral CA is worse near edges. In many lenses, placing critical details closer to the center reduces colored splitting.
How to Correct Chromatic Aberration in Photography?
Photo editing usually combines manual tweaks with fast automatic tools, and both are valuable. Working with RAW files gives the most room for correction, so always inspect at 100% before and after edits. Even those new to editing will find a good photo editor on PC helpful, thanks to built-in automatic lens corrections.
Manual Correction Techniques in Editing Software
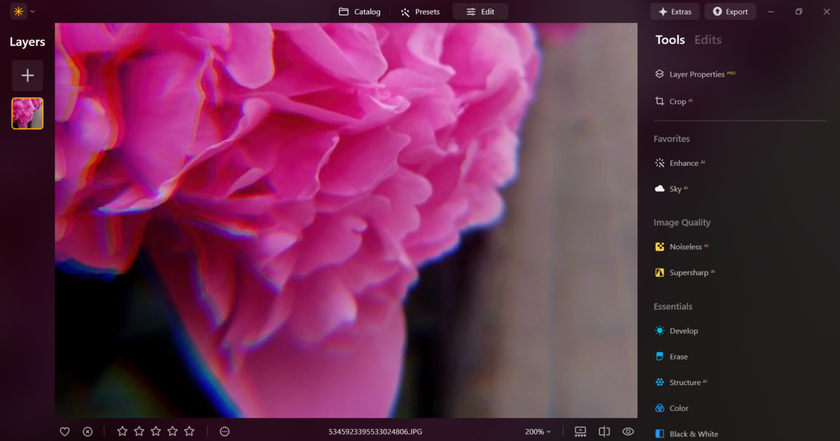
When precision is required, follow these step-by-step actions in Luminar Neo to remove fringe without harming nearby tones:
Open the RAW file in Luminar Neo and zoom to 100–200% to identify exact problem areas.
With the brush, add a narrow local mask over the colored rim; keep feathering low so only the fringe is targeted.
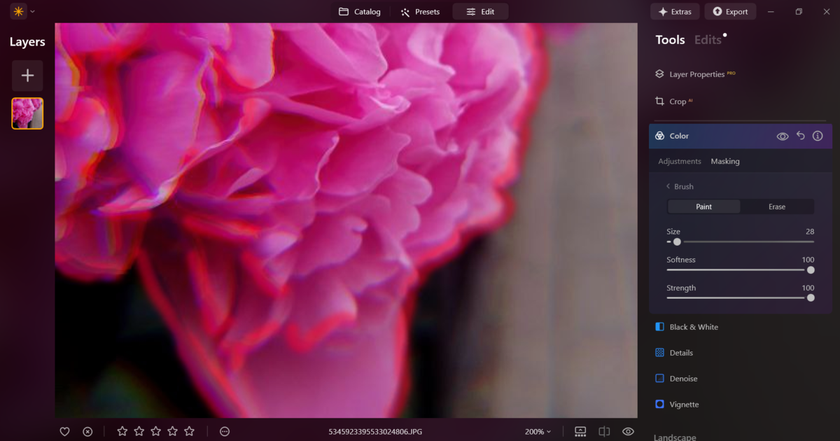
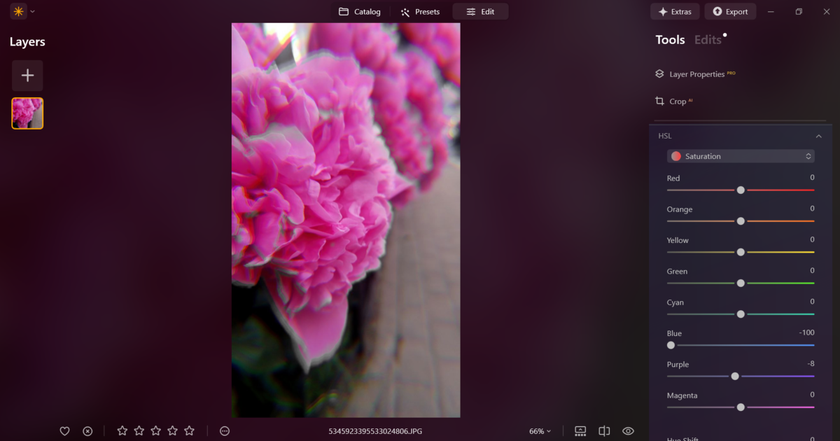
In the masked layer, use HSL/Color controls to sample the fringe hue (purple/green) and reduce its saturation; if skin tones are nearby, slightly raise luminance instead of full desaturation.
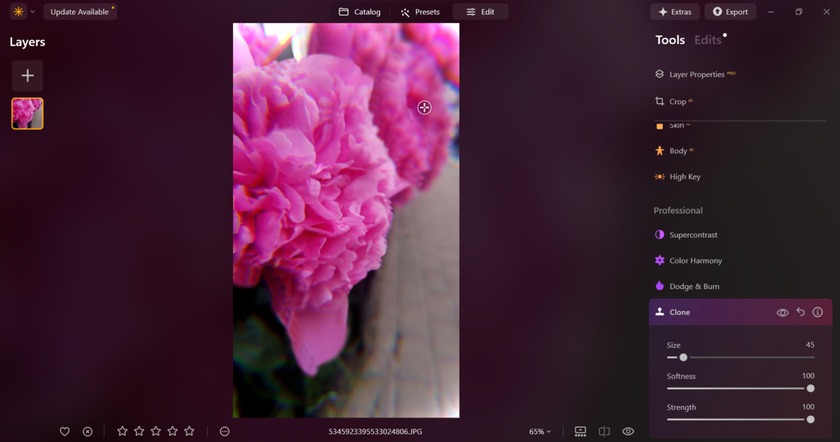
Use the Clone tool on small brush sizes for tiny, stubborn spots. Sample a neutral adjacent pixel and blend with low opacity.
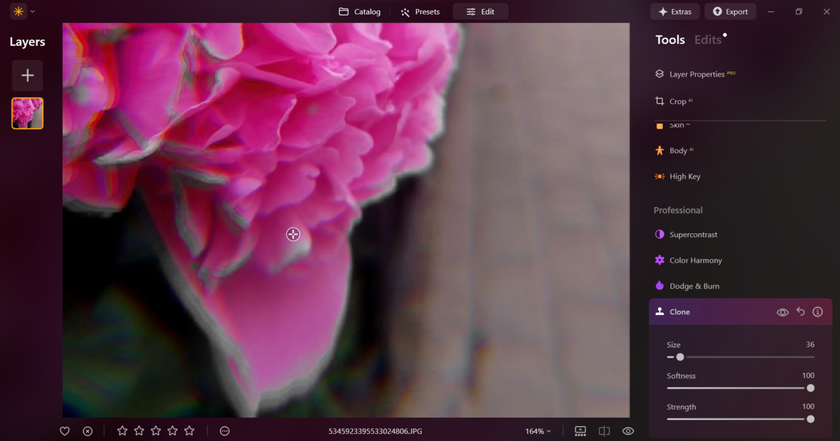
Toggle the mask and view at normal size to confirm the correction looks invisible.


Automatic Tools for Removing Chromatic Aberration
For speed and consistency, run Luminar Neo’s automatic routines first and then verify:
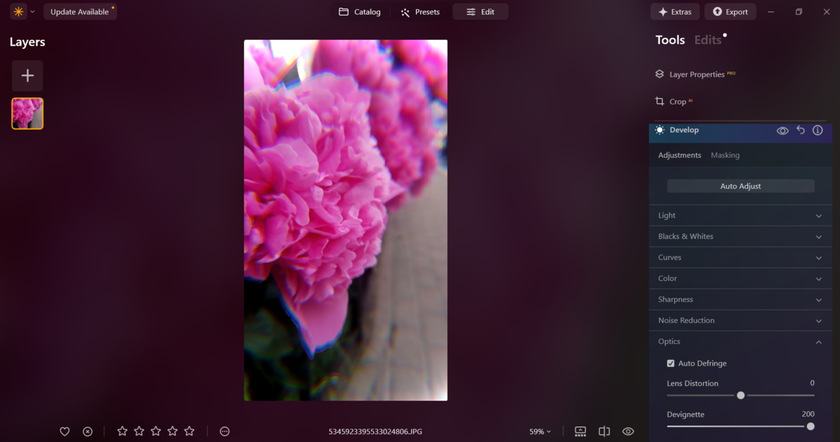
In the Develop tool, navigate to Lens Corrections and select “Remove Chromatic Aberration” for a quick, conservative fix.
Batch-apply the auto correction across similar frames, then spot-check samples at 100%.
If images are noisy, use image noise reduction (noise can trigger false positives), then re-run CA removal.
Finish remaining trouble spots with the manual masked Clone tool.


Using automatic tools combined with a few quick manual tweaks delivers natural results while saving time. Still, photo editing software for beginners, like Luminar Neo, is a go-to option, since it fixes these issues quickly without requiring complex technical steps.
Wrap-Up
Chromatic aberration doesn’t have to ruin a great shot. With the right lens, a mindful approach to aperture and composition, and a few smart edits in post, those distracting fringes disappear. The best part is that once you know how to spot and manage it, your photos instantly look sharper, cleaner, and more professional. Put these techniques into practice, and what used to feel like a flaw becomes just another detail you know how to handle with confidence.
FAQ
Is it easy to fix chromatic aberration?
Most of the time, chromatic aberration disappears with automatic fixes or a couple of quick edits. When the edges are more stubborn, you might need to dive into manual tweaks like channel adjustments or masking.
How to eliminate chromatic aberration?
Use low-dispersion optics, stop down the aperture, reframe high-contrast edges, and apply targeted edits or automated removal in photo editors.
Why does a purple appear in my photos?
Purple fringing is a sign of longitudinal CA where blue and red channels are misfocused relative to green, often near blown highlights.
What causes chromatic aberration?
It is caused by optical dispersion in lens elements combined with lens geometry and shooting conditions (wide apertures, high contrast, long focal lengths).