What Is Exposure In Photography: Break It Down With Ease
September 03, 2025
Before mastering photography, you need to understand what is camera exposure and why it matters.
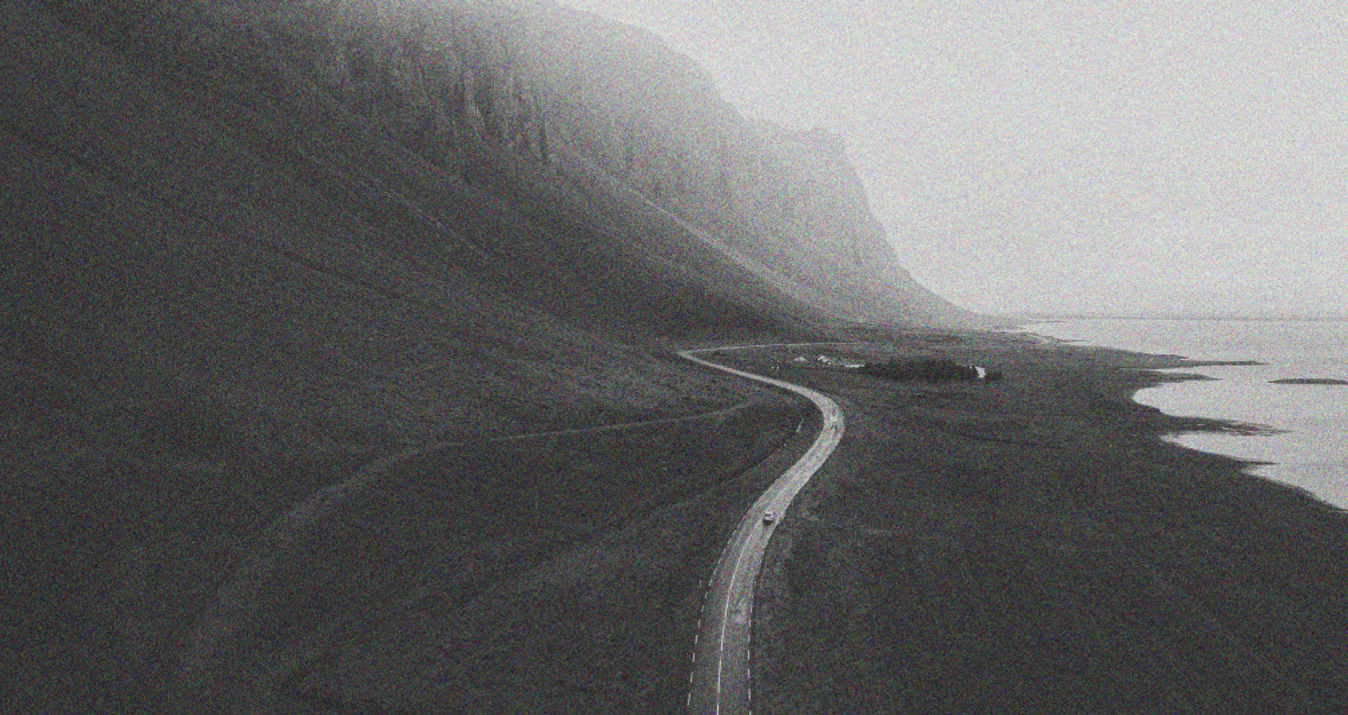
When I first picked up a camera, exposure felt like a secret code. Over time, I learned it was less of a mystery and more of a set of choices. Light balance decides whether a photo looks bright and airy or dark and moody. In this article, I’ll walk you through exactly what exposure is and the practical steps I use every time I shoot. I start here because exposure meaning photography is the foundation. If you understand that simple idea, everything else clicks.
The Exposure Triangle: Real, Useful, and Simple
If you ask me to define exposure in photography, I say it’s the photographer’s control over that recorded light and its creative outcome. To keep it simple, here’s a quick table of the main settings and what each one does.
Term | Short plain meaning |
Aperture | Size of lens opening. |
Shutter speed | Time sensor is exposed. |
ISO | Sensor sensitivity. |
Exposure value (EV) | Combined light value. |
The table gives the basics, but seeing how aperture, shutter speed, and ISO actually affect your shots makes them easier to understand and use.
Your AI-Powered Photo Editor for MacOS and Windows
Discover Now!Aperture: How I Shape Light
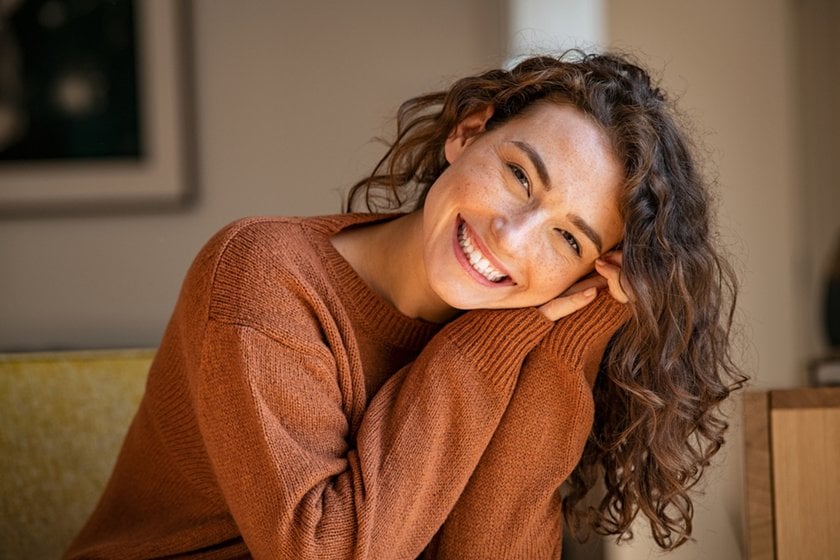
Aperture is the hole inside my lens that lets light in. I can make it bigger or smaller, and this changes two things at once: how much light hits the sensor and how much of the background is blurry. A big hole, like f/1.8, lets in lots of light and makes the background soft and creamy—perfect for portraits. A small hole, like f/16, keeps almost everything in focus but lets in less light.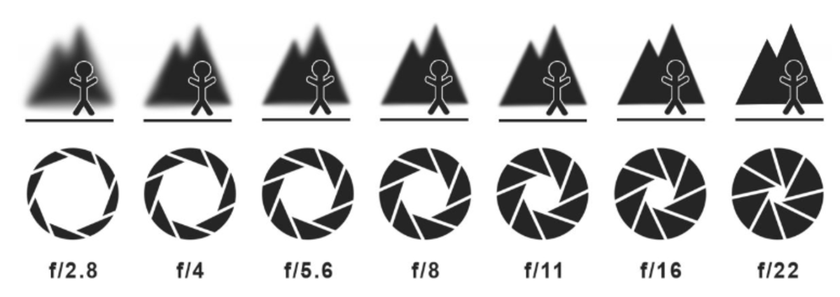
For example, when I take a portrait, I often shoot at f/2.2, 1/200s, ISO 100. This gives a nice, blurred background while keeping the subject sharp. If I want my subject to pop more, I open the aperture wider and then raise my shutter speed to avoid overexposure.
When I photograph a group of friends, I’ll close the aperture to f/8 so everyone stays in focus, and for macro shots or flowers, I usually pick something around f/5.6 to f/11 to make sure the tiny details are crisp.


Shutter Speed: Freezing Or Motion
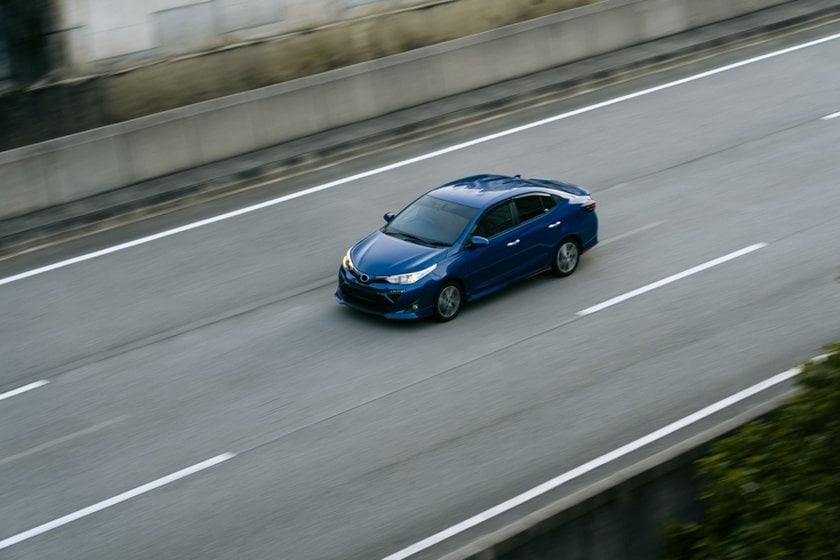
Shutter speed is how long the camera’s sensor sees the light. A fast shutter freezes motion, while a slow shutter can make movement look smooth and flowing. I decide on shutter speed depending on what’s happening in front of me.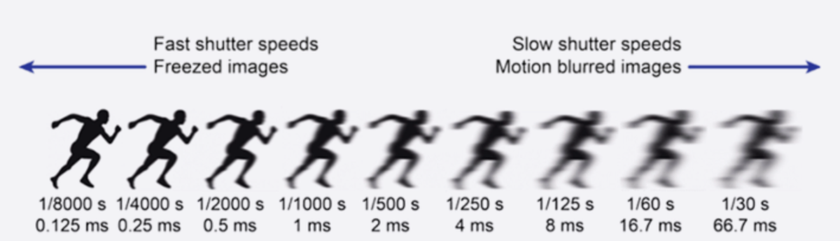
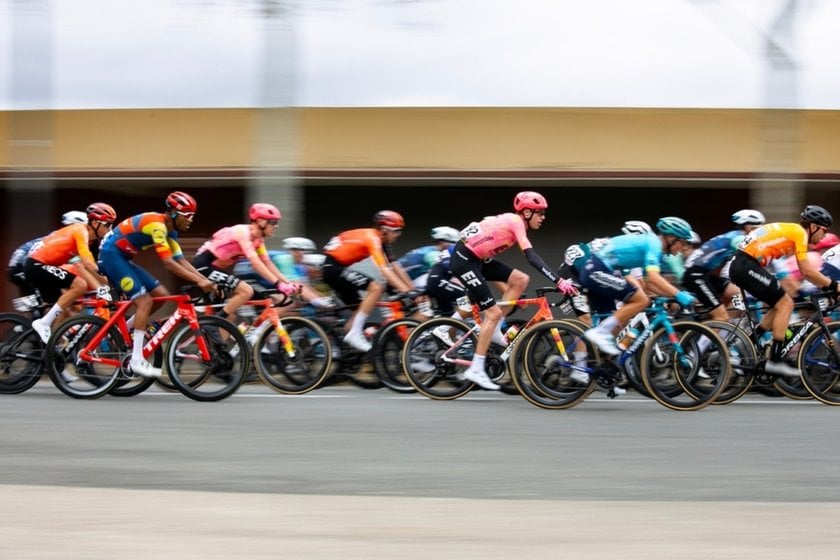
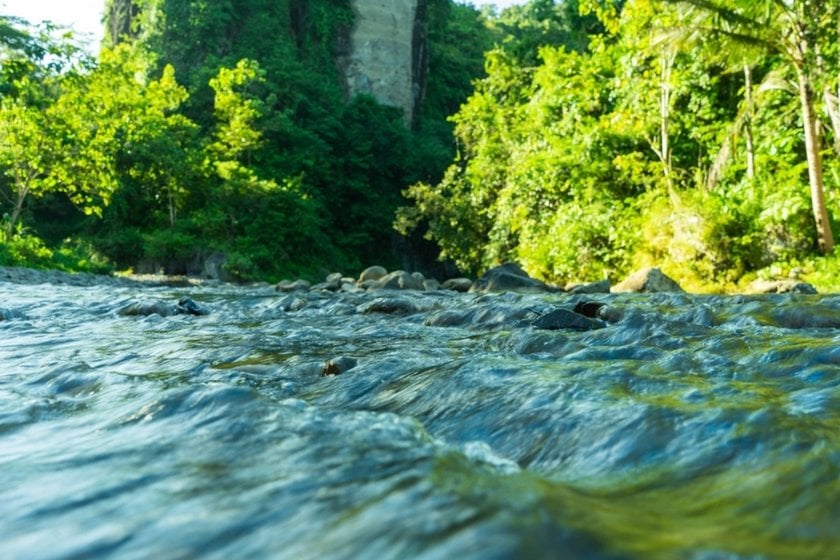
For instance, if I’m photographing a bike race, I’ll use 1/1000s and ISO 200 to freeze the riders. If I want flowing water to look silky, I might use 1/4s on a tripod to capture motion blur. It’s all about choosing the speed that matches the scene.
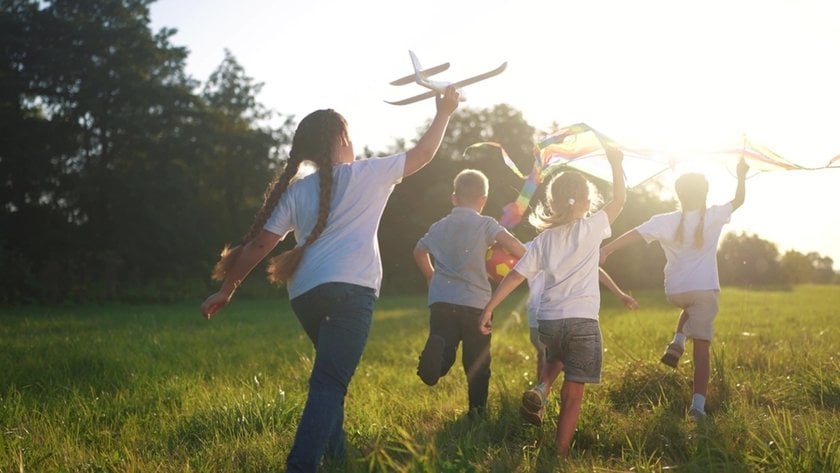
Sometimes I pan with a moving subject at 1/60 or 1/125s to blur the background but keep the subject sharp, which works well for kids running or cars passing by. Even at evening city streets, I can handhold at 1/30 or 1/60s with stabilization, capturing ambient light without introducing too much shake. The key is matching the speed to the effect I want in the photo.
ISO: Sensitivity That You Can Trade
ISO controls how sensitive the sensor is to light. Higher ISO makes the photo brighter but can add grainy noise. I only raise it when I need to. My camera can go up to ISO 25600, but I usually avoid that unless absolutely necessary.
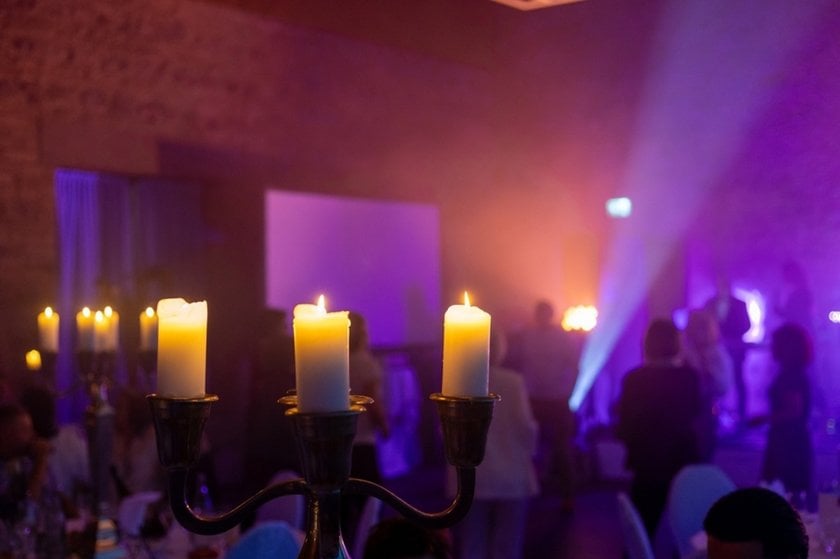
Here’s a key thing: ISO doesn’t technically change how much light comes in through the lens, but it still affects the final brightness of the photo. You can also brighten or darken your image later in editing software, or by adding or reducing light in the scene itself.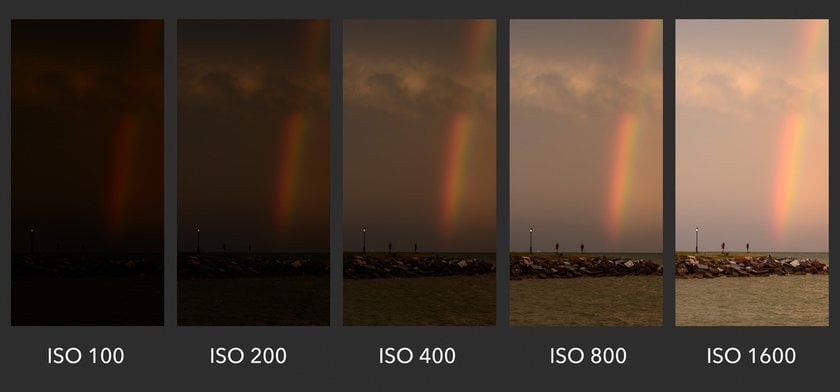 For illustration, at a dimly lit event, I might shoot at f/2.8, 1/60s, ISO 1600. The wide aperture and higher ISO let me capture the moment without motion blur, while keeping the image usable.
At concerts or theater shows, I sometimes push it to ISO 3200–6400 with a wide aperture to freeze action in low light. And at night, using a tripod, I can stick with ISO 100 and a long exposure, letting the sensor gather enough light without introducing noise. By combining aperture, shutter speed, and ISO thoughtfully, I can control both the brightness and the mood of each image, shaping the story I want to tell.
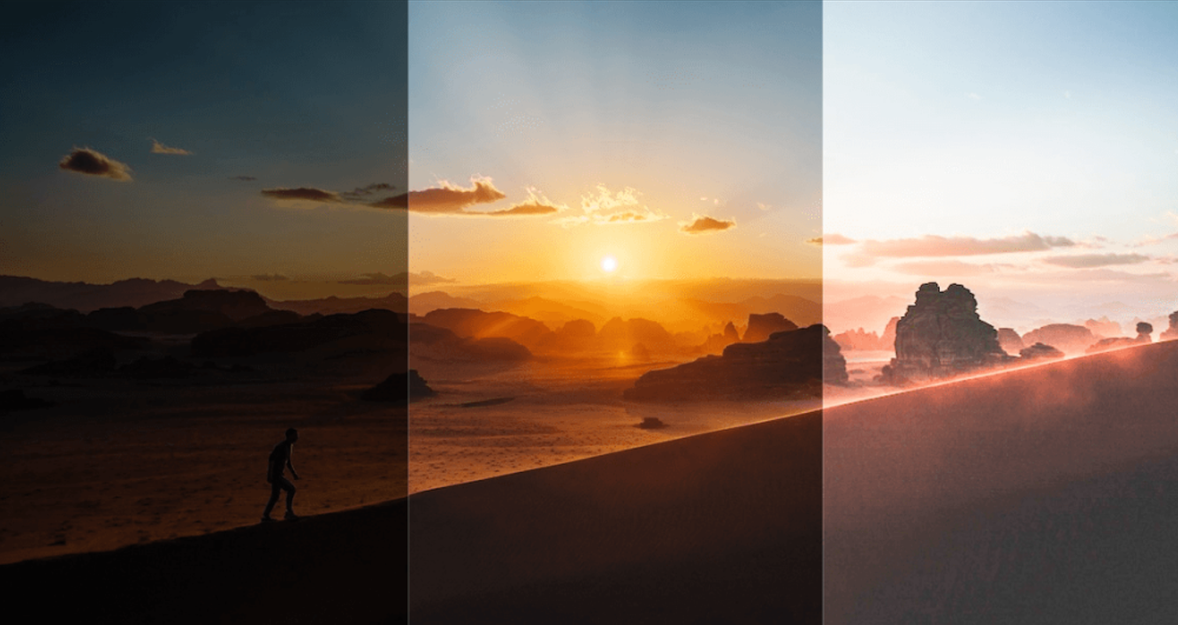
Types Of Exposure And Why They Matter
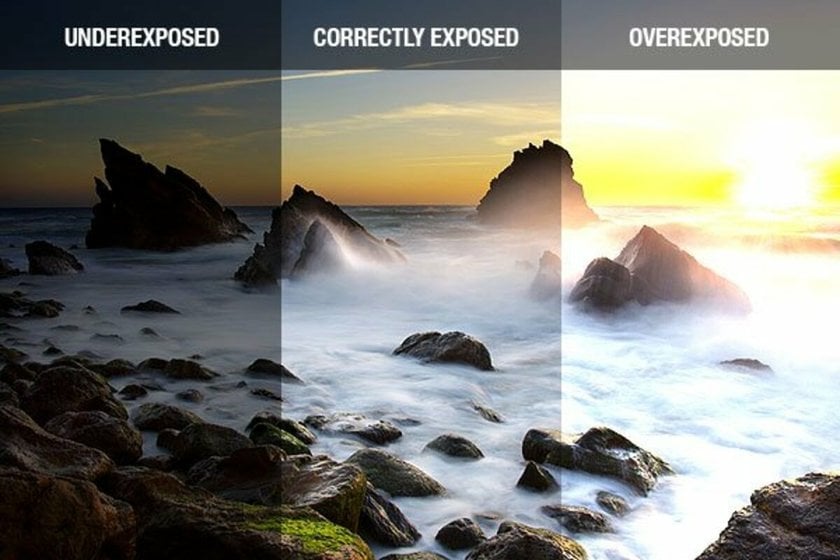 Novices used to think exposure only meant “bright vs dark.” Then they learned there are purposeful choices. There are deliberately overexposed images and purposely underexposed images.
Correct Exposure (Neutral)
This is when highlights and shadows contain useful detail. For archival or documentary work, I aim for a neutral light balance.
High-Key Exposure (Bright, Airy)
High-key images intentionally raise brightness levels. I blow some midtones and keep highlights readable. I use this style for clean product shots.
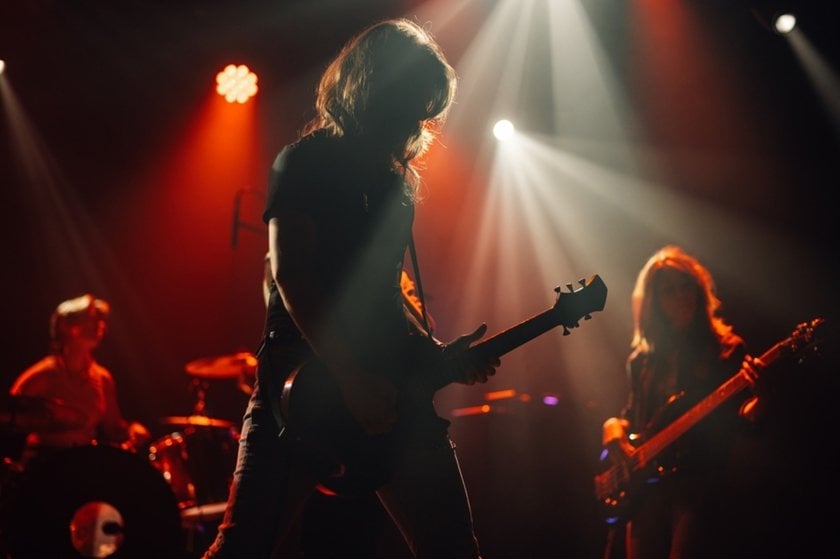
Low-Key Exposure (Moody, Dark)
Low-key keeps most of the frame dark, with a controlled highlight. I use this for dramatic portraits and stage photos.
When photographers talk about types of exposure in photography, these are the flavors to learn.
Metering, Bracketing, And Quick Fixes
Metering modes matter. I use center-weighted for portraits and spot for tricky highlights. Backlit scenes get me to use brightness adjustment often.
Exposure Compensation
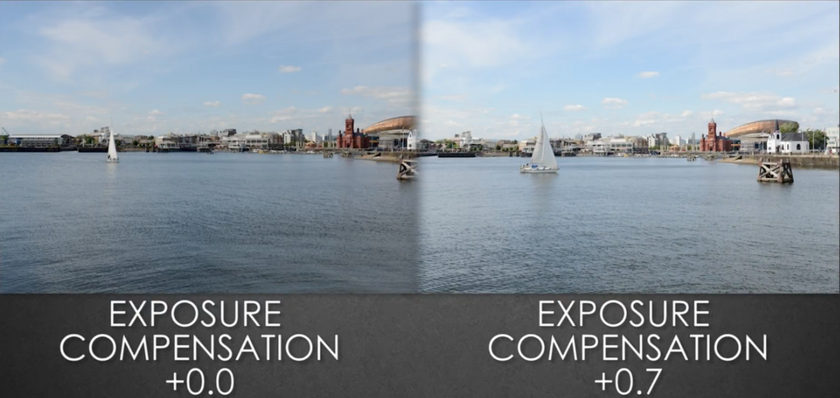 I dial in +1 or -1 stops when the camera’s meter lies. Snow scenes need +1. Backlit faces need +0.7.
Bracketing
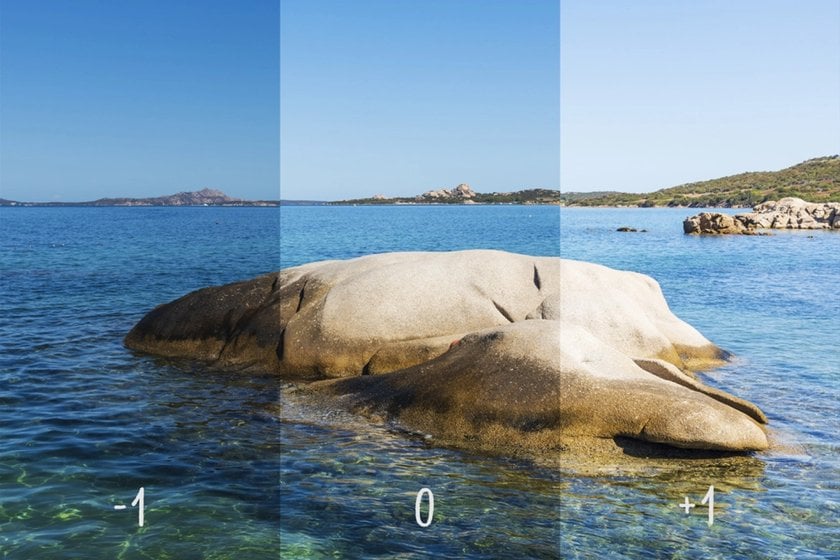 When light is dramatic, I take three frames at -1, 0, +1 stops. Later I pick the one with the best highlights. Bracketing is honest and simple.
How To Control Exposure In Photography While Keeping Creativity
Control is about deliberate choices. I rarely let the camera decide everything. I balance technique with intent.
Use manual mode when the meter can’t read the subject well.
Use ND filters to get slow shutter speeds in daylight.
Use flash or reflectors to add light where needed.
If you want to boost your mood after the shoot, you can also add lighting effects to photos. I use that when I want a signature rim light without extra gear. In my experience, how to control exposure in photography is part gear, part habit. I set defaults and then tweak.
The Editing Side: Small Fixes That Matter
I often rescue images by editing carefully. Editing is not cheating. It’s finishing.
Bring up midtones to show texture.
Use masks to protect highlights.
Increase local contrast to restore punch.
For tricky exposure situations, consider an HDR merge to combine multiple frames and capture both shadows and highlights naturally.
To make a background really pop, I often boost the color intensity of an image a bit. If a photo feels flat, I gently brighten it, for example, I like to use a photo brightener and then dial it back until it feels just right.
How I Avoid Common Exposure Mistakes
I’ve made them all. Here’s what I learned.
Check the histogram—the screen can be misleading in bright sunlight.
Watch for highlight blinkies to avoid blown-out areas.
Confirm shutter speed to match subject motion.
Lock the light settings if changing composition.
Keep ISO under control to preserve detail.
Double-check white balance after any exposure adjustments.
This checklist also explains how to properly expose a photo in real situations. It’s not a theory. It’s what saves me during weddings and quick sessions.
Practical Examples: Step-By-Step Scenarios
I’ve noticed that examples explain much more effectively how to set exposure on camera than rules do.
Sunset Silhouette
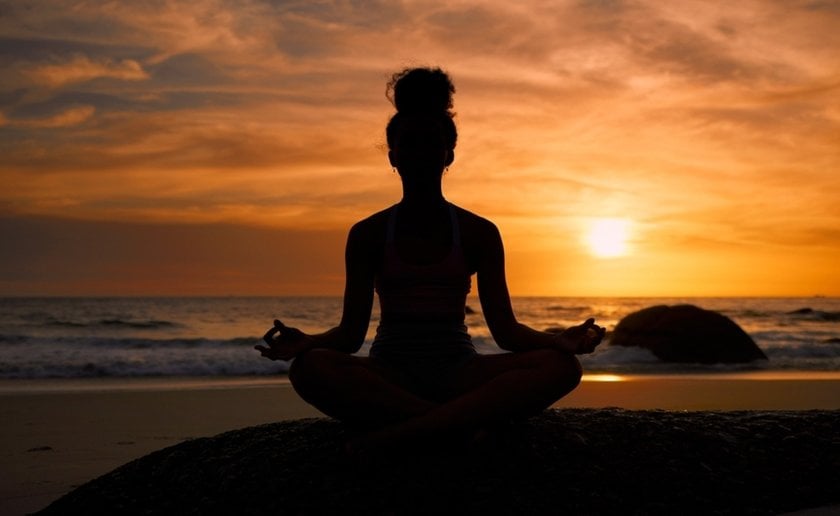
Frame your subject in front of a colorful sky. You can read more here on how to compose silhouettes effectively.
Switch to manual or aperture-priority mode so you can control depth of field while letting the camera handle exposure if needed.
Set the aperture to f/8 to keep some detail in the sky while letting the background shine.
Set the ISO to 100 to avoid noise in the colorful sky.
Adjust your shutter speed to expose the sky correctly; the subject will naturally turn into a silhouette.
Check your highlights and avoid overexposing the sky. Slight underexposure makes the colors richer and more vibrant.
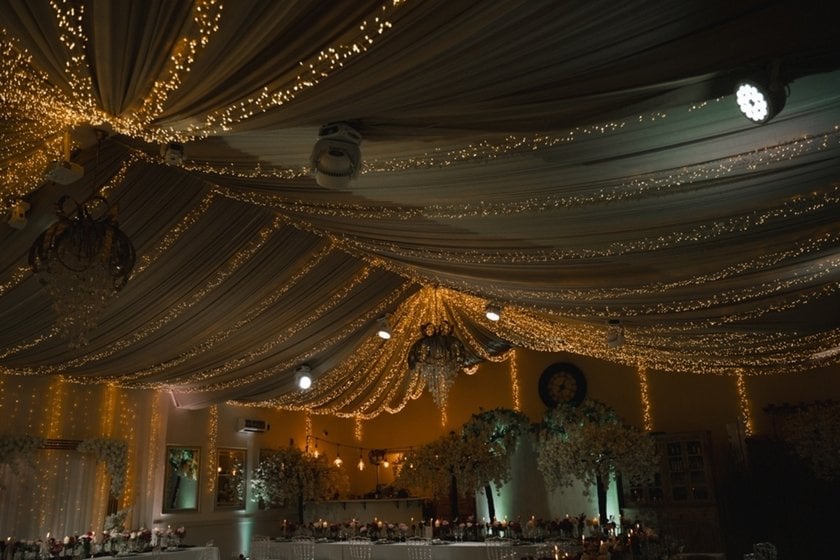
Indoor Family Shot At A Reception
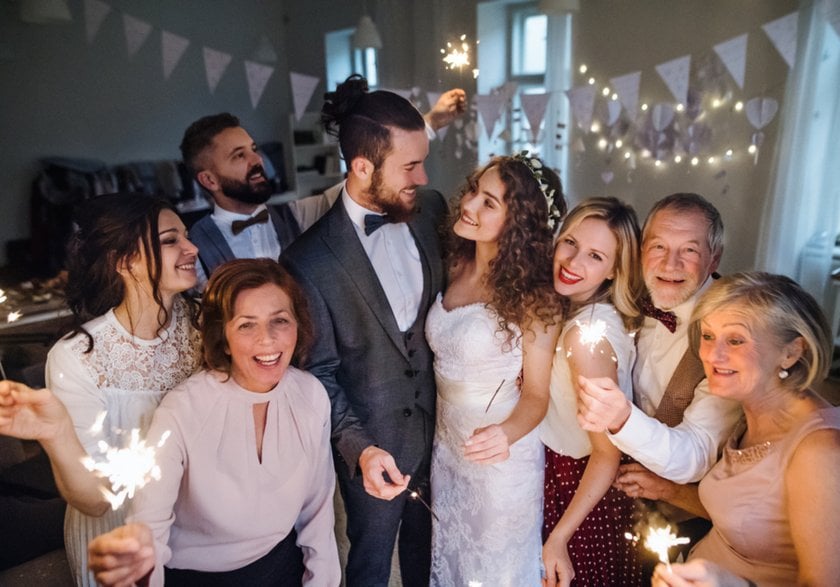
Position yourself where the light falls evenly on your subjects. If needed, use a reflector or off-camera flash for subtle fill light.
Switch to aperture-priority mode to control depth of field and keep faces in focus.
Open the aperture to f/2.8 to let in more light and create a slight background blur.
Set ISO to 1600 or adjust based on available light to maintain a fast enough shutter speed.
Use a shutter speed around 1/125s to freeze small movements without blur.
Take multiple shots to catch natural expressions, and check the histogram to ensure skin tones look natural.
Darken Your Images to Perfection with Smart Editing Tools
Give it a tryStreet Motion Blur
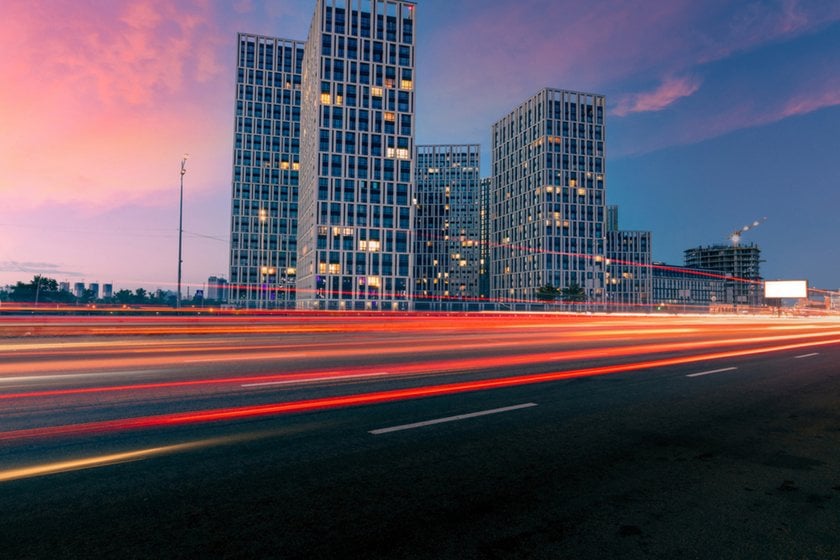
Use a tripod to stabilize your camera. You can read more about tripod setup for motion photography.
Switch to manual mode so you control both aperture and shutter speed.
Set the aperture to f/11 for enough depth of field and sharpness across the frame.
Keep ISO low, around 100, to reduce noise during long exposures.
Set a slow shutter speed, such as 1/4s, to blur moving objects like cars or cyclists.
Use an ND filter in daylight if the image becomes too bright. Focus manually if the camera struggles to lock onto moving subjects.
These show the best exposure settings photography I choose by scenario, not by blind rules.
What Exposure Controls For You
Brightness: how light or dark the image is.
Mood: bright vs moody.
Detail: whether highlights or shadows hold information.
Motion: frozen or blurred.
Understanding the list above helps you answer the question of what does exposure do to a photograph.
Final Thoughts
Mastering light begins with truly understanding exposure photography and how it shapes your images. Exposure stopped being scary for me when I practiced deliberate choices. I learned to balance light like mixing paint. When I want a quick mental checklist I use: mood, aperture, shutter, ISO, confirm. That sequence answers exposure photography definition in practical terms.
If you take away one idea, let it be this: light balance is a set of choices, not a single setting. Practice one scene three times at different light balances. Compare them. You will learn faster than by reading any rule.