May 27
12 min. to read
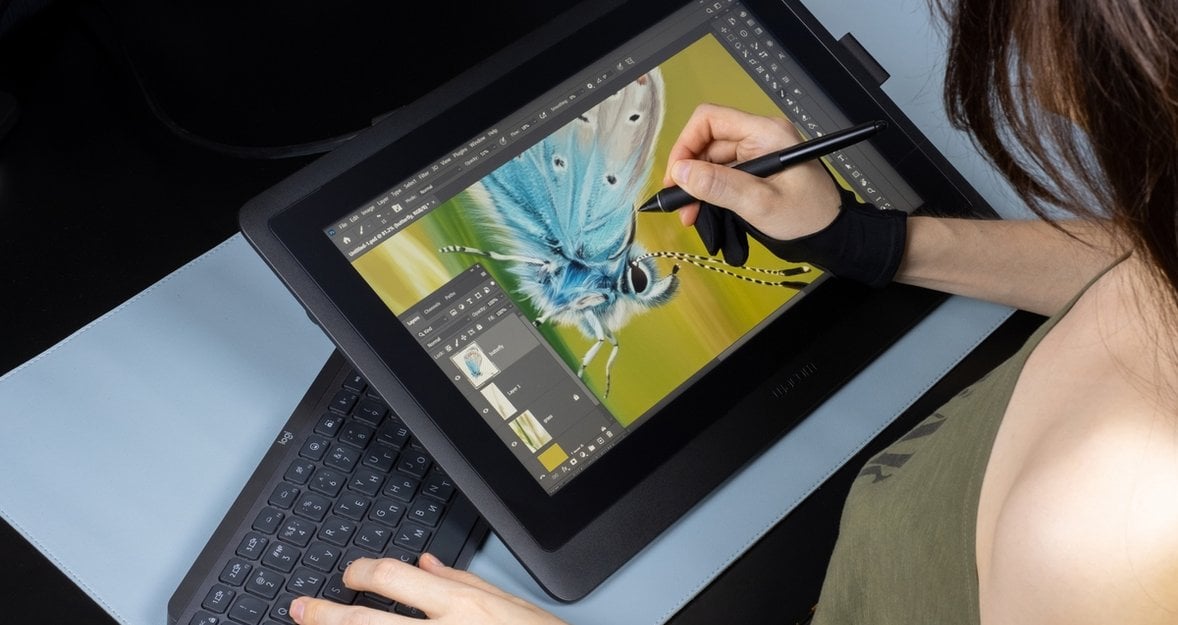
How to Resize a Layer in Photoshop: 3 Easy Ways
Layers in Photoshop are like transparent sheets stacked on each other, each holding a piece of your image—think text, a photo, or an effect. The beauty of layering is that you can tweak one without messing with the others. Need to fix something? That is no problem; just adjust that specific one without starting over.
In the Layers panel, you can shuffle their order, toggle visibility, adjust opacity, or play with blending modes. This setup lets you focus on one part of your image, like changing the color of a single object while leaving the rest untouched. If you’re wondering how to resize a layer in Photoshop, you’re in the right place.
Where Layers Shine in Photoshop Projects
 Layers are the backbone of countless creative projects in Photoshop. They give you the freedom to work on specific parts of your design without affecting the whole image. Here are some areas where they truly stand out.
Photo editing. Layers let you adjust brightness and contrast or apply filters to just one part of a photo, leaving the rest untouched.
Graphic design. When creating logos, banners, or marketing materials, they help you combine text, images, and shapes seamlessly.
Digital painting. Artists use layering to separate elements like backgrounds and details, making it easy to refine one part without ruining others.
Web design. They are key for tweaking website mockups, letting you edit individual elements with ease.
Animation. When you’re working on simple animations, they work like frames—letting you move and tweak each part exactly how you want.
If you’re new to photo editing, the Luminar Neo Plugin for Photoshop can enhance your workflow by adding AI-powered edits directly within Photoshop’s system.
Possibilities of Layers in Photoshop
 Layers aren’t just there to keep things neat—they open up a whole world of creative possibilities. Each one can hold its own part of your image, like a person in a photo, without affecting the background. This kind of separation is what makes Photoshop so powerful and flexible. Let’s take a closer look at all the cool things you can do with overlays.
Element separation. Work on one object, like resize a layer in Photoshop, without affecting the rest of the image.
Adjustment layers. These let you tweak colors or tones—like brightness, contrast, or hue—without altering the original image.
Masking. They mask hide parts of it without deleting them, perfect for non-destructive editing and precise control.
Blending modes. These control how layers interact, letting you create effects like darkening, lightening, or color overlays.
For tasks like excluding unwanted objects, check out the Luminar tool, which helps remove people from photos.
Advantages and Disadvantages of Using Layers
 Layers can totally change the game, but they also have their ups and downs. Let’s take a closer look at both sides of the Photoshop resize image in layer.
Advantages
Non-destructive editing. Make changes without altering the original image, keeping your work safe.
Flexibility. Move, hide, or tweak elements individually for ultimate creative control.
Easy organization. Manage complex projects by keeping each element on its own.
Advanced effects. Apply shadows, gradients, or textures to specific layers with ease.
If you’re curious about resizing entire images, not just the parts, "How to Resize an Image with Popular Tools” offers great insights.
Disadvantages
Complexity. For beginners, juggling multiple components can feel overwhelming, especially in projects with dozens of them.
Performance. Too many layers or large files can slow down Photoshop, particularly on less powerful computers.
Layer confusion. Without proper naming or grouping, it’s easy to lose track of which one does what.
To avoid confusion when blending multiple images, the guide on “How to Merge Images in Photoshop” provides tips on organizing and combining pictures effectively.
Main Methods to Resize a Layer in Photoshop
Ready to learn how to change the size of a layer in Photoshop? Here are three of the most popular ways to resize it—easy enough for beginners but powerful enough for pros. These methods will help you quickly make them bigger or smaller without any hassle.
1. Free Transform Tool
 The resize tool Photoshop users love most is Free Transform. It’s the go-to for quick and precise resizing. Here’s how it works:
Select the one you want to resize in the Layers panel.
Press Ctrl + T (Windows) or Cmd + T (Mac) to activate Free Transform.
Drag the corner handles to make it bigger or smaller. Hold Shift to keep proportions intact.
Press Enter to apply the changes.
This method is perfect for how to make a layer bigger in Photoshop or smaller, offering flexibility and speed.
2. Transform Controls
 For a more hands-on approach, Transform Controls lets you resize layers directly on the canvas. This is great for visual learners who want to see changes in real time. Here’s the process:
Select the layer in the panel.
Activate the Move Tool (shortcut: V).
In the top menu, check Show Transform Controls.
A bounding box with handles appears around it. Drag the handles to resize layer Photoshop style.
Click the checkmark in the top menu to confirm.
This method is ideal for those learning how to make a layer smaller in Photoshop without diving into menus.
3. Scale Tool via Transform
 For precise control, the Scale option under the Transform menu is your friend. It’s perfect for Photoshop scale layer tasks that need exact proportions. Follow these steps:
Select the one you want to resize.
Go to Edit > Transform > Scale.
Drag the handles to adjust the size, or enter specific values in the top menu for accuracy.
Press Enter to finalize.
This method shines for how to change layer size in Photoshop when you need pinpoint precision, like in professional graphic design.
If you’re resizing an image within a layer, "How to Resize an Image in Photoshop” offers additional tips for maintaining quality during scaling.
Common Mistakes to Avoid When Resizing Layers
 Change layer size Photoshop seems easy, but small mistakes can mess up your project. Here are common issues beginners run into:
Forgetting to hold Shift. This can stretch your image and distort proportions. Always hold Shift to resize evenly.
Not selecting the right layer. Make sure you’ve clicked the correct one in the panel before resizing.
Resizing multiple times. Repeated resizing of raster components can reduce image quality.
Skipping Smart Objects. Convert layers to Smart Objects before resizing to avoid losing sharpness or detail during transformations.
Knowing how to properly scale layer Photoshop helps you adjust your design without losing quality or detail.
Troubleshooting: Why Can’t I Resize My Layer?
 Sometimes, you might find yourself unable to resize layer in Photoshop, which can be frustrating. Here are a few common reasons why this happens:
Layer is locked. Check if it has a lock icon. Unlock it by clicking the padlock.
Background layer. The background one is locked by default. Double-click it to convert it to a normal one.
Layer isn’t selected. Make sure you’ve selected the correct one in the panel.
Using the wrong tool. Resize only works with the Move Tool or Free Transform, so activate those first.
Fixing these usually gets you back on track quickly!
Wrapping Up
Layers in Photoshop aren’t just tools—they’re the building blocks of every amazing project. They let you experiment freely, make precise edits, and work quickly to bring your vision to life. Whether you’re resizing a layer, touching up photos, or creating digital art, knowing how they work is a must.
Once you become familiar with tools like Free Transform, Transform Controls, and Scale, resizing will feel natural and easy. So open up Photoshop, dive into your layers, and watch your creative ideas come alive right before your eyes!
FAQ
How Do I Resize One Image Layer in Adobe Photoshop?
As described in previous sections, resizing a single layer using a Free Transform tool is easy. Can I Resize Multiple Layers in Photoshop at Once? No, if you use Photoshop to resize layers, they should be adjusted separately. What's the Difference between Resizing a Layer and Scaling It? Resizing refers to altering dimensions. Scaling the layer in Photoshop refers to changing the size while keeping the proportions. How Can I Use Photoshop to Resize Images in Layers without Affecting Quality? Usually, the quality is not affected if you change the layers' size in Photoshop using one of the two methods described above. But certain factors should be considered, including the picture resolution — it should be no less than 300 pixels per inch. The next recommendation is to convert the object you work with into a smart object for non-destructive editing.
Can I Resize Multiple Layers in Photoshop at Once?
No, if you use Photoshop to resize layers, they should be adjusted separately. What's the Difference between Resizing a Layer and Scaling It? Resizing refers to altering dimensions. Scaling the layer in Photoshop refers to changing the size while keeping the proportions. How Can I Use Photoshop to Resize Images in Layers without Affecting Quality? Usually, the quality is not affected if you change the layers' size in Photoshop using one of the two methods described above. But certain factors should be considered, including the picture resolution — it should be no less than 300 pixels per inch. The next recommendation is to convert the object you work with into a smart object for non-destructive editing.
What's the Difference between Resizing a Layer and Scaling It?
Resizing refers to altering dimensions. Scaling the layer in Photoshop refers to changing the size while keeping the proportions.
How Can I Use Photoshop to Resize Images in Layers without Affecting Quality?
Usually, the quality is not affected if you change the layers' size in Photoshop using one of the two methods described above. But certain factors should be considered, including the picture resolution — it should be no less than 300 pixels per inch. The next recommendation is to convert the object you work with into a smart object for non-destructive editing.
 >
>
