February 17
10 min. to read
What Is 3 Point Lighting And Setup How-To Guide
Want to create studio-quality lighting without expensive equipment? The three-light setup photography technique adds depth, dimension, and drama to portraits, product shots, and even videos. It’s a go-to method in professional studios, but the good news is—you can easily recreate it at home.
In this guide, we’ll walk you through the setup step by step, so you can achieve professional-looking results with minimal effort!
What Is 3 Point Lighting
It is the basic principle of photography and videography, whereby it develops well-balanced and flattering subject lighting. Basic 3 point lighting setup includes three main light sources:
key light,
fill light,
and backlight.
These lights all play a different role in bringing out the best in the subject by removing harsh shadows. This technique is widely used for professional portrait shots and adds depth and dimensions to scenes.
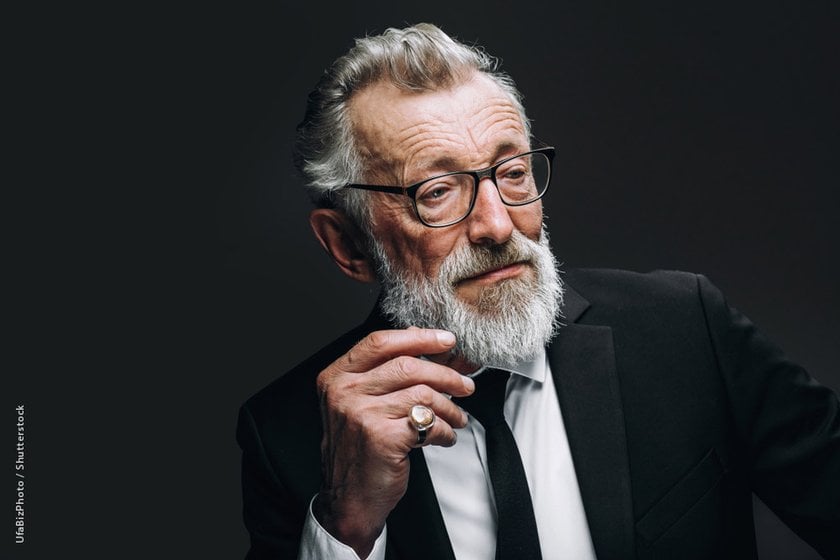
Key Light

The main source of illumination used in three-point lighting is the key light. It provides the most exposure to the subject and defines the general characteristics of the scene. The key luminary is placed at an angle of 45 degrees to the subject and can be positioned above eye level to appear natural.
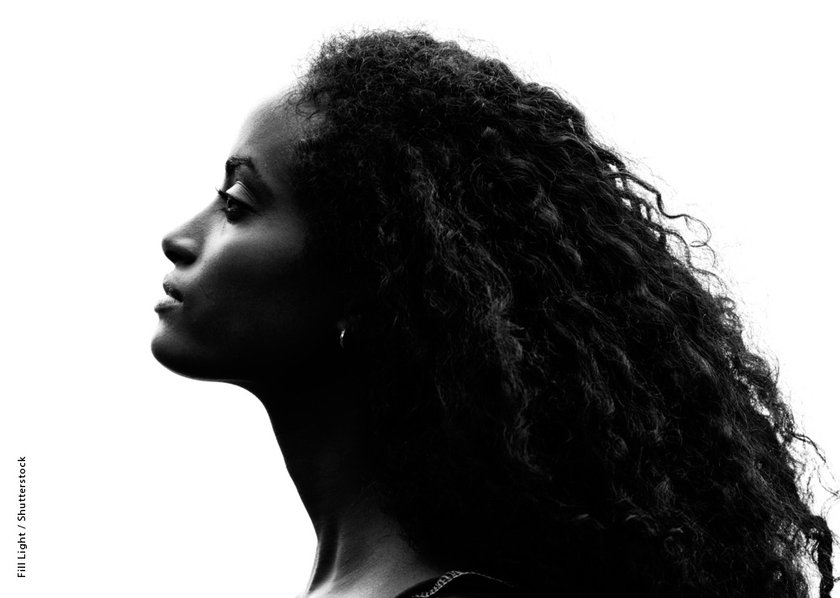
Fill Light
The fill light serves to soften the shadows that the key creates, so the features of the subject remain visible but without harsh contrasts. Opposite the key is usually placed at low intensity to avoid overpowering the main light. This can be a softbox, a reflector, or another lighting device with variable intensity.
For optimal results, consider exploring Luminar Neo Studio Lights, which provide versatile options for achieving professional-grade illumination. Its primary function is to provide even lighting across the subject without flattening the overall image.
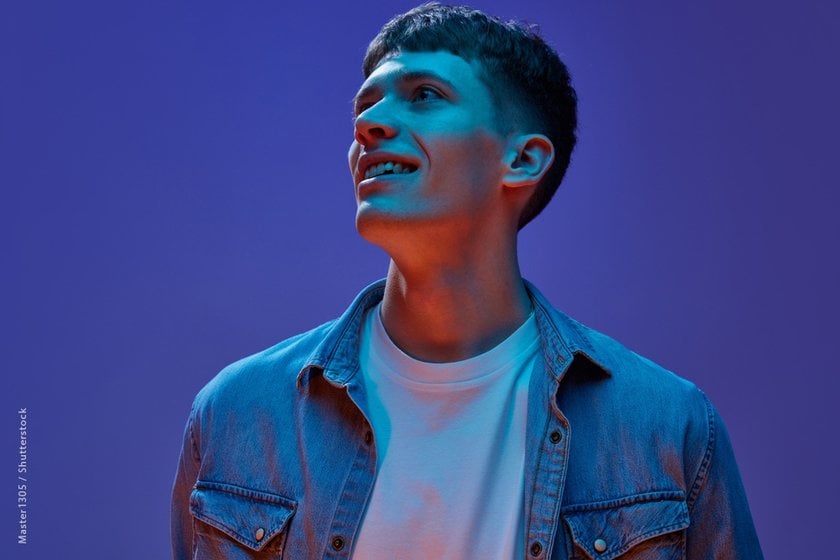
Backlight
Putting a backlight behind your subject separates the subject and the background. Adding the key light, fill light, and backlight together gives an overall depth and dimension to your image. The backlight can be set just to the side to avoid directly illuminating the subject, instead casting a rim of light around the edges. A hard or hair illumination is often used to underline the subject’s outline, adding depth and a professional look to the shot.
Setting Up Your Three-Point Lighting

The 3 light studio setup is one of the most powerful techniques that help in professional quality images, especially in 3 light portrait photography. By accurately positioning three lights, you can create depth, emphasize details, and eliminate sharp shadows. Herein is a 3 point lighting diagram on how to set up studio lights effectively.
Position the key light. Set your key light first. This is the main illumination source, and it is usually the brightest. A 45-degree angle to your subject, above the eye level, creates depth and natural-looking shadows. It is the most critical lighting in the setup, as it dictates the overall exposure and mood.
Add the fill light. Fill light on the opposite side of the key but at the same 45-degree angle, at reduced power. The fill softens the shadow from the key so that the subject features are viewable, yet there will be no flat light. For this role, you could use a reflector, another softbox, or a dimmable lamp. Place and adjust its position and brightness to hold contrast without overwhelming the key light. Consider researching some studio lighting tools to finesse your setup for advanced tips.
Set up the backlight. Place the backlight, or hair one, behind the subject, higher, and angled down toward the head. It separates the subject from the background with a slight light rim, adding depth and dimension. A hard or directional radiation source is used to illustrate the contours of the subject with precision.
Adjust and test. With all the lights up, start balancing their intensities- the key dominates, fill balances out the shadows, and backlight thinly contours the edges. Do test shots and adjust the angle and brightness until you find just the right balance.
This setup is ideal for achieving a professional 3 point lighting portrait, ensuring your subject is well-lit, with balanced shadows and a sense of depth that enhances the overall composition.
Three-Point Lighting Examples
Here are some specific 3 point lighting examples to help you understand its applications:
Portrait photography. In portrait sessions, this is the key light usually used to illuminate a subject’s face, mostly using a softbox to create flattering shadows. The fill balances out the shadows, and the backlight creates a 'halo' effect behind the subject, adding some depth. For creative ideas and poses, explore studio portrait photography ideas.
Product pictures. For products, the key light presents the item’s primary features, the fill reduces harsh shadows, and the backlight defines the shape of the product, ensuring it stands out against the background. This setup emphasizes details and textures, making it essential for those working in a home photography studio.
Cinematic scenes. In video production, the key light sets the scene’s tone, the fill one ensures balanced exposure, and the backlight separates actors from the background. It creates depth and enhances storytelling.
Interviews setup. In interviews, the key would be on the face of the speaker, fill light softens the shadows, and subtle separation is achieved by backlight to create a polished professional look.
These examples show how this technique can be adapted for portraits, products, videos, and interviews for professional results.
Wrap-Up
Three point lighting definition means the setup involves one key, one fill, and one back, each contributing its value uniquely to shaping the shot. Now, you can better understand how to set up studio lights. Begin by positioning the key light at a 45-degree angle to your subject to provide the primary illumination. Then, place the fill one on the opposite side at a lower intensity to soften shadows. Lastly, set up the backlight behind the subject to create separation and add depth to your image. This will give your pictures a professional and well-balanced look.
FAQ
Why is three-point lighting important?
Three-point lighting is a flexible and detailed approach to capturing a subject in photography. It involves three different sources of light: key light, fill light, and backlight, which create depth, dimension, and balance. This technique helps reduce unpleasant shadows, brings out the best in facial features, and adds a professional look to photographs and videos.
Can I get a studio light effect in post-processing?
While this could be enhanced with post-processing tools, it’s tough to get that true studio light effect with just editing. While post-processing can adjust brightness, contrast, and shadows, it can't replicate the subtlety and quality of lighting only a physical studio can offer. Proper initial lighting is crucial for high-quality results, and post-processing should be used for refinement, not as a primary solution.
Can I use natural light for three-point lighting?
Yes, three-point lighting can be done with natural illumination. The key light might be a general source of natural light, such as sunlight through a window. Reflectors or diffusers soften the shadows to create the fill light, while another source or a reflector separates the subject from the background as the backlight.
 >
>
