September 18
11 min. to read
Luminar NEO: How To Use Studio Light Tool
 However, not all photographers have the technical and financial abilities to own or rent a studio with perfect lighting equipment. Does it mean that the doors to the
studio light photography are closed to them? Not at all! In today's digital age, where the boundaries of what is achievable with a camera continue to expand, numerous helpful photo editing tools, including AI-based ones, will incorporate all the benefits of it in your images with a few clicks.
The given article dives deeply into Studio Light photo editing tools. It gives you a step-by-step guide on how to use the Luminar Neo's Studio Light tool to set your creativity alight in all senses of this word!
What Is Studio Lighting?
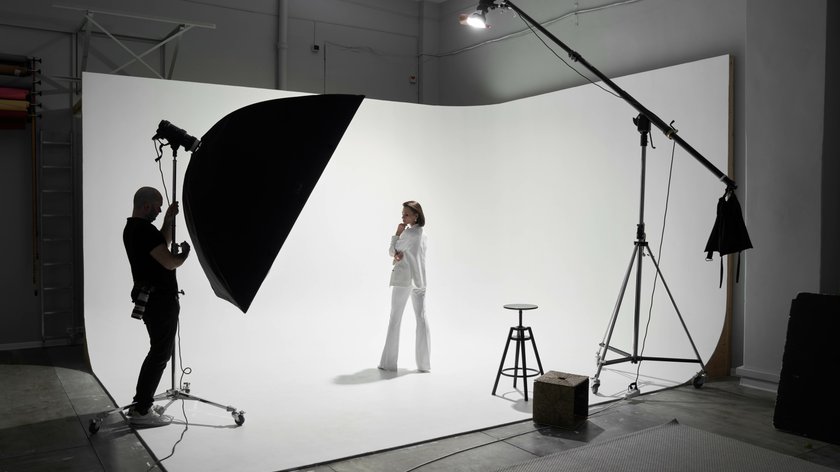
Studio lighting refers to the controlled use of artificial light sources in a studio environment to illuminate subjects, scenes, or objects being photographed or filmed. It is a fundamental aspect of photography and cinematography, particularly when precise control over lighting conditions is essential to achieve specific creative or technical objectives.
Studio light photography is used in various fields, from portrait and product photography to moviemaking and video production, where precise control is essential for achieving the intended artistic or technical objectives.
It is more than just setting up a few lamps and pointing them at your subject. It's a nuanced art that involves manipulating light to achieve a desired mood, eliminate shadows, and accentuate details. Whether you're shooting portraits, products, or still life, the proper brightening is one of the key factors that distinguish professional photos of good quality from the average pics of amateurs. For more information, check out our article on how to set up studio lighting.
But what if there are other options than having your studio? It doesn't mean that the quality of your pictures should suffer. Modern-day technologies are here to give you a helping hand. The following section will explain how modern editing tools substitute the studio light.
Studio Light Is A Few Clicks Away
 Studio light editing tools are software-based solutions designed to give photographers unparalleled control over highlights and shadows, even after the photos have been taken. These tools adjust studio lights' intensity, temperature, angle, and color, allowing for fine-tuning and creative enhancement.
Photographers can correct exposure issues, eliminate unwanted shadows, enhance highlights, and manipulate the overall mood of an image using these tools. Whether aiming for a soft, ethereal look or a bold, dramatic one, studio light editing tools are your artistic palette.
Professional photographers and hobbyists love Luminar Neo's Studio Light tool. Its user-friendly interface makes it accessible to photographers of all skill levels. The software allows photographers to make precise adjustments to every aspect of studio lighting, from the direction and angle to the warmth and intensity of the illumination sources, producing realistic and natural-looking results.
Luminar Neo seamlessly integrates with various image editing workflows, ensuring you can use it alongside your preferred photo editing software. This flexibility is crucial for photographers who have established workflows and preferences. This photo editing tool streamlines the editing process, allowing photographers to achieve exceptional results in less time. This efficiency is particularly valuable for professionals who need to meet tight deadlines.
Replicate Studio Light Effortlessly
Discover Luminar NeoIn the following section, let's look at the step-by-step guide on using the Luminar Neo's Studio Light tool.
Luminar Neo’s Studio Light Tool Step-by-Step
In this step-by-step guide, we'll walk you through using this tool to elevate your photography to new heights. After trying a few times, you will learn how to improve your photos in a few clicks.
Step 1. Import Your Image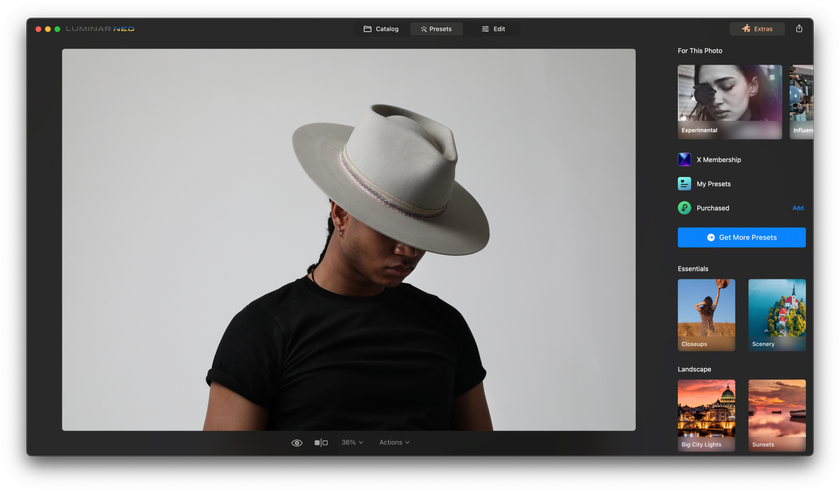

Begin by opening Luminar Neo and importing the image you want to work on. The Studio Light Tool can be applied to various photographs, from portraits to product shots. Ensure your image is well-composed and ready for enhancement.
Step 2. Access The Studio Light Tool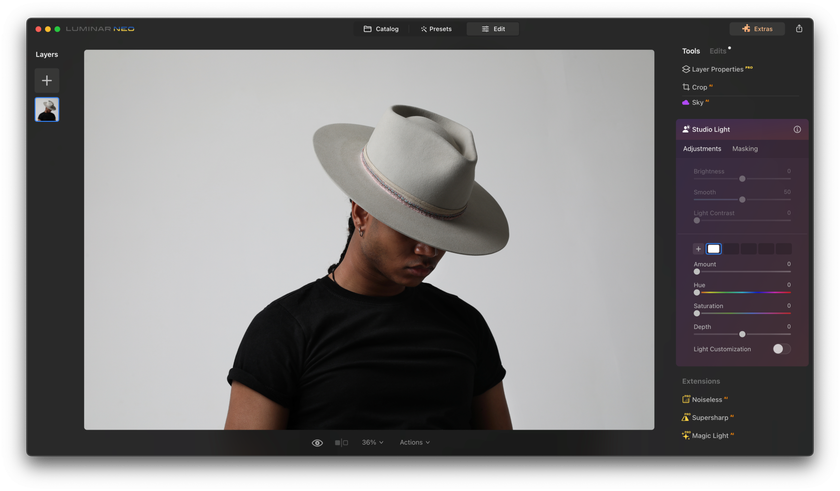

Once your image is loaded, navigate to the Studio Light Tool. Depending on your software version, it's usually found in the "Editing" or "Adjustments" panel. Click on it to access the tool's controls.
Step 3. Adjust The Key Light 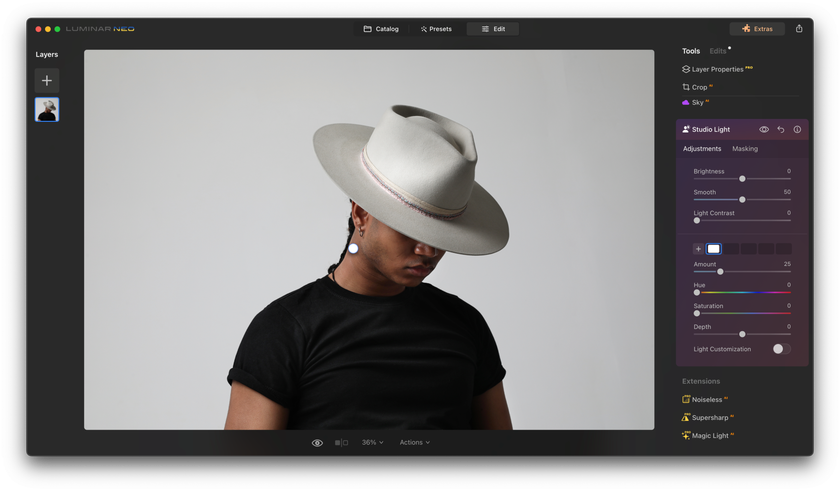

The key light is the primary source of illumination in your image. Start by adjusting its position, angle, and intensity. Luminar Neo's intuitive interface allows you to click and drag to reposition the key light, ensuring it highlights your subject exactly as you envision.
Step 4. Fine-Tune The Fill Light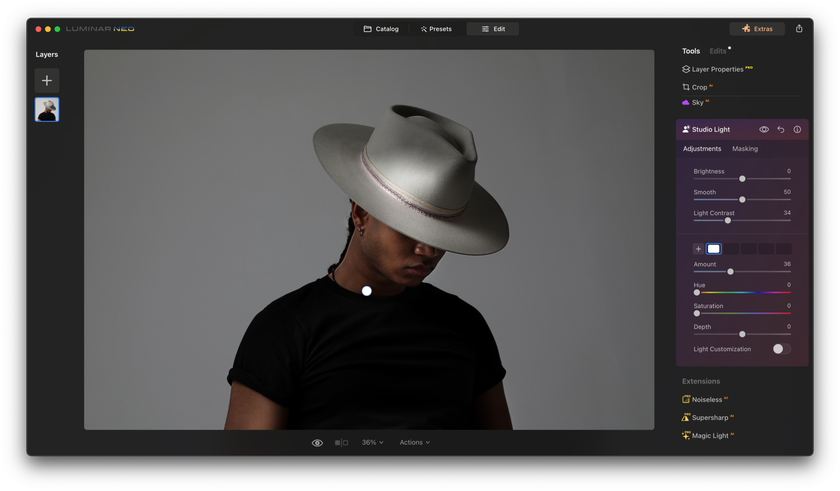

Next, let's work on the fill light. The fill light softens shadows and adds dimension to your image. Adjust its intensity to achieve the desired fill level without overpowering the key light. You can also modify its angle and warmth to complement your subject.
Step 5. Enhance With Backlight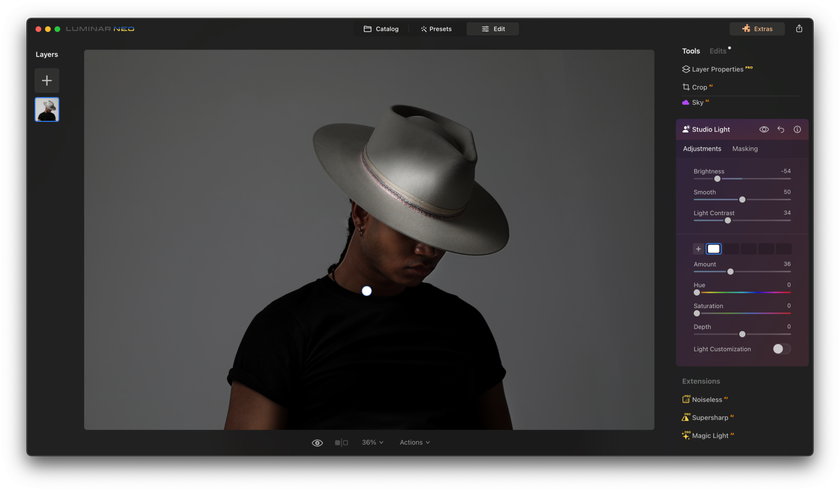

When used judiciously, the backlight can add depth and drama to your photograph. Experiment with its angle and intensity to create a stunning interplay between highlight and shadow. Backlighting can be especially effective in portrait and product photography.
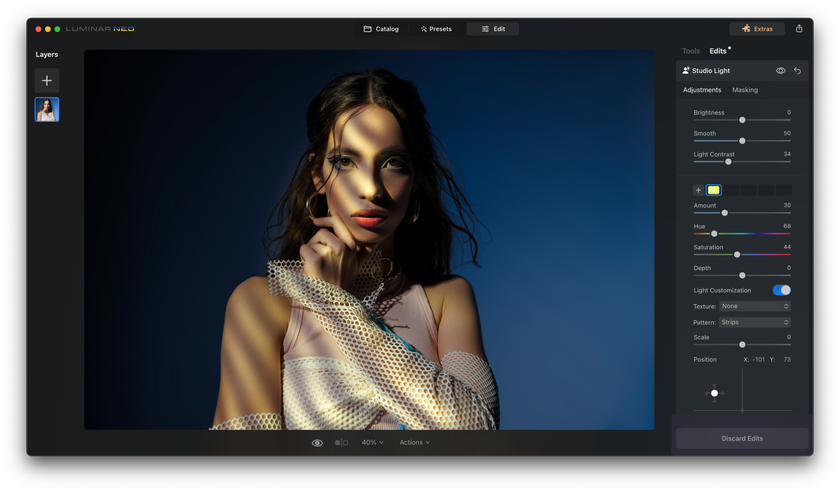
Step 6. Play With Color Temperature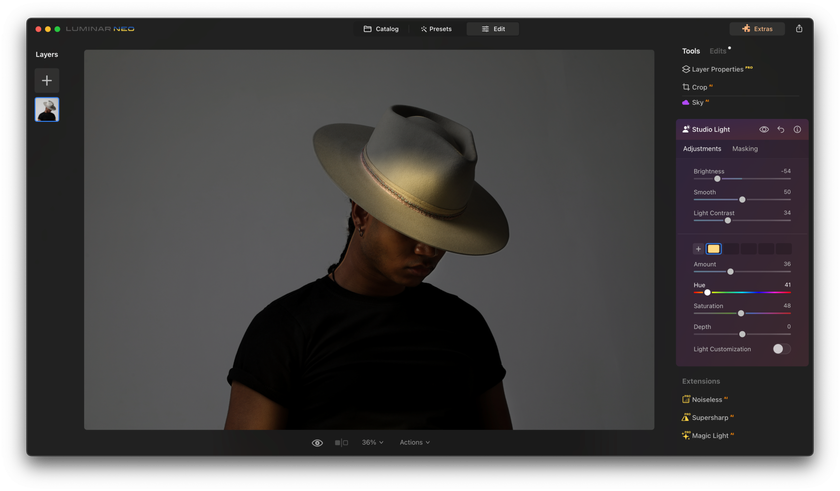

Studio lighting often involves manipulating the color temperature to set the mood of your image. Luminar Neo's Studio Light Tool allows you to fine-tune the color temperature to achieve warm, cool, or neutral tones. It is where your creative vision can truly shine.
Step 7. Refine And Preview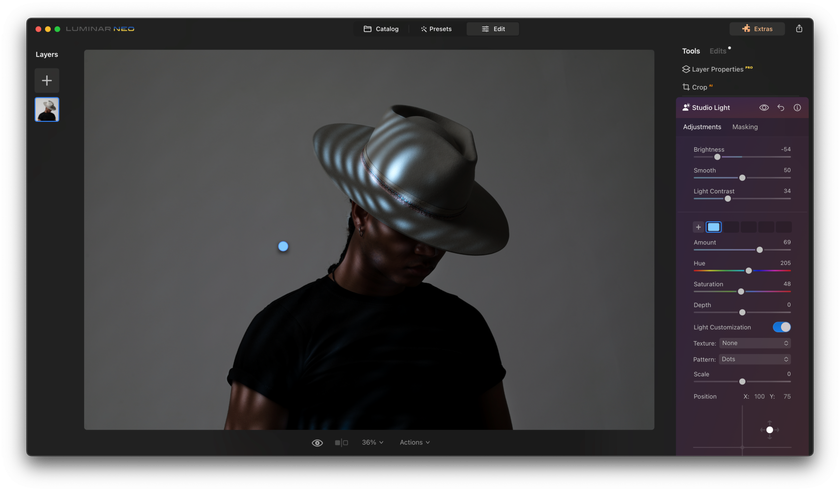

As you adjust, remember to periodically preview your image to ensure you achieve the desired effect. Most editing software, including Luminar Neo, provides real-time previews, allowing you to see the impact of your changes instantly.
Step 8. Save Your Masterpiece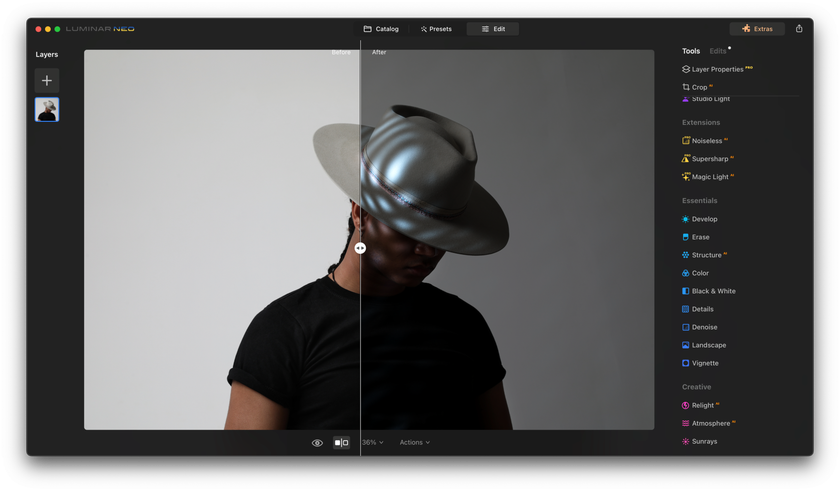

Once you're satisfied with your adjustments, save your edited image. Luminar Neo typically offers various export options, so you can choose the format and quality that suits your needs.
Step 9. Share And Showcase
With your perfectly lit photograph, it's time to share your masterpiece with the world. Whether for professional portfolios, social media, or personal collections, your enhanced images will captivate and leave a lasting impression.
By following these steps and experimenting with Luminar Neo's Studio Light Tool, you'll unlock a world of creative possibilities and take your photography to unprecedented levels. Remember that practice and exploration are key to mastering this powerful tool, so don't hesitate to experiment and refine your skills further. The journey to becoming a studio light virtuoso has just begun, and with Luminar Neo as your guide, the sky's the limit.
Download Luminar Neo and Get a 7-day Free Trial
I'm in!Bottom Line
Lighting is a factor of paramount importance in photography. One of the most accessible methods to harness the potential of proper brightening in photography is to take the illumination under your full control in the studio environment. However, this option is only available for some photographers, which is why more and more photography enthusiasts rely on photo editing tools to recreate the studio conditions.
One such tool is presented within the AI-based photo editing software offered by Luminar Neo. The Studio Light tool is user-friendly, time-efficient, and compatible with other software. It allows the photographer to control the editing process precisely to achieve the most natural-looking final results.
Import your image into Luminar Neo, access the Studio Light Tool, make some basic adjustments, and play an exciting experimental game with color temperature and any other features you will find. Photography is about creative experiments! You will get a perfect picture, similar to the one made in the real photo studio! Don't be afraid to share your creative vision with the world; the Luminar Neo's Studio Light tool will help you achieve perfection!
 >
>
