When Is The Best Time To Take Pictures Outside?
Last Updated on May 23, 2025

You’ve got the camera, the location, and the vibe—but did you choose the best time to take pictures outside?
I’ve spent years chasing the perfect light as a photographer, and let me tell you, timing is everything when it comes to outdoor photography. The way sunlight shifts throughout the day can make or break your shots, whether you’re capturing landscapes, portraits, or candid moments. In this article, I’ll share my tips, tricks, and experiences to help you figure out the best time to take outdoor photos.
Why Timing Matters in Outdoor Photography
Light is the heart of photography, and natural light is a fickle friend. It’s too harsh, and your photos look washed out or riddled with shadows. Too dim, and you lose vibrancy. The time of day, season, and even weather all play a role in how your images turn out. Let’s dive into the specifics so you can plan your next best time for a photoshoot with confidence.
Season | Best Time to Take Pictures |
Winter | Between 7-8 am and 4-5 pm |
Spring | From 5-6 am to 6-9 pm |
Summer | At 4-6 am and 8-10 pm |
Fall | Between 6-8 am and 4-7 pm |
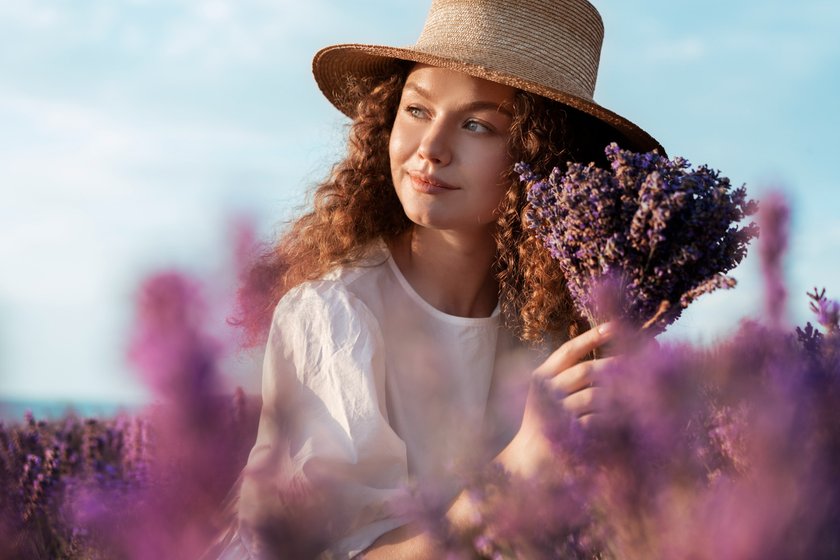
The Golden Hour: The Holy Grail of Outdoor Photography
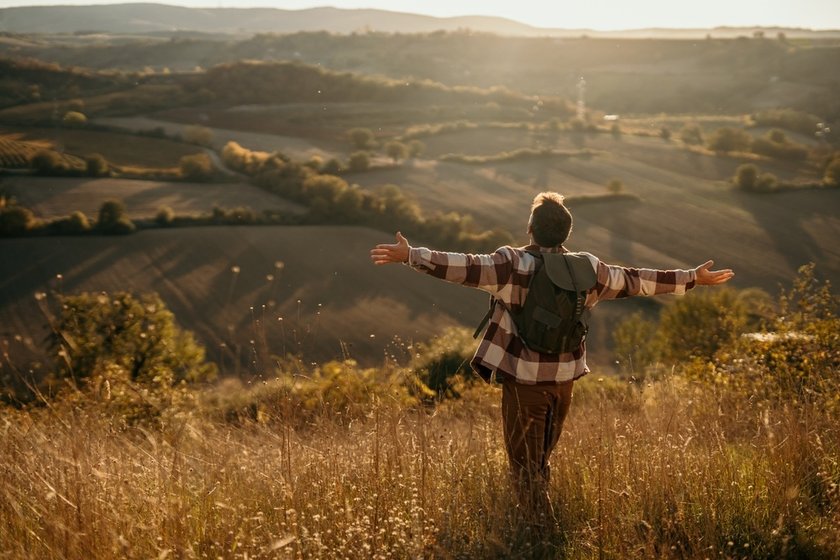
If there’s one time every photographer raves about, it’s the period before sunset with ideal lighting for photography, also known as the golden hour. This magical window—roughly the first hour after sunrise or the last hour before sunset—bathes everything in a warm, soft glow. The light is diffused, shadows are gentle, and colors pop without being overwhelming.
Golden Hour Photography Guide: Secrets of Perfect Lighting
I remember shooting a family session during golden hour last summer. The kids were running through a field, and the golden glow made their laughter look almost cinematic. The photo I love most from that shoot shows the youngest kid holding a dandelion, with the sunlight catching the fuzz in a dreamy halo.
Tips for Golden Hour Shooting
Arrive early: Set up 15–20 minutes before the golden hour starts to scout your spot.
Use a wide aperture: A low f-stop (like f/2.8) enhances that creamy bokeh effect.
Experiment with filters: A golden hour filter can amplify the warm tones if the light isn’t quite perfect.
Shoot in RAW: This gives you more flexibility to tweak colors in post-processing.
You may also like: Golden Hour Photography Guide: Secrets of Perfect Lighting
Best Time of Day for Outdoor Portraits
When it comes to the best time to take portraits outside, golden hour is still king, but don’t sleep in the hour after sunrise. Morning light is crisp, clean, and often cooler in tone, giving portraits a fresh, vibrant feel. I once shot a couple’s engagement session at 6 a.m. in a forest, and the soft morning shadows filtering through the trees made their skin tones glow naturally.
Morning Portrait Tips
Schedule early: Convince your subjects to wake up for that sunrise glow—it’s worth it.
Use reflectors: Hold a reflector close to your subject to bounce light onto their face, softening any shadows for a natural look.
Avoid direct sunlight: Position subjects in open shade under a large tree or building awning, about 10 feet from direct sun, to ensure even lighting and prevent harsh shadows or squinting.
Morning sessions are also great because parks and beaches are quieter, giving you more space to work.
Best Time to Take Photos in the Morning

Beyond portraits, the best time to take photos in the morning is between 6:30 a.m. and 8:30 a.m. The air is often clearer, and you might catch dew on grass or fog in low-lying areas, adding texture to your images. I shot a lake at 7 a.m. once, and the mist hovering over the water turned a simple scene into something ethereal.
Outdoor Photography Ideas: 7 Techniques for Breathtaking Results
Morning Photography Features
Cool tones: Expect bluish hues that feel serene.
Soft shadows: Less harsh than midday light.
Wildlife activity: Animals are more active at dawn, which is perfect for nature photographers.
Signs You’re Shooting in the Morning
Light is low on the horizon, creating long, soft shadows.
Colors lean cooler, with blues and purples dominating.
Dew or fog may add a mystical vibe to your shots.
Midday: The Worst Time to Take Pictures Outside
Let’s talk about the worst time to take pictures outside: midday, especially from 10 a.m. to 2 p.m. The sun is high, casting harsh shadows and blowing out highlights. I made the mistake of shooting a wedding group photo at noon once, and the squinted eyes and dark under-eye shadows were a nightmare to fix.
That said, if you’re stuck shooting at midday, you can make it work. Use shade, diffusers, or even post-processing tools to remove shadows from a picture and soften the light.
Midday Workarounds
Find shade: Trees or buildings can diffuse the harsh glow.
Use a reflector: Bounce light to soften shadows on faces.
Shoot in black and white: Harsh contrast can look artistic in monochrome.
Signs You’re Shooting at Midday
Shadows are short and sharp, often directly beneath subjects.
Colors can look washed out or overly saturated.
Subjects may squint due to bright light.
Best Time of Day to Take Pictures Outside in the Summer
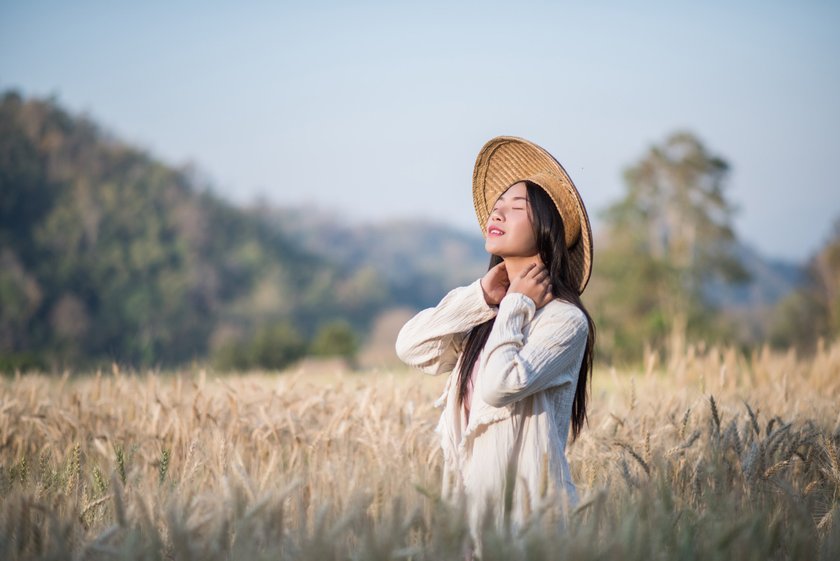
Summer’s long days and intense sunlight make timing tricky. The best time to take outdoor photos in summer is—you guessed it—golden hour, but early morning is a close second. The heat can make midday shoots uncomfortable, and the high sun flattens landscapes. I shot a beach session last July just before sunset, and the warm light on the waves was pure magic.
Summer Shooting Tips
Avoid peak heat: Schedule shoots before 9 a.m. or after 6 p.m.
Embrace vibrant skies: Use sky replacement images to enhance bland summer skies in post.
Stay hydrated: Bring water for you and your subjects.
Use light diffusers: Carry a portable 30-inch diffuser to soften harsh sunlight on faces, ideal for outdoor portraits around midday if shade isn’t available.
Best Time to Take Outdoor Photos in Fall
Fall is a photographer’s dream, with its rich colors and diffused light. The best time to take outdoor photos in fall is late afternoon, about 2–3 hours before sunset. The lower sun enhances the reds, oranges, and yellows of the foliage. I shot a family in a pumpkin patch last October, and the late afternoon lighting made the autumn leaves look like they were on fire.
You may also like: Outdoor Photography Ideas: 7 Techniques for Breathtaking Results
Fall Photography Features
Warm tones: The radiance complements the fall’s earthy palette.
Diffused light: Position yourself carefully to prevent overexposure and maintain balanced lighting.
Signs You’re Shooting in Fall
Leaves are vibrant, with bold reds, oranges, and yellows.
Light is softer due to the lower sun angle.
Crisp air adds clarity to distant landscapes.
Fall Shooting Tips
Layer up: Fall weather can be unpredictable, so dress warmly.
Use polarizing filters: Attach a circular polarizer to your lens and rotate it to boost leaf colors by 20–30% while cutting glare from wet surfaces, perfect for overcast days.
Shoot wide: Shoot wide with intention: Use a 16mm wide-angle lens to frame entire landscapes, capturing vibrant fall foliage and distant hills in one shot.
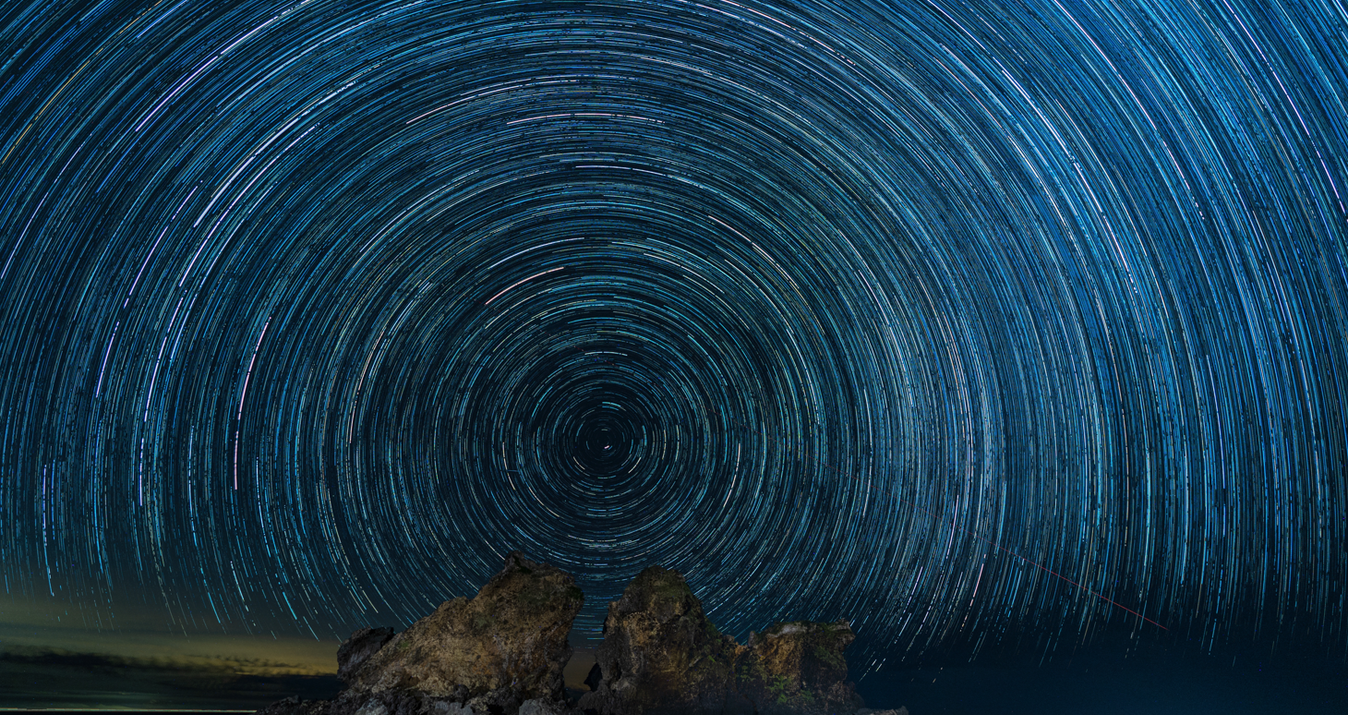
Blue Hour: A Hidden Gem for Moody Shots
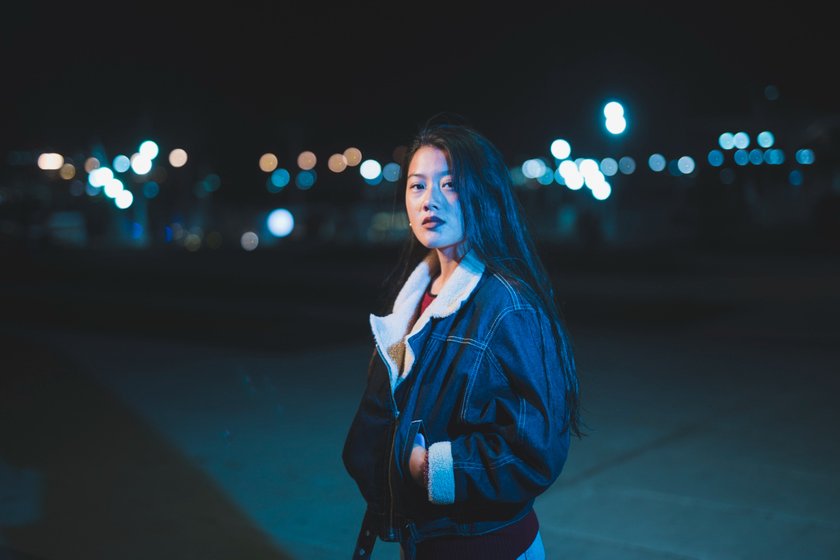
After golden hour comes the blue hour, the twilight period just after sunset or before sunrise. The sky takes on a deep blue hue, perfect for moody, atmospheric shots. I shot a cityscape during blue hour once, and the contrast between the warm streetlights and the cool sky was striking.
Blue Hour Tips
Use a tripod: Low illumination requires slower shutter speeds.
Boost colors: Post-processing with tools like twilight photo editing can enhance cooler tones for a polished look.
Experiment with long exposures: Set your shutter speed to 10–20 seconds at f/8 to capture light trails from moving cars or smooth out water surfaces, like a lake or river, during blue hours.
Signs You’re Shooting in Blue Hour
The sky is a gradient of deep blue to black.
Artificial lights (streetlights, buildings) start to glow.
Shadows are minimal, with soft, even lighting.
And remember: just because the sun’s gone, doesn’t mean the magic is over.
Wrapping Up
So, when is the best time to take outdoor photos? For most scenarios, golden hour—either at sunrise or sunset—offers the softest, most flattering light. It’s versatile for portraits, landscapes, and everything in between. If you’re shooting in summer, stick to early mornings or late evenings to avoid harsh shadows and heat. In fall, late afternoon maximizes the season’s warm tones. Even blue hour can be a creative choice for moody shots.
Photography is about experimenting and finding what works for you. So, grab your camera and chase that perfect light!