How To Change Exposure On iPhone: Beyond Auto Settings
September 12, 2024

This post dives into how you can take control of exposure settings on your iPhone, ensuring your photos turn out just right in any lighting condition! Learn how to tweak and lock exposure settings to consistently capture stunning images!
Are you tired of your images coming out too dark or glaringly bright? Today, we will fix that!
Discover the secrets of iPhone exposure settings as we guide you through controlling and locking it on your iPhone. By the end of this post, you’ll be equipped to ensure all your pictures are perfectly lit, no matter the lighting conditions.
Keep reading to finally master exposure and transform your photo-taking experience!
Exposure in Simple Words
 Ever snapped a photo that just didn’t look right? Maybe it was too bright or too dark. That's all about exposure — the key to getting your photos to look just how you want them. Think of it as the way your camera sees light: too much light leads to washed-out photos, and not enough light will leave your images lost in the shadows.
Now, get ready to take charge of how your photos turn out!
How to Set Exposure on iPhone: Two Methods
 Adjusting exposure to get your photos just right can seem tricky, but your iPhone makes it straightforward. Here’s how to quickly tweak exposure settings for individual shots and how to maintain those settings consistently across multiple photos!
Temporary Adjustment Using the Focus Square
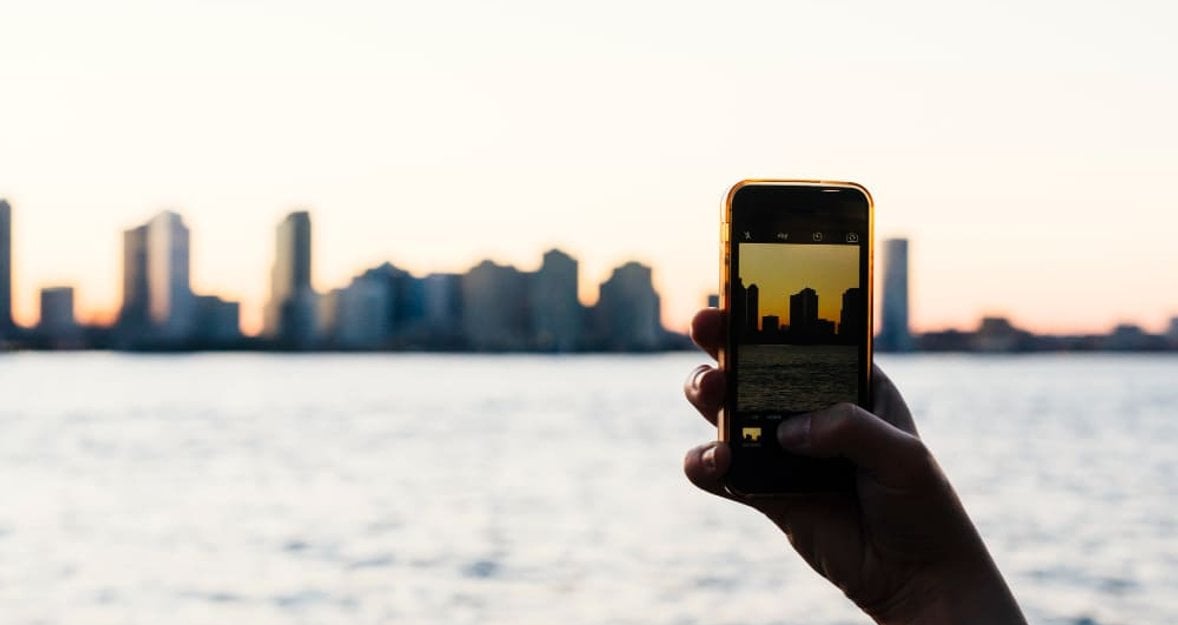
Set Your Focus: Tap on your iPhone’s screen to choose where to focus. This will bring up a yellow focus square.
Adjust Exposure: After setting your focus, tap the small sun icon next to the focus square to bring up a vertical slider. Drag this slider upwards to increase exposure and brighten your photo or downwards to decrease it and darken your photo.
Note: These changes are temporary and will revert to the default settings when you focus on a different area.
How to Lock Exposure on iPhone
For more consistent results, especially when taking multiple shots in the same lighting conditions, tap and hold the focus square until you see "AE/AF Lock" displayed at the top of your screen.
With the AE/AF lock activated, you can still adjust the exposure using the sun icon and vertical slider, ensuring the focus and exposure do not change with each shot.
This locking method is perfect for shooting in consistent conditions without having to readjust the settings for each photo!
Setting Exposure Compensation for Extended Shooting
If you often find yourself in similar lighting conditions, your iPhone's ability to preserve exposure settings can be exceptionally beneficial. This feature enables you to maintain the same exposure level across various photography sessions without needing to readjust each time you open your camera. How to manage this functionality:
Set the Exposure: Start by dialing in your preferred level. Open the Camera app and adjust the exposure by accessing the slider (tap the plus/minus icon after swiping up in the app) to suit your scene.
Automatic Retention: Once set, your iPhone automatically retains this exposure setting. It remains active across camera launches, even if you switch apps or lock your phone, ensuring consistency in your images.
Modifying Your Settings: Should your lighting environment change, or if you simply wish to alter the exposure for creative reasons, you can easily reset or adjust the settings. Repeat the initial steps to modify the exposure, and your iPhone will save these new settings until another change is made.
This method ensures that once you find the perfect exposure for your environment, you can keep it for as long as you need, saving time and helping you capture consistently great photos!
Saving ECV Settings Across Camera Sessions
 If you want your iPhone to remember your Exposure Compensation Value (ECV) for both photos and videos even after you close the Camera app, you just need to adjust a few settings. This feature is handy for maintaining consistent exposure across different shooting sessions. Here's a quick guide on how to set it up!
Open the Settings app on your iPhone.
Scroll down and select Camera.
Tap on Preserve Settings.
Toggle the Exposure Adjustment option to the ON position.
Now, your iPhone will keep your ECV settings until you decide to change them manually, making it easier to maintain the same exposure level across various shooting scenarios.
Mastering Night Photography on Your iPhone
 Night photography with an iPhone often involves wrestling with the camera's inclination to overcompensate for low light. This can leave your photos with bleached-out highlights or shadows devoid of detail. To counteract this, you’ll want to take control of the exposure settings manually.
Steady as She Goes: Stability is your best friend when it comes to night photography. A wobbly hand can turn a crisp image into a blurry one. Securing your iPhone on a tripod or a solid surface can help maintain the sharpness and clarity that make night photos pop.
Night Mode Know-How: If your iPhone model is equipped with Night mode (iPhone 11 and later), let it become your tool of choice in low light. This feature fine-tunes your settings automatically to brighten your photos while retaining quality and detail without the need for manual adjustment!
Crafting Mood with Exposure
 The exposure you choose can dramatically alter the mood of your photograph. For a mysterious or somber tone, try slightly underexposing your image. This will deepen the shadows and enrich the darker areas of your photo.
On the flip side, a slightly overexposed shot can evoke lightness and vitality, perfect for capturing lively night scenes or softly lit subjects!
Utilizing HDR to Capture Complexity
 HDR, or High Dynamic Range, is essential for scenes where the contrast between light and dark is stark. This feature works by blending multiple exposures into a single, well-balanced photo that showcases details often lost in standard shots.
When to Use HDR
It’s most effective in scenes that include extremes of light — such as a dark landscape against a bright sky. HDR can help ensure that both elements — the light and the dark — are captured as accurately as possible, reflecting a more true-to-life scene.
Correcting Exposure with iPhone’s Image Editor
 Capturing the perfect lighting on your iPhone can sometimes be a hit or miss. Enter Luminar Mobile, your iPhone image editor for adjusting and perfecting photo exposure right from your phone!
The standout feature of Luminar Mobile is Relight AI. It's like having a dial to adjust the sunlight. If your foreground is shadowed or the background too glaring, Relight AI lets you balance the lighting across different areas of your photo. It intelligently brightens or darkens specific zones without affecting the overall ambiance, making every shot look naturally lit!
Beyond Exposure – A Suite of Tools
Once you've nailed the exposure, explore Luminar Mobile’s other powerful features. There's SkyAI for those times you want a more dramatic sky, and SkinAI and BodyAI are perfect for polishing up portraits. Need to remove a photo bomber? The Erase tool has you covered. Plus, with tools like Crop, Filters, and more, tweaking your photos to perfection is easy!
To get the most out of Luminar Mobile, you’ll need iOS 17 or newer. This ensures you can use all the latest tools without a hitch! Whether you're fixing a dark selfie or a washed-out landscape, Luminar Mobile makes it simple to adjust exposure and add those finishing touches that make your photos pop!
Wrapping Up
Now that we've covered how to manage exposure on your iPhone, from the basics to using advanced tools like Luminar Mobile, you're well-equipped to ensure your photos always look great, no matter the lighting!
With this knowledge, you’re all set to capture stunning images in any condition. Keep experimenting with these settings to see your iPhone photography improve dramatically.


