How To Find Image Source: Trace The Origins Of Visual Content
February 12, 2025
This post shows you how to find out where images come from and why it’s important to use them responsibly. Read on to learn how to use pictures legally and ethically in your own projects.
Ever stumbled upon a photo online and got curious about its origins? It happens a lot, and knowing how to find where an image came from can be pretty useful. This guide will walk you through some straightforward steps to help you find where an image came from. Ready? Let’s jump in!
Why It's Important to Find the Picture Source
 Ever find yourself scratching your head because you saved a killer image and can’t remember where it came from? Here’s why figuring out how to find the origin of a photo matters:
1. No More Lost Pictures: Imagine this: you find the perfect picture, save it, but forget where it’s from. Instead of losing hours digging through your history, knowing how to quickly trace its source can be a real time-saver.
2. Stay on the Right Side of the Law: Using images in your posts? Great, they draw more eyeballs. But you've got to do it right. Pinpointing where a photo is from helps make sure you’re using it legally and giving credit where it’s due. This keeps you out of trouble and ensures you’re fair to the creator.
3. Better Quality, Better Impact: Ever notice how some images just look terrible when you blow them up? That’s because pictures online are often compressed. Finding the original source can get you a high-quality version that won’t turn into a pixelated mess on your blog or flyer.
4. Props to Creators: By using the original source, you're giving a nod to the creator. It’s about respect—and it’s also about encouraging more great content. Plus, it’s just nice to acknowledge someone’s hard work.
Techniques to Identify the Origins of an Image

Using Search Engines
Google’s Image Search
Using Google Images for reverse picture searching is straightforward and effective. Here’s how to do it:
Open Google Images and click on the camera icon to start a reverse image search.
Select “Upload an image,” then click “Choose File.”
Find the photo you want to check on your device and upload it by clicking "Open."
Google will then search for the picture across the web. If it finds matches, it will display results that may include similar photos or the same image used elsewhere. From these results, you can potentially track down the source and learn more about the file's copyright status.
Bing Reverse Image Search
Bing offers a visual search feature that is also useful for reverse image searches:
Visit Bing’s visual search page.
You can either drag your photo directly into the search bar or use the upload option to select your image.
Once uploaded, Bing will analyze the picture and show you where it can be found online, along with a detailed breakdown of the image’s attributes and any text detected within the photo.
Dedicated Reverse Image Search Tools

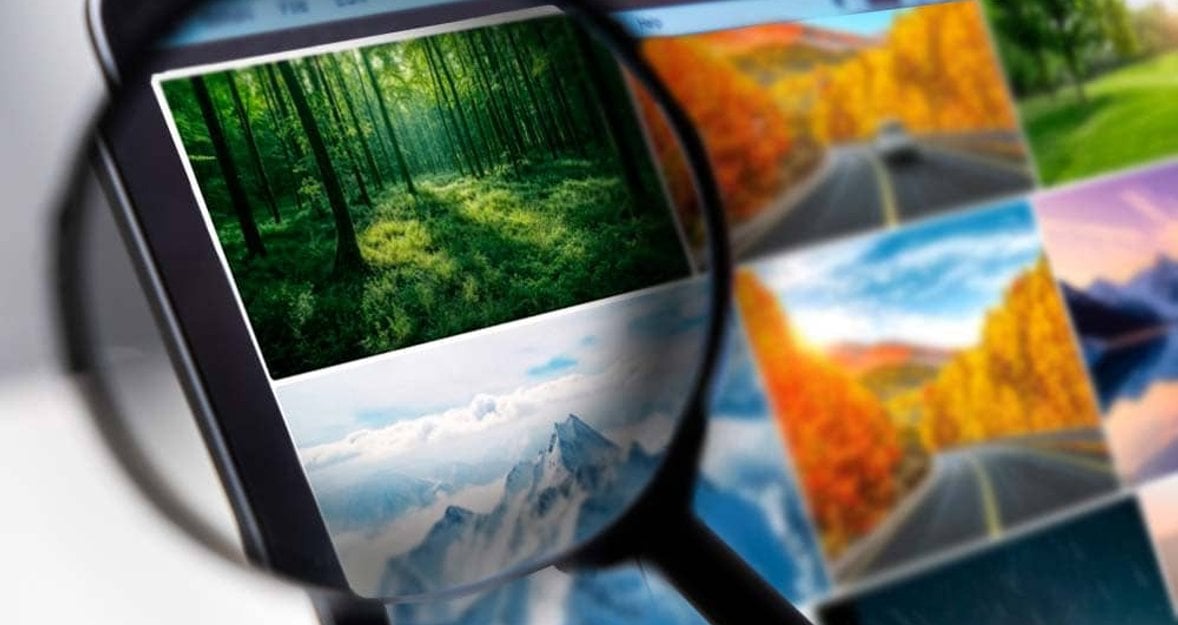
1. Reverse Image Search Tool
Need to find where a photo originally appeared or check if others are using your pictures? A reverse image search is your go-to method. Whether you're on a phone or computer, the steps are pretty much the same:
Just upload the photo or paste the URL if you have it.
The tool scans the web for similar pictures or exact matches.
You get results showing where else the image is found online, which can lead you to the original source.
2. TinEye
TinEye is a champ at digging up where a photo came from or finding other versions across the web. It’s really easy to use:
Head over to TinEye’s website.
Either upload your image or pop in a URL if that’s easier.
Hit search, and TinEye will show you everywhere that picture has been spotted online, along with variations of it in different sizes or resolutions. How to measure photo size — read in our previous post!
3. Search By Image (App)
If you're often on your phone and need to do a quick image search, the "Search By Image" app is a lifesaver. It’s designed for Android and works seamlessly with your mobile workflow:
Download the app and open it up.
You can either upload an existing picture from your gallery or snap a new one.
The app uses powerful search engines like Google and TinEye to find where the photo is from or show similar images.
Other Helpful Tools

Using Metadata
Much of the story behind a photo can be found in its metadata—those hidden details embedded within the file itself. Here’s how to peek at those details:
On a Mac: Say you've got a photo from the internet, like from the Good Housekeeping website. Just right-click the photo, select “Get Info,” and a window pops up filled with nuggets of info. It might look a bit technical, but what you’re looking for — like the source of the image — is usually right there.
On Windows: Right-click your photo, hit “Properties,” and then tab over to “Details.” This is where Windows stashes all the metadata. You'll find things like when and possibly where the photo was taken and sometimes the name of the person who took it.
Chrome Browser Extensions
For Chrome users, life gets even easier. You don’t even need to leave your browser to find where an image came from! Just right-click it and choose “Search Google for Image.” Boom — you’ll see where else this photo lives online, along with similar images. It’s like having a detective right in your browser.
These tools don’t require any tech genius to use and can be a huge help in getting to the bottom of any image mystery!
How to Attribute Image Sources Correctly
 Ever wonder how to give proper credit to the photos you use? Getting it right is key—not just to keep things legal but also to show some respect to those who created them. Here’s how to nail it, depending on the type of picture and its source:
Creative Commons Images
Creative Commons helps artists share their work with licenses that explain exactly how you can use it. Depending on the license, here’s what you might need to do:
Basic Attribution (CC BY): Say who made it, link to the license, note any changes you’ve made, and where you got it from.
Public Domain (CC0): No need to attribute anything here; these images are free to use however you like. But it's still cool to mention where you found it if you can.
Other Licenses: Some are strict — maybe no changes allowed, or no commercial use. Always double-check the license to make sure you’re in the clear.
Public Domain Images
These photos are totally up for grabs. Copyrights have either expired or been waived, which means no restrictions at all. You don’t have to attribute these, but if you’re using them for a project or presentation, citing your source can still be a classy move.
Royalty-Free Images
“Royalty-free” is a bit misleading because you usually pay upfront. But once you do, you can use the photo as many times as you like without paying more. These often don’t require you to attribute the creator, but it’s worth checking the fine print — sometimes, there are rules about where or how you can use them.
Best Practices for Attribution
If you’re pulling images from various places, stick to the TASL format to keep things tidy:
Title
Author
Source
License
Example: “Sunset over the Mountains” by Jane Doe, from [Website Name], under [License Type]. And if you’ve tweaked the picture, just add that in: “Edited from the original.”
Editing and Using Sourced Images Responsibly
 When you've found the right photo and sorted out its attribution, the next step is to make sure you're using and editing it in a way that's respectful to the original creator.
1. Keep True to the Original Vision
Always think about the context and intent behind the image before you start editing. It’s crucial not to distort what the photo is meant to represent. Small changes are usually fine, but big alterations could mislead people or disrespect the creator's work.
2. Light Editing is The Best
Simple edits can often be the most effective! Luminar Neo, an AI photo editor, is perfect for making these kinds of adjustments!
Cropping and Resizing: Sometimes, all a picture needs is a little trim or a resize to fit perfectly in your layout. The image resizer Luminar Neo lets you easily adjust the aspect ratio or the pixel size when you export, helping you fit the image just right without losing the impact.
Reducing Noise: If your photo is a bit grainy, Luminar Neo’s photo denoise AI can clean it up beautifully. It smooths out the noise but keeps all the fine details sharp, which is great for both RAW and JPEG files. This way, your images look polished without appearing overly processed.
Editing your photos carefully not only shows respect for the original creator but also ensures your final product is polished and professional. By sticking to minimal and meaningful edits, you keep the spirit of the original work intact and your conscience clear!
Wrapping It Up
Now you know how to find a picture source and why it’s important — respecting creators' rights and using images legally. Remember, tools like Luminar Neo help keep your edits minimal and maintain picture quality. For further reading on managing images, check out our post on how to view JPG files to keep enhancing your skills.
Keep learning, stay ethical, and use these tips to support your projects and the creative community!