How To Photograph Meteor Shower To Capture All The Beauty
Last Updated on January 21, 2025
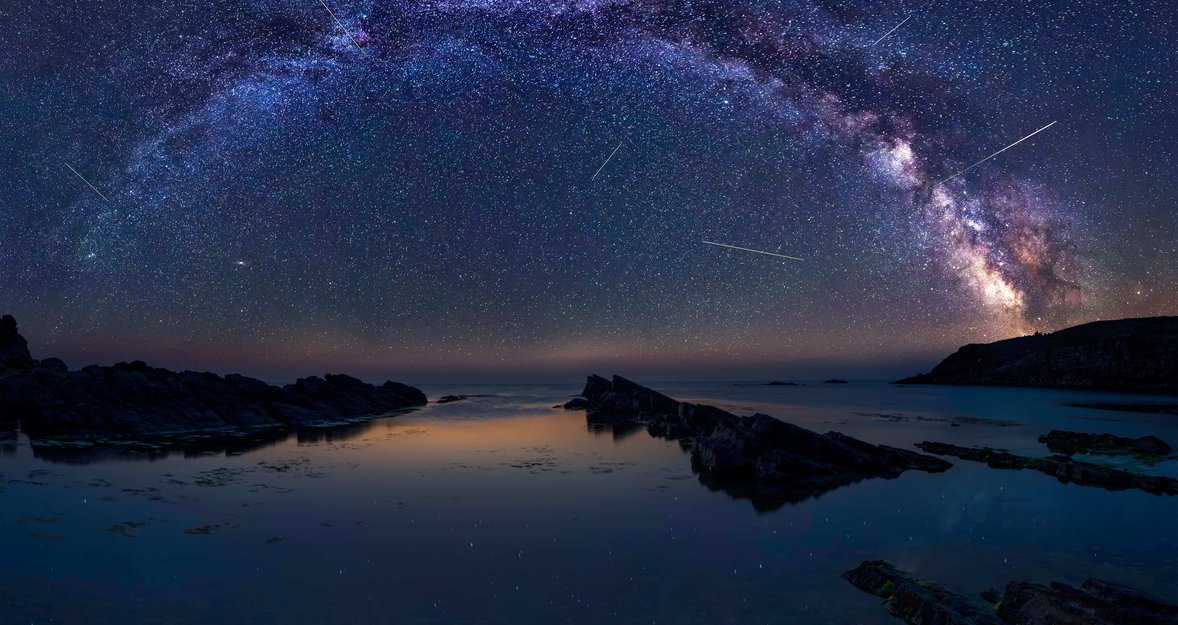
Discover how to photograph meteor shower and capture the breathtaking spectacle of nature's fiery streaks in the dark expanse.
Experiencing a meteor shower illuminating the night sky is nothing short of enchanting. These brief bursts of light resemble a spectacular fireworks display in the heavens. Photography adds to the wonder, allowing us to freeze these mesmerizing moments in time and share the beauty with others. This article delves into the techniques and tips on how to photograph meteors showers to capture all their mesmerizing beauty.
What Are Meteor Showers
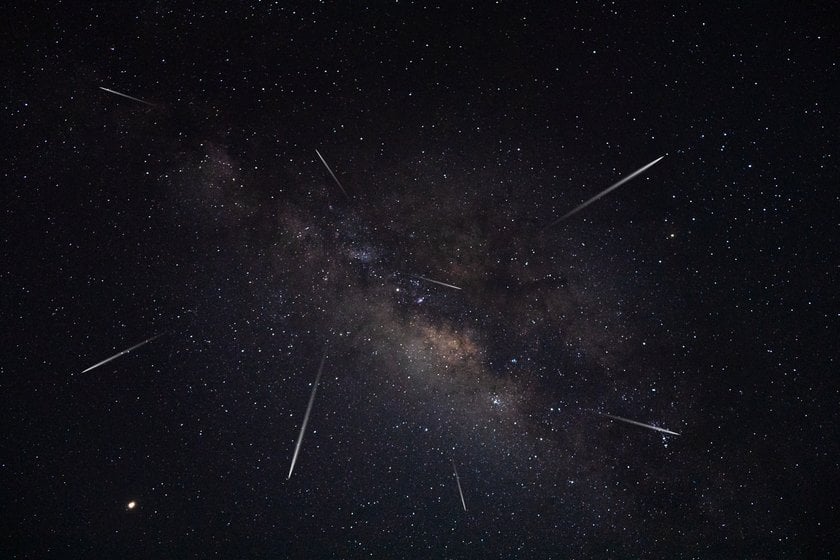
Meteor showers are observed when Earth passes through the debris left by a comet or asteroid. The fragments that enter Earth’s atmosphere, called meteoroids, burn bright, creating bright streaks of light called meteors. Generally, these showers are annual events associated with certain comets and are visible from Earth during specific times of the year.
The most famous meteor showers, the Perseids, occur every August and are caused by the Swift-Tuttle comet. According to Royal Museums Greenwich, other notable showers in 2025 include the Quadrantids on January 4, the Lyrids around April 22, and the Geminids in December, all producing impressive displays of meteors.
The debris left by comets is spread along their orbits, and when Earth crosses those orbits, dense swarms of meteoroids enter our atmosphere and, thus, shower. There are meteor showers, which are really spectacular and produce dozens of meteors per hour, and some produce just a few. They span in size from tiny particles to larger fragments, which, if they survived their atmospheric passage, could reach the ground as meteorites.
Preparing For The Meteor Shower
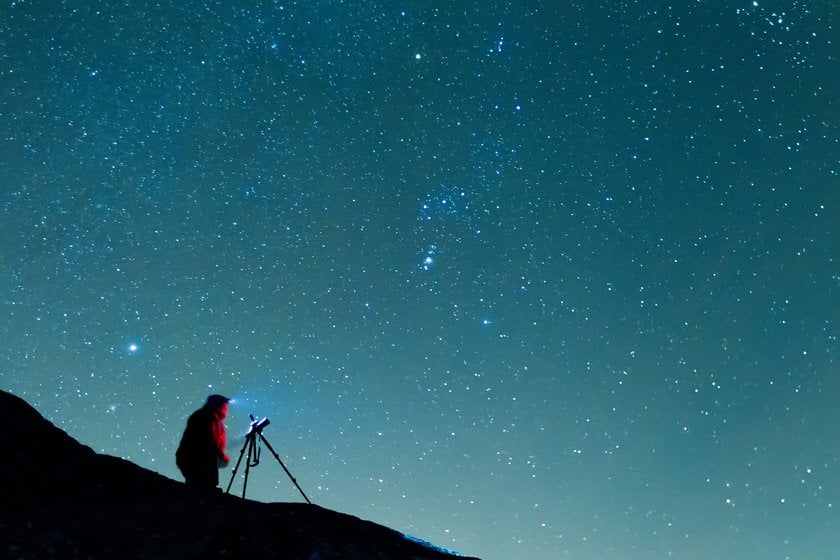
Astrophotography is an art of anticipation, especially whenever events like a meteor shower are in place. Talking of which, location, light pollution, and time make all the difference in regard to Perseid meteor shower photography.
Location. Choosing the right location is a significant first step. For the best shots, you need a place far from city lights with a broad, unobstructed view of the sky. Ideal locations can include open fields, hilltops, or beaches. National parks often make excellent sites due to their darker skies.
Understanding light pollution. Light pollution, caused by artificial lights, can hinder your ability to photograph meteor showers by drowning out fainter stars. Use apps or websites like “Dark Site Finder” to locate low-light pollution areas. Switch off nearby lights and let your eyes adjust to the dark for about 20 minutes before you start photographing.
Timing. Meteor showers occur at particular times of the year and have peak viewing hours. For instance, the Perseid meteor shower typically peaks around mid-August and is best viewed in pre-dawn. Be sure to check astronomical calendars for the precise dates and times.
Weather conditions. Clear skies are essential for capturing meteor showers. Check weather forecasts in advance to ensure minimal cloud cover. Avoid nights with heavy humidity or fog, as they can obscure visibility and reduce the quality of your photos.
This is the kind of photography where lots of patience comes into play. There are nights when you go back home with no great captures. Still, with persistence, you’ll get a chance to freeze the mesmerizing beauty of a meteor shower into an unforgettable image.
Gathering the Equipment You’ll Need: A Checklist
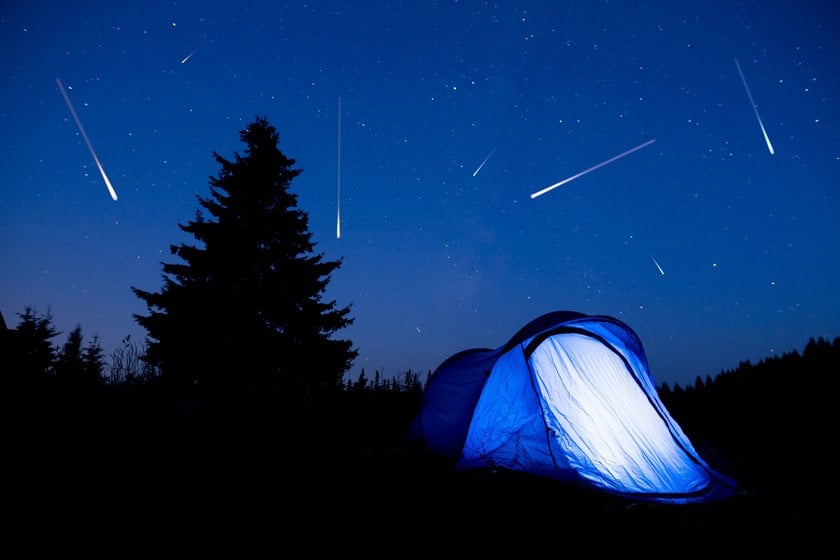
Astrophotography requires some specific equipment to ensure the best results. Here’s a rundown of what you’ll need:
Camera. A DSLR or mirrorless camera with manual mode is essential. This feature allows you to control the shutter speed, aperture, and ISO, all of which are crucial for capturing clear and detailed pictures of meteorites in the sky.
Wide-angle Lens. A wide-angle lens is recommended. It provides a broader field of view, enabling you to capture more of the sky and the landscape below.
Tripod. A sturdy tripod is a must. Since astrophotography involves long exposure times to capture enough light, a tripod is needed to keep the camera steady and avoid blurry images.
Remote shutter release. It lets you capture pictures without touching the camera, preventing any potential camera shake during long exposures.
Extra batteries and memory cards. Astrophotography can be a waiting game, and you don’t want to run out of power or storage space in the middle of a meteorite shower.
Star map or app. These tools can help you plan your shoot by showing you the paths of the meteor showers and where and when they will appear in the sky.
Flashlight. A red-light flashlight is handy for adjusting your equipment in the dark without ruining your night vision.
Remember, while having high-quality equipment can help improve your photos, the most important thing in astrophotography is understanding how to use your gear effectively. The following sections will discuss the technical aspects of photographing meteors and utilizing this equipment to its fullest potential!
Meteor Shower Camera Settings And Techniques

Capturing the night sky in meteor showers begins with knowledge of the best camera settings. Knowing the right ISO, aperture, and shutter speed can really elevate your photos to a much sharper and detailed picture. Here’s how to dial in the perfect camera settings for meteor showers:
ISO: Higher ISO values, such as 1600 or 3200, will make your camera more light-sensitive. This is essential for capturing faint meteors, but be cautious not to overdo it as it can introduce noise.
Aperture: Opt for a wide aperture (like f/2.8 or f/4.0) to allow more light into your camera. This helps in capturing the quick and faint streaks of meteors.
Shutter Speed: To achieve long exposure meteor shower photos, you need to set a longer shutter speed—15 to 30 seconds is a good starting point. This will produce striking images with bright meteors streaking across a star-filled sky.
If possible, shoot in RAW format. This allows you more flexibility in post-processing to bring out the details of the meteors and the night sky.
How to Capture a Meteor Shower on a Phone
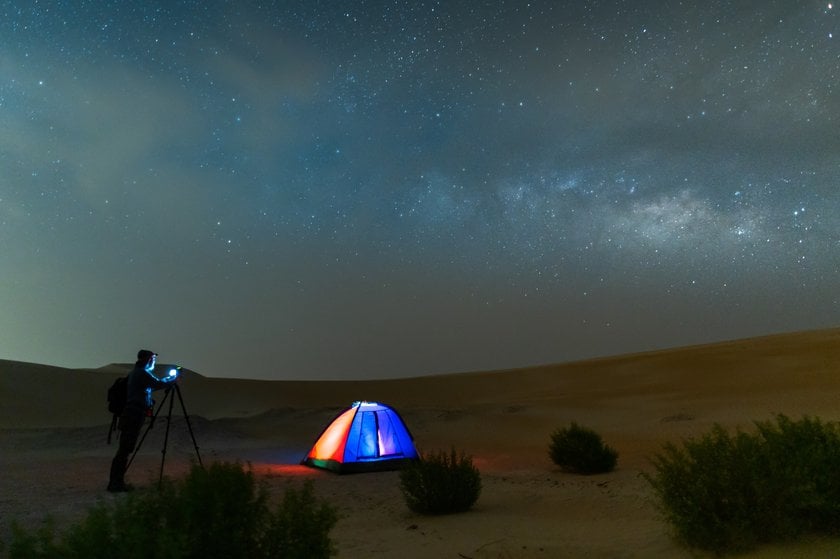
To capture a meteor shower on your phone:
Use a tripod. Stabilize your phone to avoid blurry shots.
Enable night mode. Many smartphones have night photography modes, perfect for low-light conditions.
Manual settings. Adjust ISO (800-1600), exposure (10-30 seconds), and focus (set to infinity).
Use a wide-angle lens. This captures more of the sky.
Turn off the flash. Flash will ruin long exposure shots.
Choose a dark location. Away from city lights for clear skies.
Use a remote shutter. Minimize phone movement during the shot.
Practice these techniques during less active showers to refine your skills for peak events.
Find out more: How to Take Night Sky Photos with iPhone
Making Our Photos Worth Sharing: Post-Processing Techniques
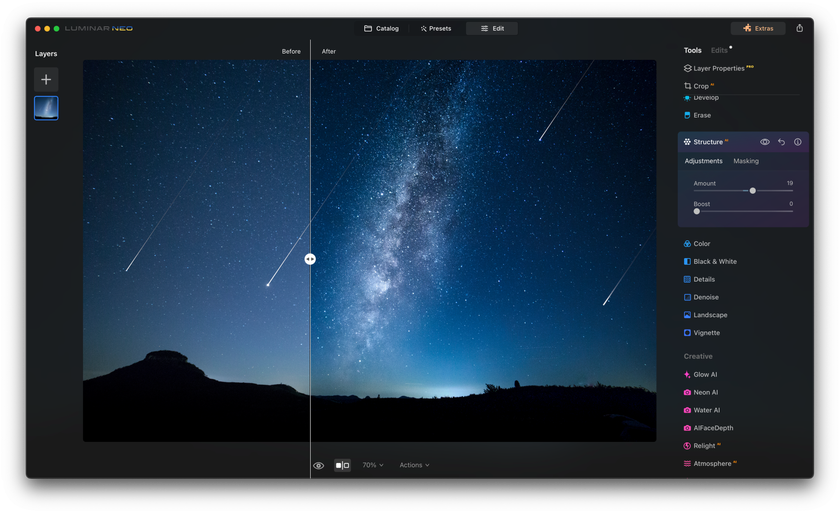
Post-processing gives more life to the photos, making them more shareable. Begin by adding depth with exposure and contrast adjustment. Perform white balance to adjust the color temperature of an image for more vividness. Thanks to Luminar Neo, automatically adjust the exposure, contrast, and detail with Enhance AI. Refine the sky using Sky AI: replace or enhance.
Use the Structure slider to add fine details without affecting the whole image. In portraits, Face AI enhances features like eyes and skin tone. Finally, crop your image to get better composition and framing before sharing it online.
Find out more: How to Edit Night Photos in Luminar Neo
Wrap-Up
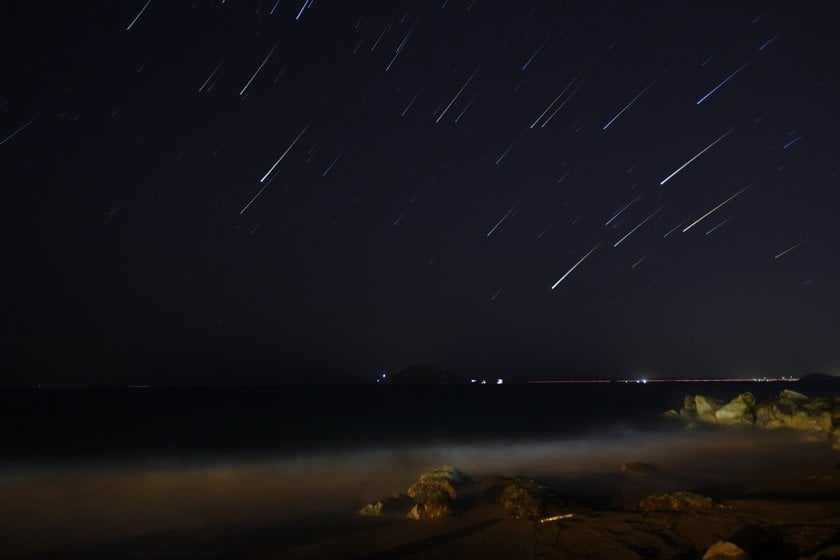
It is a challenge to combine patience, preparation, and creativity to capture the stunning beauty of a meteor shower. The challenge is finding a great location, setting up equipment, and fine-tuning settings with a professional camera or even a smartphone. With a little care in planning and a bit of trial and error, you can freeze fleeting moments of celestial magic.
Especially with some post-processing using tools like Luminar Neo, images can be further elevated to share-worthy status. The next time you see the sky ablaze with meteors, you will now be ready to capture and, more importantly, share that spectacle in all its glory. Happy shooting!


