Why Luminar Is Great For Real Estate Photography
November 13, 2025

Discover why Luminar is ideal for real estate photography. Edit interiors and exteriors with natural light, consistent colours, and quick batch tools for stunning, professional listings.
Property photos have to be bright, straight, and consistent from room to room. Clients want clean whites, true wall colors, clear window views, and fast delivery. Luminar makes that routine simple: set exposure and white balance, fix color cast from mixed bulbs and daylight, then guide the eye with gentle contrast and local tweaks.
Batch tools keep an entire listing uniform, while masks let you work on Windows, floors, and fixtures without touching everything else. If you’re after the best photo editing software for real estate photography, you need speed, repeatability, and results that look natural on MLS, portals, and print.
Luminar’s Core Flow for Property Shoots
Start with a calm base: correct verticals in-camera where possible, then open the RAW, place exposure, and set white balance to neutral. Remove color shifts on ceilings and walls before you add contrast. Next, work locally: balance bright windows, lift dark corners, and tidy small distractions. 
Smart selections in Mask AI help you target glass, trims, or furniture edges in a few clicks, saving time on every room.  Finish with a quick halo check around frames, a gentle clarity passes on wood and tile, and a reusable naming/export recipe, so every listing ships fast and consistent.
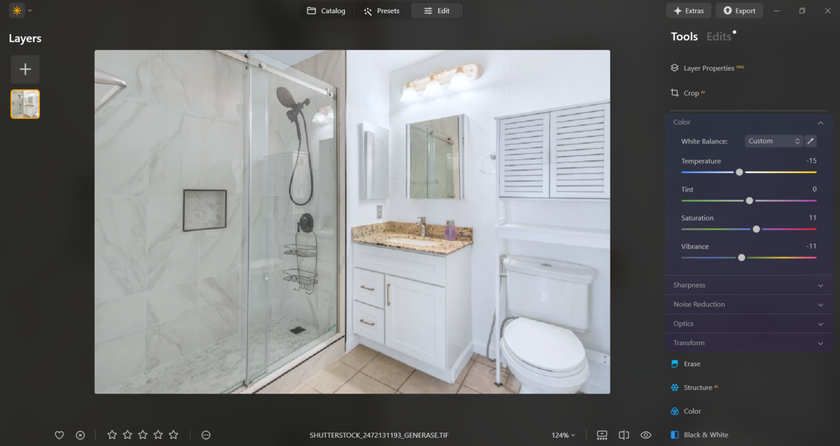
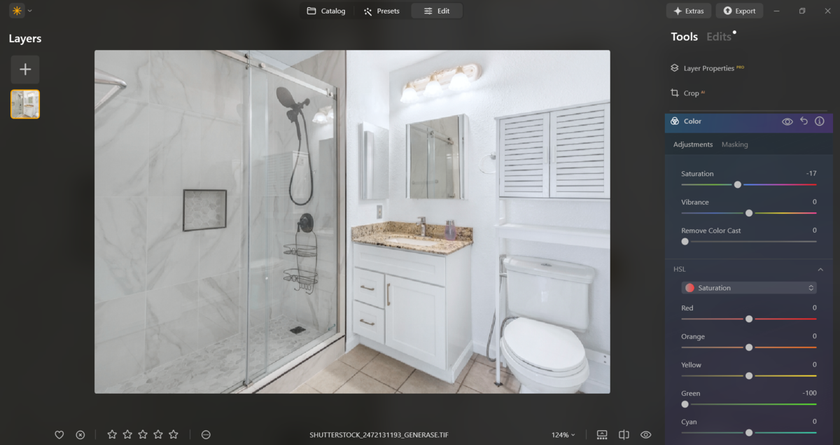
Windows, Walls, and White Balance
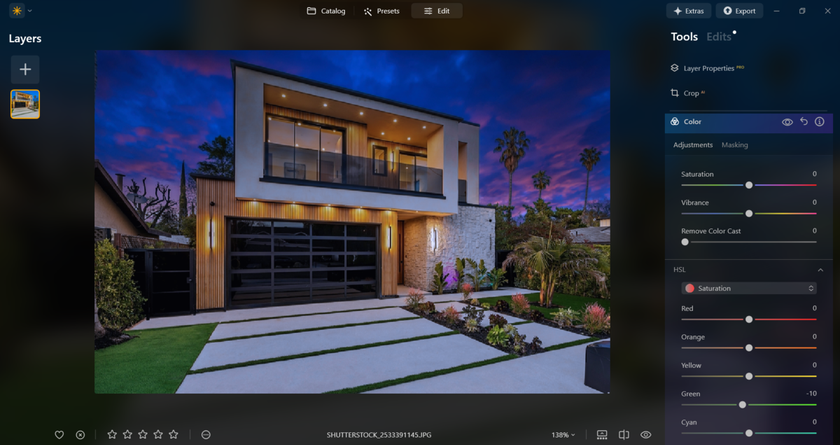
Mixed light is the main headache: cool daylight at the window, warm bulbs in the room. Start by placing exposure, so ceilings stay clean and shadows keep texture. Set the white balance to neutral, then fine-tune the tint until the whites appear true. Nudge contrast and midtones to guide attention from floor to view.
Keep wall paint realistic—avoid heavy saturation or global clarity that makes plaster look gritty. With a steady routine like this, Luminar works as the best software for real estate photography when you need bright interiors, readable window details, and colors that buyers trust.


Speed at Scale: Folder-Wide Consistency
A listing is a series, not a single hero shot. Build one base look for the property, copy it to similar rooms, then adjust a few frames by hand. Save naming and export settings so web and print versions are ready in one pass. 
For large shoots, rely on bulk editing to synchronize exposure, white balance, and subtle color adjustments across entire folders, then apply quick local masks for windows or fixtures. This keeps kitchens, baths, and living areas aligned, shortens delivery time, and makes the gallery feel like one story.
Room-to-Room Consistency: Presets, Proofing, and Hand-Tuning
 Consistency sells the story of a property as much as any single hero shot. After you build the base, look for a listing, prove a small set first: kitchen, living room, one bath, and an exterior. View at phone size and full screen; if whites drift or wood tones vary between rooms, adjust the base and resync before touching local masks.
Maintain a single exposure target for ceilings and cabinets to ensure neutrals remain believable across various lighting conditions. Save a “daylight” and a “tungsten-mix” variant—most homes need just these two. When you hand-tune, work in the same order each time: windows, shadow corners, small distractions, and then a light clarity pass on textures (such as wood, tile, and textiles).
Avoid global clarity on walls to prevent grit. Finish by exporting a micro-gallery (six images) for the client to preview; once approved, run the batch and spot-fix any outliers so the final set feels clean, bright, and cohesive.
Quick Wins Checklist
Before sliders, do a fast pass, so every room starts clean and consistent. These steps prevent color drift, halo edges, and “crunchy” walls, and they make later masking faster. If a lamp cord, outlet plate, or small scuff pulls the eye, tidy it with AI object removal and move on.


level verticals; crop to remove leaning door frames;
set white balance to neutral; fine-tune tint until ceilings look true;
protect the window highlights first; then lift shadowed corners;
reduce color cast from mixed bulbs (green/magenta shifts);
add gentle local contrast on wood, tile, and textiles; keep walls soft;

check for halos along frames and baseboards; back off if they appear;
save an export recipe (WEB/PRINT) and a base look for the whole listing.


Close with a quick comparison of phone size and full screen. If whites stay clean and the window reads without glare, you’re ready to sync the look to the next room.
Windows & Interiors: Natural Blends Without Brackets
You don’t always need multi-bracket HDR to show a view and a bright room. Place exposure for the interior, keep window highlights just below clipping, then lift midtones near the frame with a soft mask. Add a light clarity pass to furniture and flooring, but keep glass smooth, so reflections don’t turn noisy.
Cool the view a touch if outdoor greens run hot, and warm the interior a hair for a welcoming feel—tiny splits keep depth without looking processed.


This balance, room after room, is why Luminar feels like the best real estate photo editor when you want honest color, readable windows, and a consistent gallery buyers can trust.
Learn the Look Buyers Expect
 Real estate images should feel bright, honest, and inviting. Keep verticals straight, use skin-tone friendly whites (such as ceilings and cabinets), and opt for truly neutral colors. Let window views be clear and unglare-free. For a quick refresher on framing and color that matches buyer expectations, see how to edit real estate photos, then apply the same baseline across kitchens, baths, and living areas. Small local lifts on worktops and floors add texture; walls stay soft, so paint doesn’t look gritty.
Elevate Your Photography with Our Advanced Software
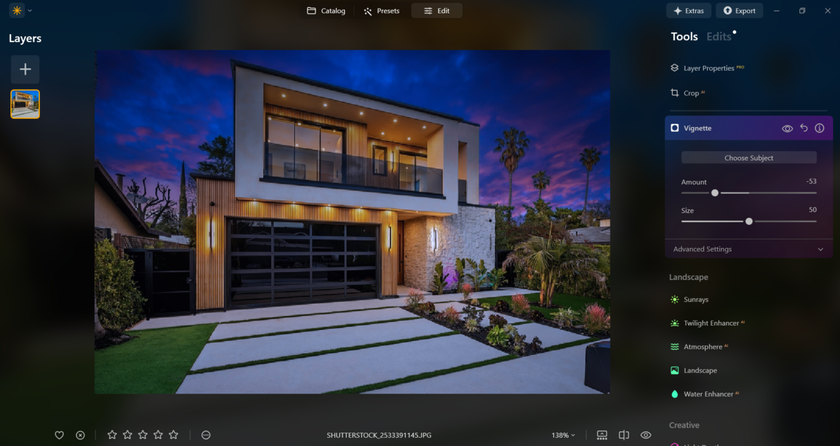
Discover PricingExterior, Twilight, and Sky Control
Outside shots live or die on clean horizons, real greens, and tidy driveways. Start by straightening, then place exposure so siding and roof detail stay readable. At twilight, balance the warm interior glow with cooler sky tones; a gentle split keeps depth without banding. Watch for color shifts on stucco and pavement—pull magenta/cyan casts back to neutral.
If you need ideas for fixing tricky lawns, skies, and reflections, this roundup of real estate photo retouching solutions shows practical touch-ups that still look truthful. Keep halos off rooflines, avoid crunchy clarity on clouds, and add a light local sharpen to signage or house numbers, so listings stay scannable on mobile.


Field-to-Delivery: A Repeatable Day-to-Day Flow
Build a simple pattern and apply it to every job: cull quickly, establish a base look for the property, sync to similar rooms, then fine-tune windows and fixtures. Group images by area (exterior, living, kitchen, bathrooms, bedrooms) and maintain one export recipe for web and another for print, ensuring predictable delivery.
Name files with address and room tags to speed MLS uploads. Before sending, do one last scan on phone size—check whites, window detail, and verticals. The goal is a gallery that feels uniform and easy to browse, with true color and clear lines across the entire listing.
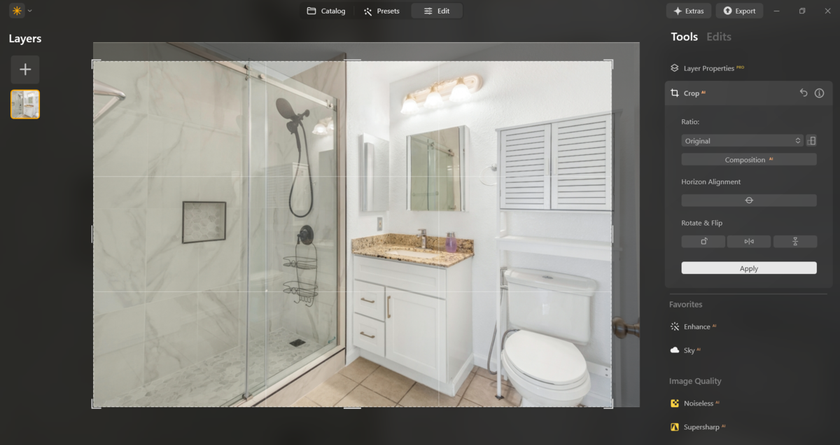
Power Moves & Edge Cases
Glass reflections: angle slightly off-axis, then use a soft mask to lower specular highlights without dulling the whole pane. Tight bathrooms: correct distortion first, then crop; keep verticals true, so tiles don’t bow. Mixed bulbs: neutralise the ceiling, then balance wall tint so cabinets and countertops stay believable.
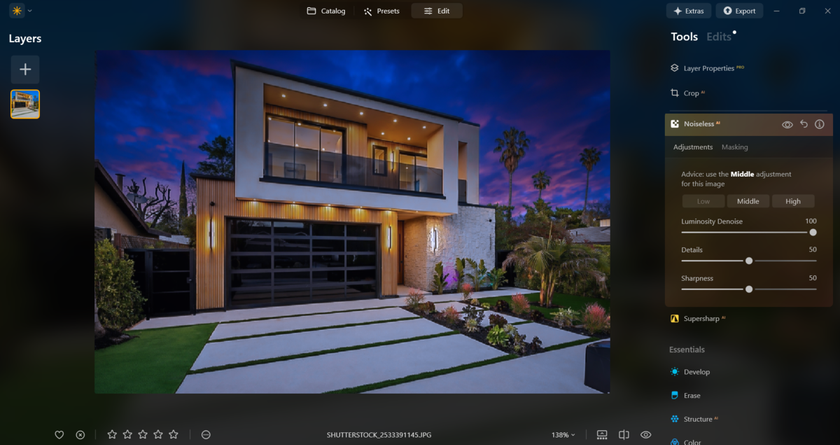
Small tile/moire issues: reduce clarity locally and add a touch of noise reduction before sharpening. For stairs and railings, mask fine edges at low flow to avoid halos. Save each solution as a small preset so the fix is one click on future shoots.
FAQ
Can I batch a whole listing?
Yes. Copy a base look to similar rooms, then spot-fix windows and fixtures with quick local masks.
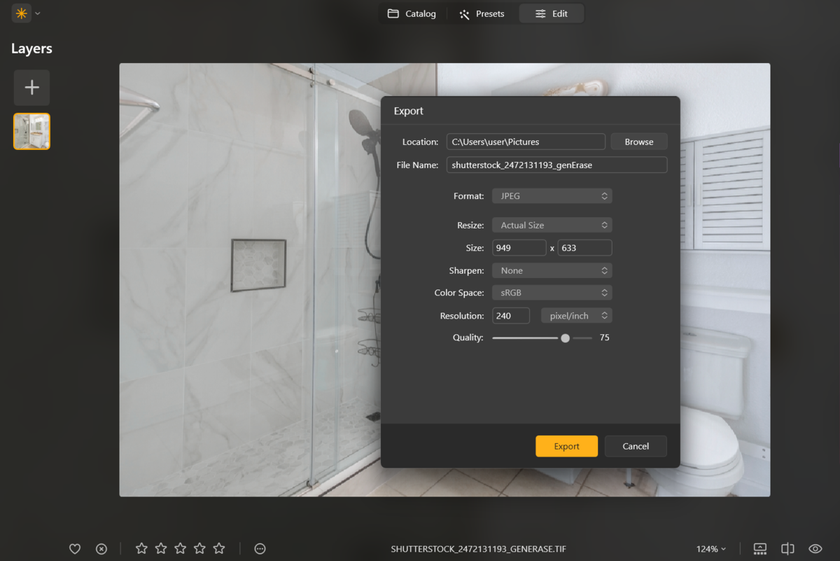
What export sizes work for MLS and print?
Create two recipes: web gallery (sRGB, modest size) and print (higher resolution, high quality).
How do I keep whites clean on walls/ceilings?
Set white balance first, then fine-tune tint. Reduce mixed-light casts before adding contrast.
Do I need HDR brackets for interiors?
Not always. Place exposure for the room, protect window highlights, then lift mids with local masks.
Does Luminar handle RAWs from my camera?
Yes. Import RAWs, build a non-destructive edit, and export web/print versions with consistent settings.