Add Artistic Noise to an Image
Many photographers seek to add noise (or, more correctly, grain) to their photos to achieve an interesting retro look that emulates classic film photography. Learn how to do so in Luminar Neo in a fast and easy way
View plansHow to Masterfully Add Noise to an Image?
Keep in mind that grain and noise are different things!
Grain is a characteristic of traditional film photography, resulting from the physical properties of the film emulsion, while noise is a digital artifact in digital photography due to electronic factors.
That said, grain can contribute to a particular aesthetic, making your images incredibly atmospheric.


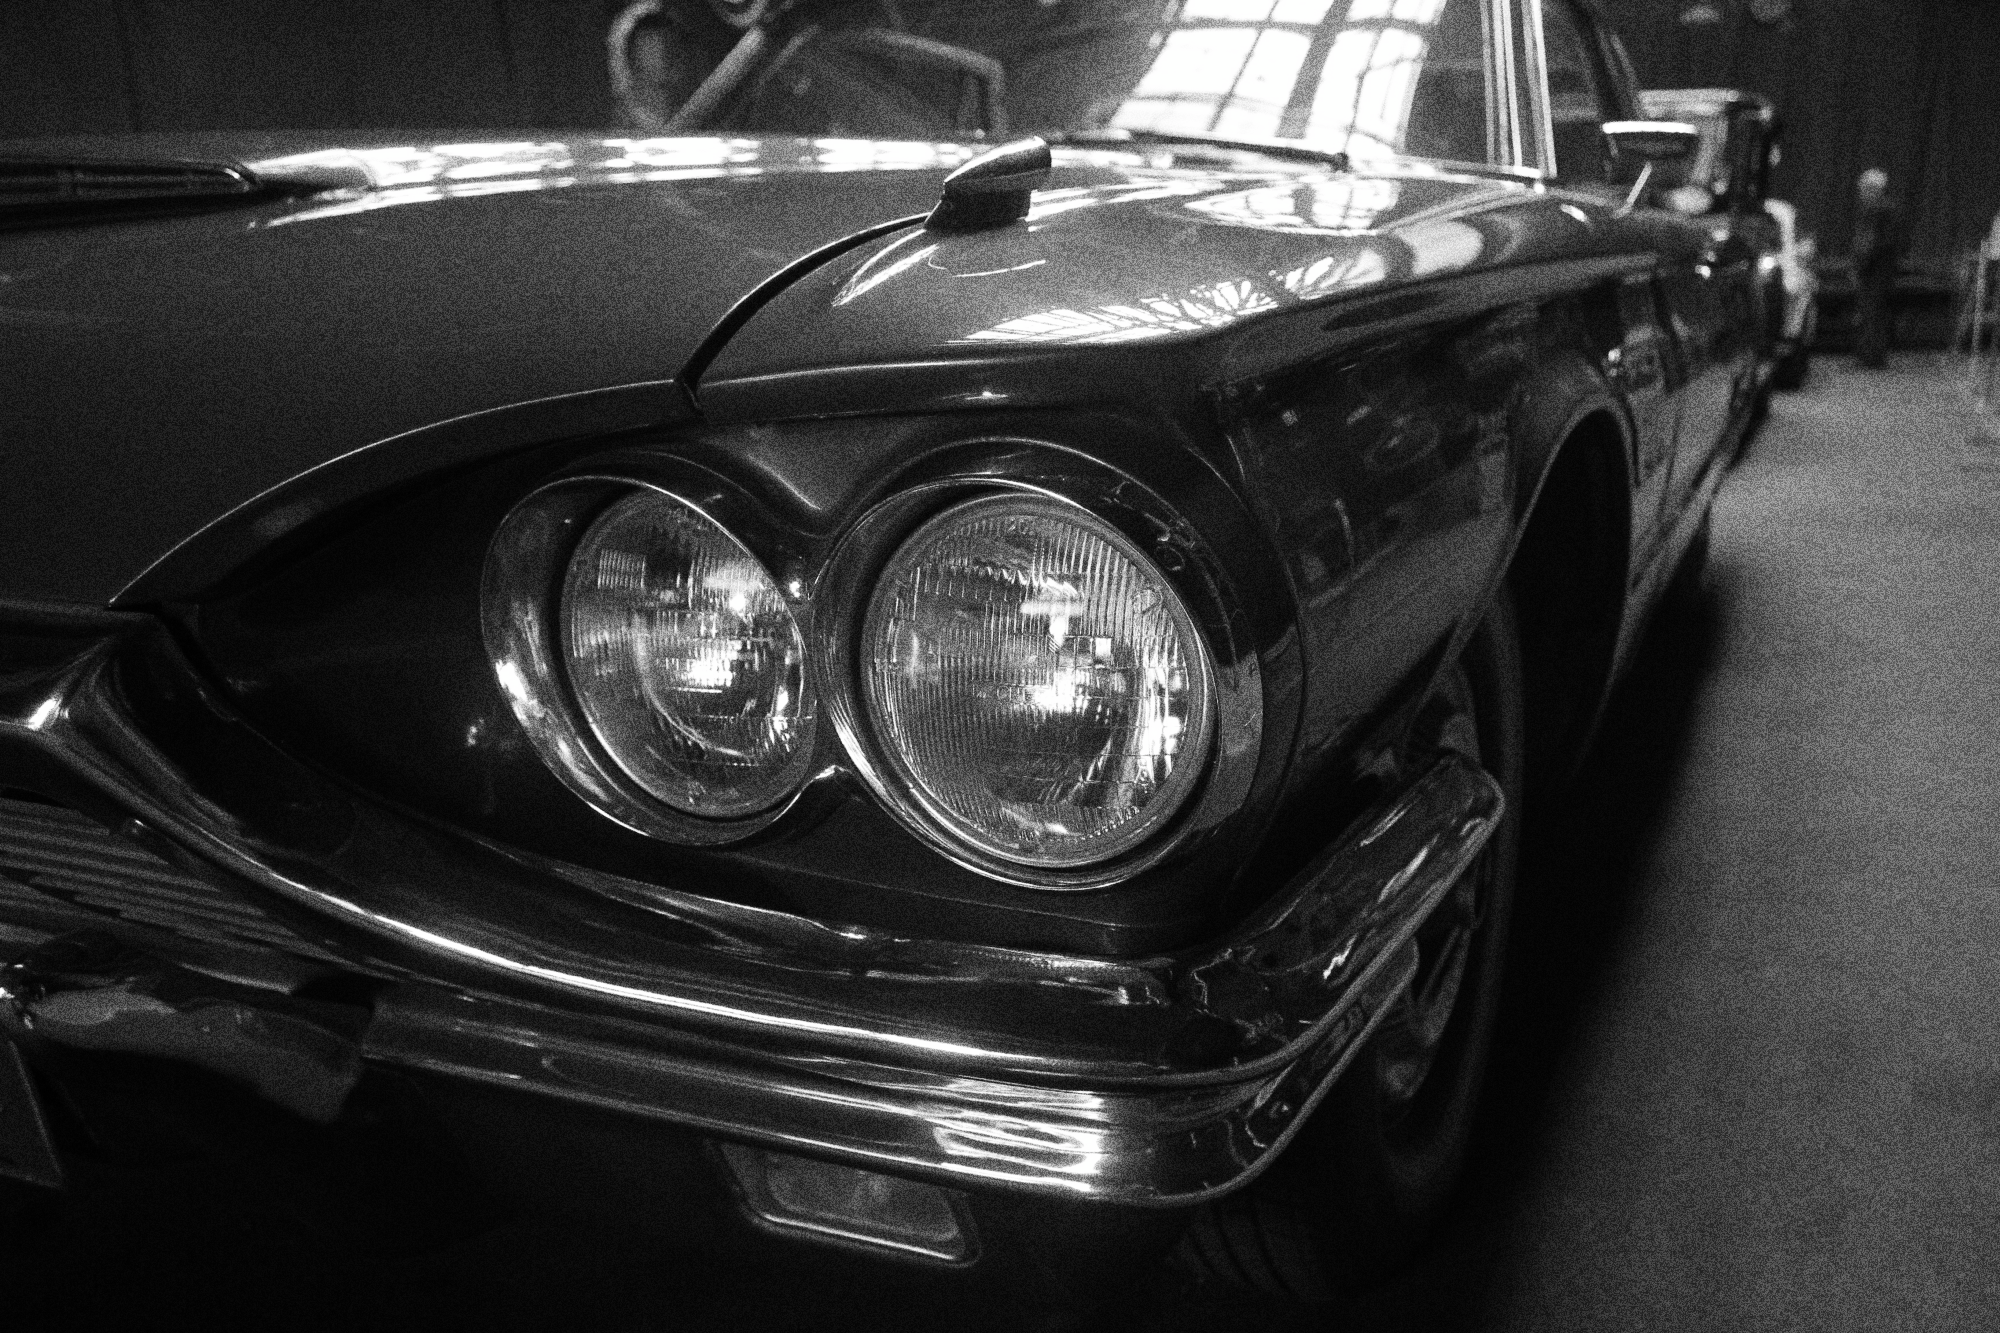
© Ksenia Kazak
Why Grainy Photo Effects Matter for Your Visuals?
By adding a grain picture effect, you can give your photo a vintage, nostalgic, or retro feel. Grain can add texture and depth to your image, making it more visually interesting.
The gritty filter effect and imperfections associated with grain can enhance the emotional impact of the image. For example, it can make a portrait feel more raw or evoke a sense of melancholy.
The gritty filter effect and imperfections associated with grain can enhance the emotional impact of the image. For example, it can make a portrait feel more raw or evoke a sense of melancholy.
Adding Texture Right with Image Noise Generator
Luminar Neo’s Film Grain tool can help you automatically add grain to your image in just a few clicks. You can also use the masking tool to apply the effect only to parts of your image.
Or use one of the many built-in Presets that can also add grain and other pre-adjusted effects to your photo.
Or use one of the many built-in Presets that can also add grain and other pre-adjusted effects to your photo.

© O.Rohulya
Unveiling the Art of Adding Noise to an Image
Use the Film Grain tool to emulate the structure of analog film stock by introducing random, stylized grain to add static to an image.
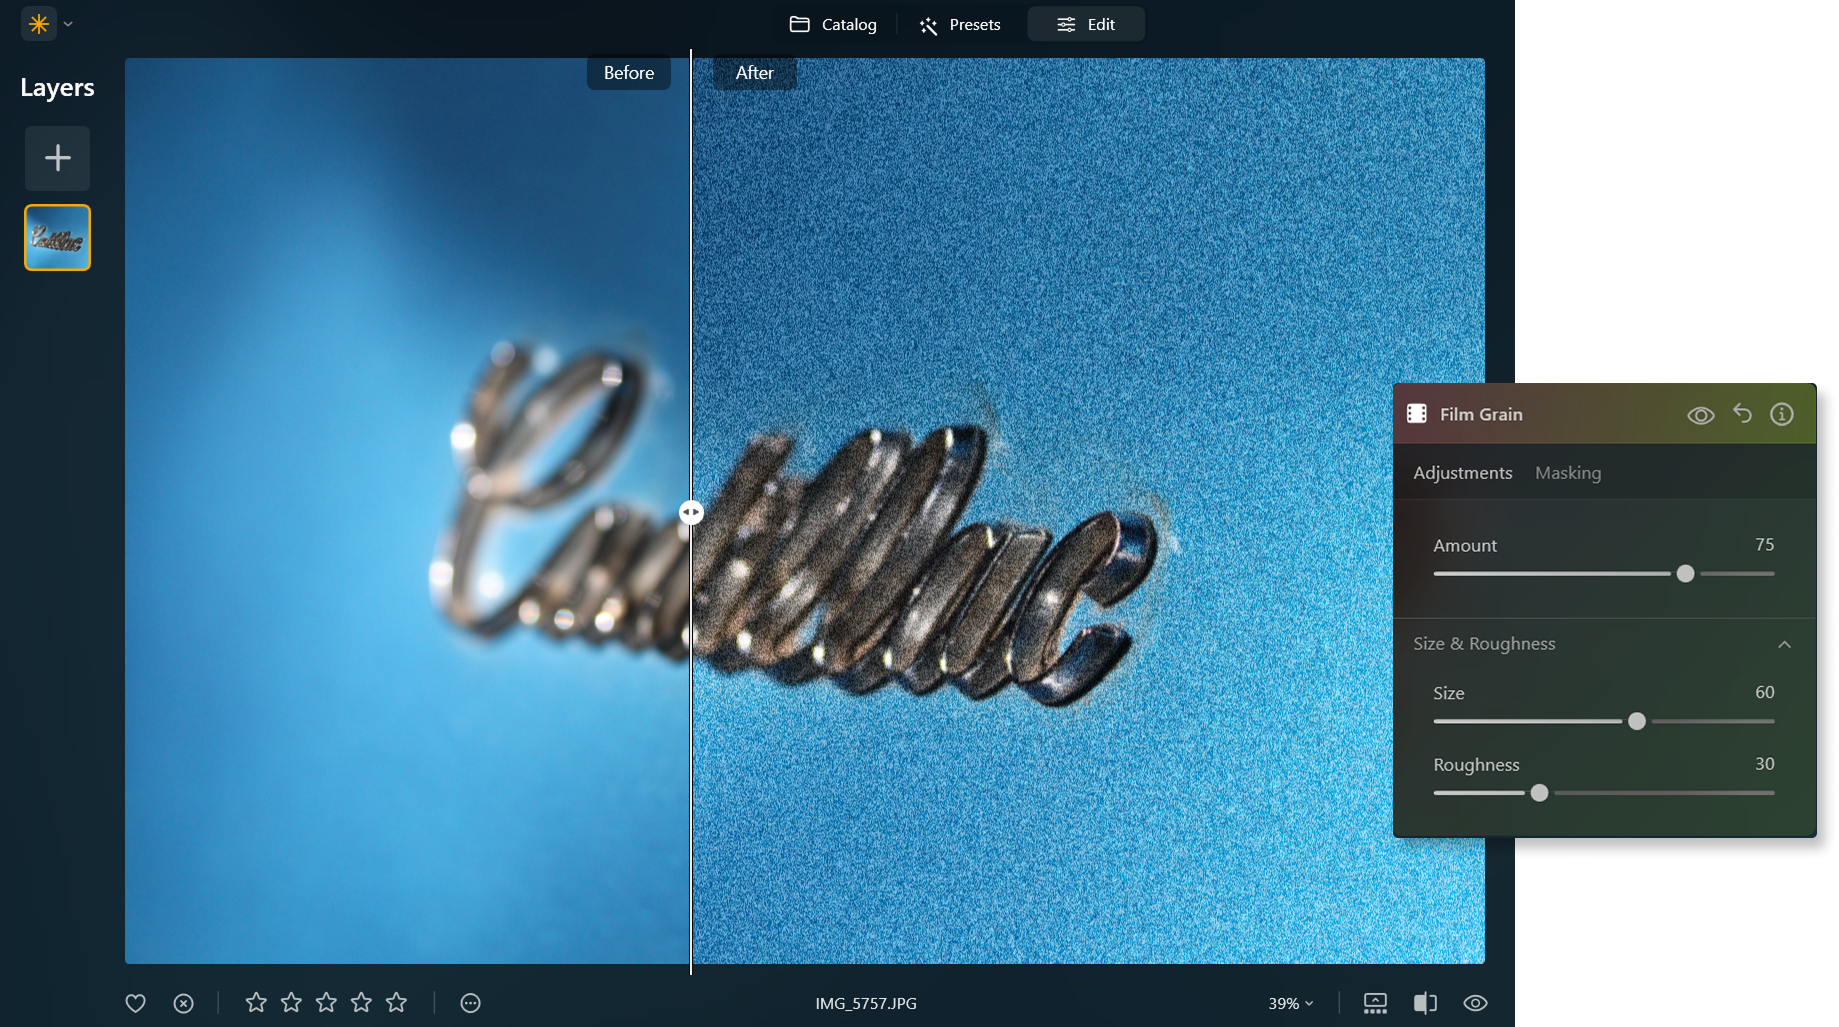
Use grain to give your color or black and white photos a simple analog feel. Here are some of the settings you can tweak:
• Amount. This slider controls the degree of graininess in the image.
• Size. This slider adjusts the size of individual grains.
• Roughness. This slider allows you to select the coarseness of the grain.
• Amount. This slider controls the degree of graininess in the image.
• Size. This slider adjusts the size of individual grains.
• Roughness. This slider allows you to select the coarseness of the grain.
Explore Other Features
Luminar Neo has plenty of other features to help you edit faster and easier
Film Grain


© shutterstock
Our film grain effect transforms your pictures, adding a touch of nostalgia and artistic flair.
Supersharp AI


© Ksenia Kazak
Use our cutting-edge technology to naturally restore the sharpness of your cherished memories
Image Tinter


© Lisa
Unlock the true potential of your images through expert color correction and mood setting.


Grayscale Image


© mathewbrowne_anglesey
Explore our tools and let nostalgia and timelessness transform your visual storytelling
Noiseless

© reewungjunerr
Denoise images and preserve every detail in your photos with smart Photo Noise Reduction
An application & plugin
For macOS & Windows
- High-performance AI editor
24/7 technical support
30-day money back guarantee
Join our communies

Frequently Asked Questions
How to add noise to an image with Luminar Neo?
Use Luminar Neo’s Film Grain tool to easily add grain to photos!
Can I control the amount of noise to be added to the image?
Of course! Easily regulate the amount, size, and roughness of the grain with the controls available in the Film Grain tool.
Are there different types of noise I can apply?
While you can’t choose different types of grain in the Film Grain tool, you can try applying different Presets that have different types of noise effects to your photos! Luminar Neo has a vast collection that you can choose from.