The Best Macro Photography Tips and Techniques
September 18, 2025
Learn the best macro photography tips and techniques. Discover how to capture tiny details with elegance and edit your shots with the right software.
As amateurs become professionals, they find new skills and possibilities. However, it can be very burdensome due to the overload of choices. This is why, before examining radical methods using drones or pursuing an elusive personal direction, one should pay attention to the smallest details and see the beauty in them.
The latter can be found even in a smouldering match if you know the ways to picture. How to do macro photography, and do you need the best software for photo editing for it? We will tell you in detail in this article.
What Is Macro Photography?
Macro photography is the practice of capturing small objects in great detail, revealing textures and forms invisible to the naked eye. Although its artistic and scientific potential was recognized earlier, significant progress came during the Industrial Age, which encouraged people to explore the world from new perspectives.
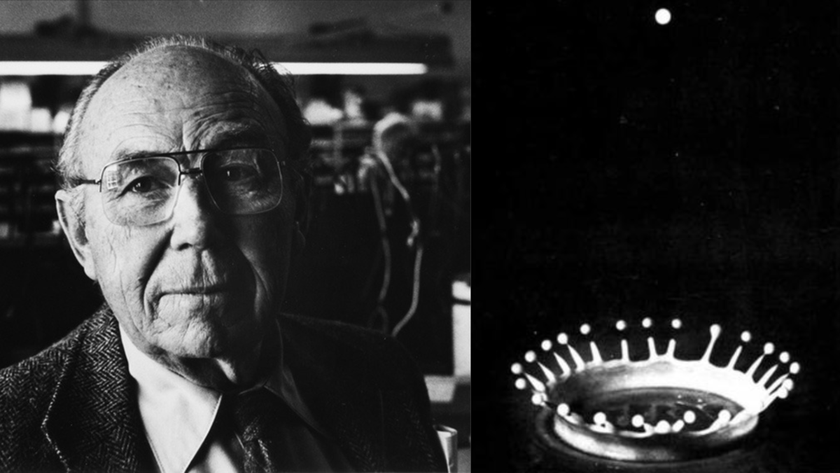
One of the pioneers was Harold Edgerton, an MIT graduate whose innovations in strobe lighting elevated lens technology. His work, along with that of his successors, predicted the growth of photographic equipment. By the 1970s, these developments made it possible to create exceptionally detailed images of tiny subjects, solidifying macro photography as both an artistic style and a scientific tool.
Standard macro technology allows you to capture visible items and detect hidden nature details. The best examples can be:
iridescent shine of a dragonfly's wings in the sun;
color of a bumblebee;
the cranberry blossom.
Super macro photography is the art of capturing, where the subject is smaller than 24 mm in size. It allows photographers to document extraordinary moments such as the hatching of fry from eggs or the intricate process of a caterpillar spinning its cocoon.
Your AI-Powered Photo Editor for MacOS and Windows
Discover Now!What Makes Good Macro Photography?
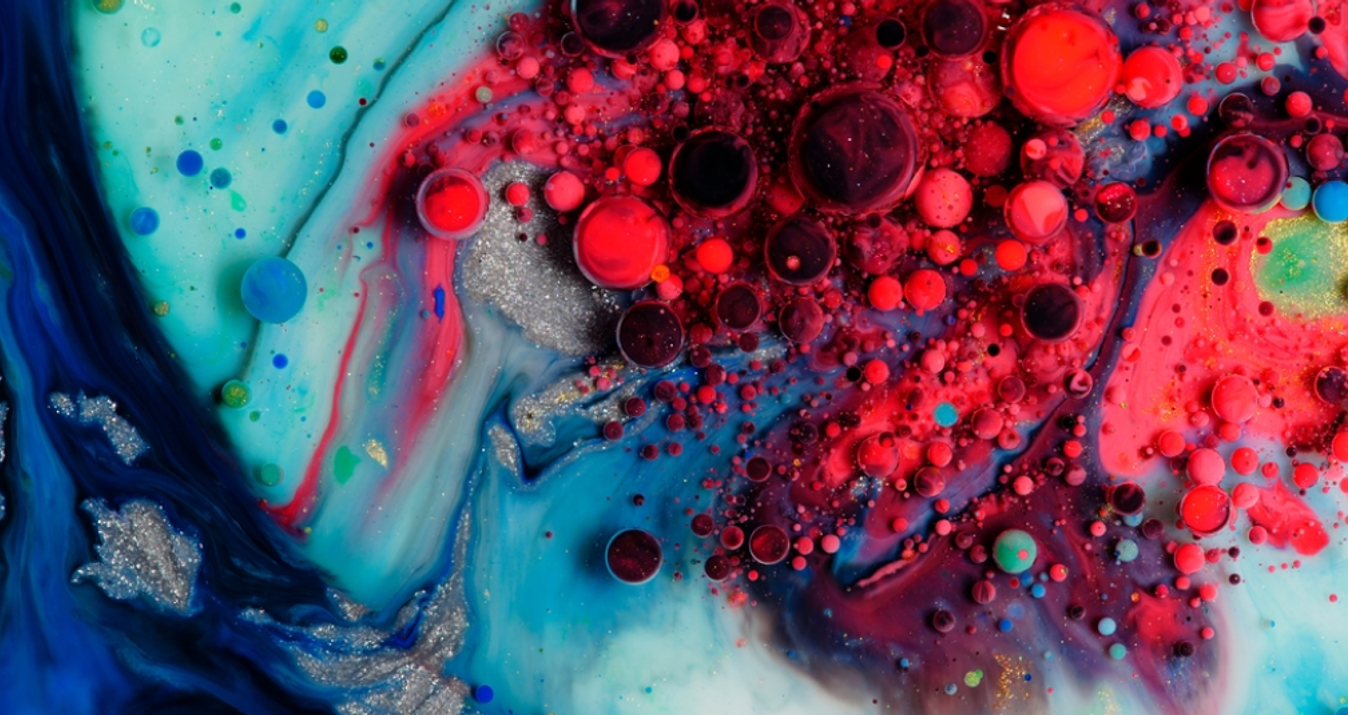
Macro nature photography allows you to see the world in ways invisible to the naked eye. Even the smallest shift in angle or focus completely changes the composition, while backgrounds can be reduced to pure fields of color that highlight the subject. This flexibility makes the genre accessible and highly creative.
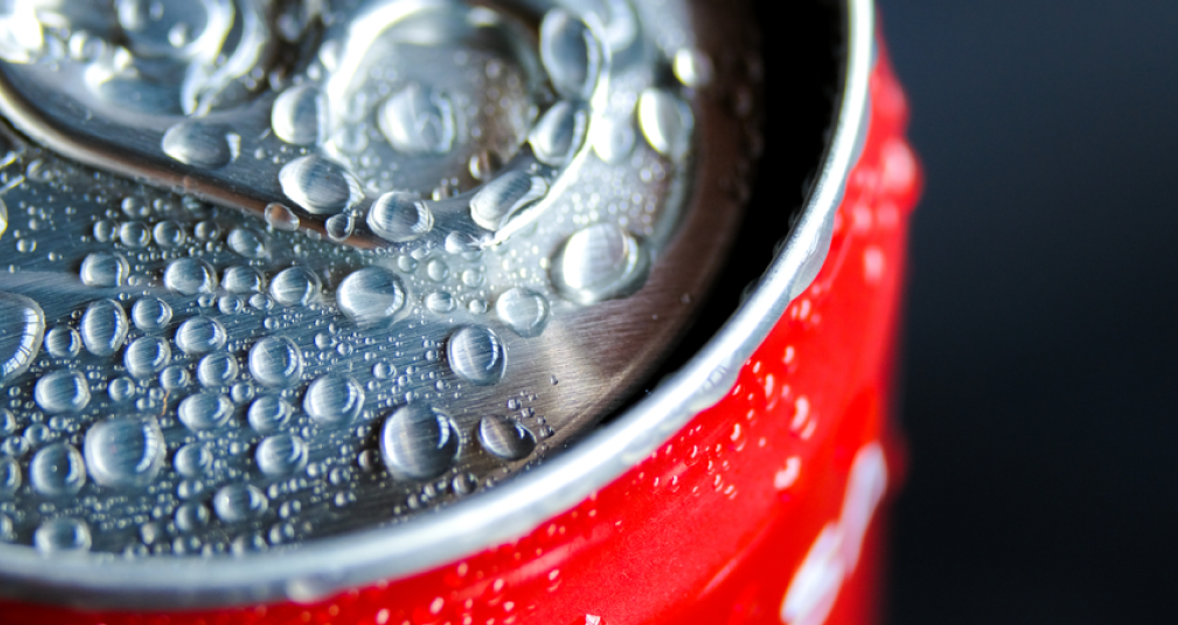
Shooting close-up reveals textures, patterns, and details that remain unnoticed in everyday life. A simple leaf, a drop of water, or an insect can turn into a striking visual story. The variety of possible compositions is almost limitless, even in familiar surroundings.
Ways to capture shots by macro photographers:
- Macro mode on cameras or smartphones – the easiest entry point without extra gear.
- Add-on solutions – extension rings, clip-on macro lenses, or dedicated macro objectives for more precision.
- Cropping high-resolution images – useful when shooting with plenty of megapixels.
- Polaroid and instant cameras require special close-up lenses and strong lighting.
- Optional tools – focusing rails or ring flashes help with stability and accuracy, but are not mandatory.
Macro photography doesn’t demand expensive equipment or exotic locations. With basic tools and creative exploration, even ordinary objects can turn into unique photographic subjects.

Macro Photography Examples


How to Do Macro Photography: Quick-Step Guide
Typically, macro shooting guides are broken down, and newcomers have to piece them together from the Internet like a puzzle. Skylum makes a move and is ready to give a hand with the short macro photography tips. They will become the basis of your successful photos!
1. Select the Right Subject
 Not all objects are well-detailed; some may appear flat or crowded. For example, a drop of ink will remain dark while absorbing light. Choose an object with sharp edges that provides high detail. Furthermore, consider the periodicity of movement of living creatures and sufficient contrast so that the object clearly stands out from the background.
2. Use Proper Lighting Techniques
 The greatest worry of macro photographers is a shortage or excess of light. This is particularly true for 1:1 size pics. Whenever feasible, use natural light to create soft, diffuse lighting that highlights the texture and detail of your subject.
You are able to employ artificial lighting, such as a ring flash, macro flash, or off-camera flash, to highlight the subject and soften harsh shadows. Side lighting may reveal texture, while backlighting can enhance the translucency of petals or wings.
3. Set Up and Stabilize Your Camera
 Even the slightest hand motions can produce blurring. Unfortunately, the exhilaration of acquiring cool shots or the anxiety of the initial click both have a bearing on quality. Use a tripod or monopod to stabilize the camera and reduce camera shake, particularly when shooting at slow shutter rates or with highly detailed subjects. Stabilizing the camera produces clear, blur-free photographs and allows you to fine-tune your composition.
Tips and Tricks for Macro Photography
How do you take the best picture? This is the question people ask when they first pick up a camera. More experienced macro photographers think about new ways of creativity and avoiding routine. That's why we will tell you about tips for macro photography that will definitely be useful.
Exclusive Tools of Endless Possibilities in One Editor
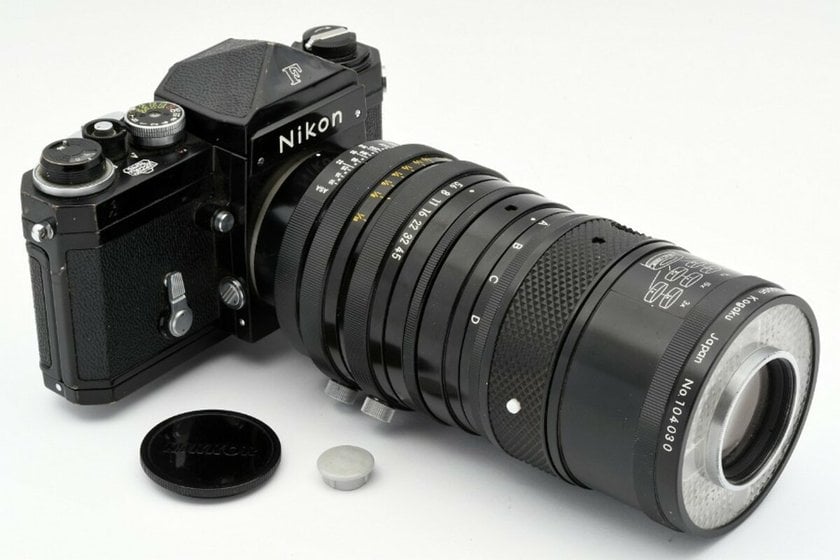
Explore Now!1. Start with a Good Macro Lens
Marco photography is known for its use of reversing rings. They let you use the lens from the back of the camera. It may sound weird, but this approach is incredibly cost-effective and will serve as a fantastic starting point for a newbie. You can additionally use extension rings to boost the magnification of your lenses (by lowering the aperture several stops).
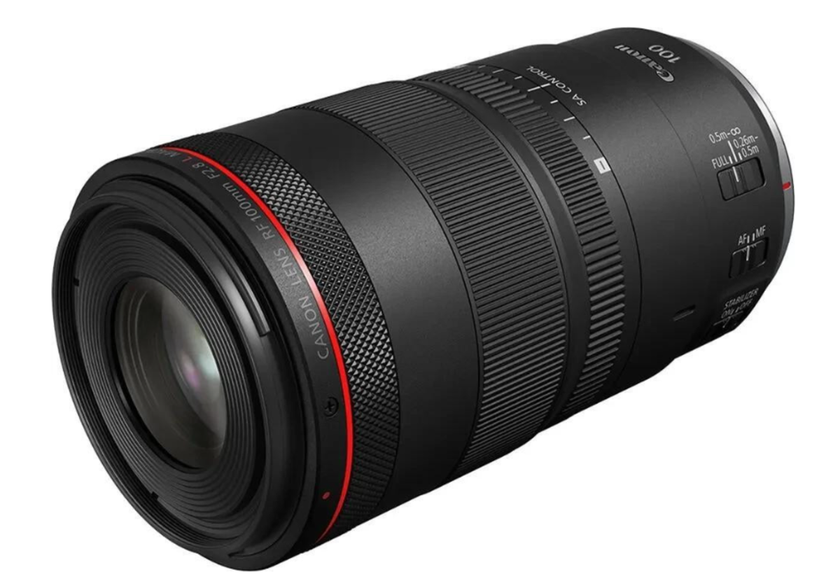
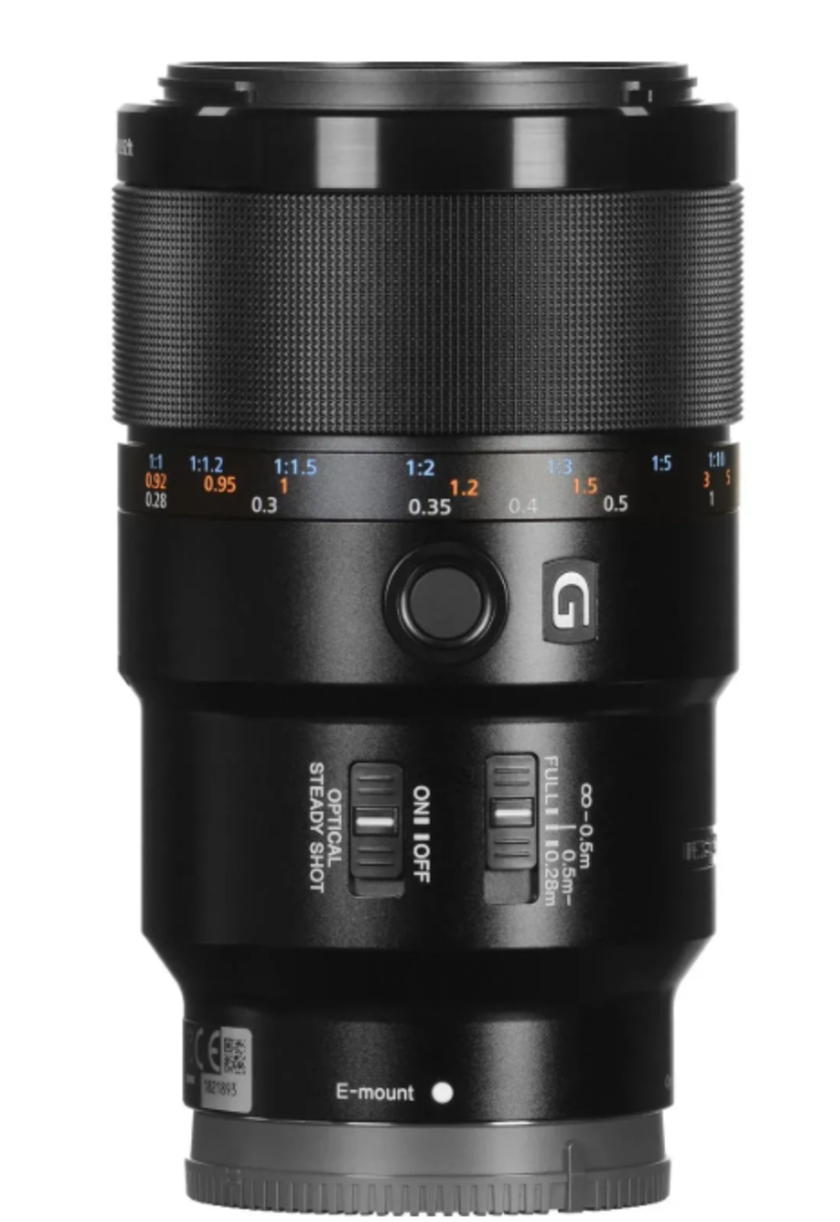
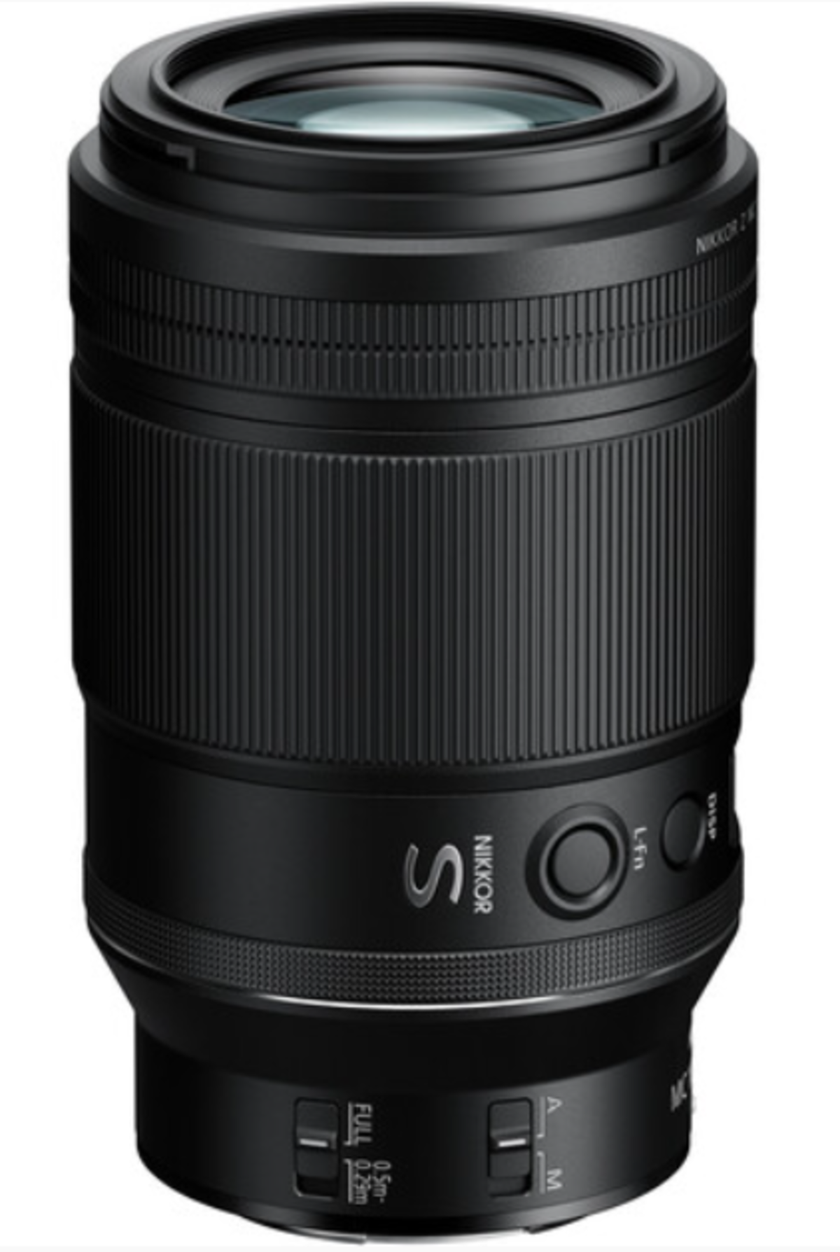
When an object is presented in its natural size on the matrix, it is considered a true macro. A focal length of 90 to 105 mm will offer the exact frame that will draw visitors to a photo exhibition like a magnet. The following lenses are just perfect:
Canon RF 100 mm;
Sony FE 90 mm;
Nikon NIKKOR Z MC 105 mm.
How to take macro photos with bigger or smaller scales? Some lenses shoot in a 2:1 ratio, which means the item is presented on the matrix twice its normal size. Pictures taken with this package look great with crystals. Others image items on the camera's matrix in a 1:2 ratio, which is ideal for thrilling sea photography.
2. Experiment with Depth of Field
Any macro photography tutorials notice: "Pay attention to the depth of field!". Why bother about focus when you have a fantastic camera? For example, suppose you decided to picture a spider climbing along a web. Even a 1.5-2 mm movement in aim will blur one of the legs, create a shine on the thread, and cause the buttocks to partially merge with the background. This is known as shallow depth of field, and it is a regular occurrence in macro photography.
Changing the aperture setting is the most common way to enhance depth of field (DoF). However, in order to achieve a properly exposed image, you will need either a lengthy shutter speed, a high ISO number, or both. AI Denoise is a great choice if your noise is visible. This is accomplished by restoring lost details and creating crisper shapes. Luminar Neo also features deblur and upscale capabilities, which enhance the quality of your macro photographs.
The first one is not suitable for most macro photos, which often require capturing moving objects (for example, a dragonfly or a berry in the breeze), while it can be suitable for macro pictures of objects or still life. If you don't want to use a longer shutter speed, a higher ISO can help, but then you'll need more light.
3. Incorporate Assistive Accessories
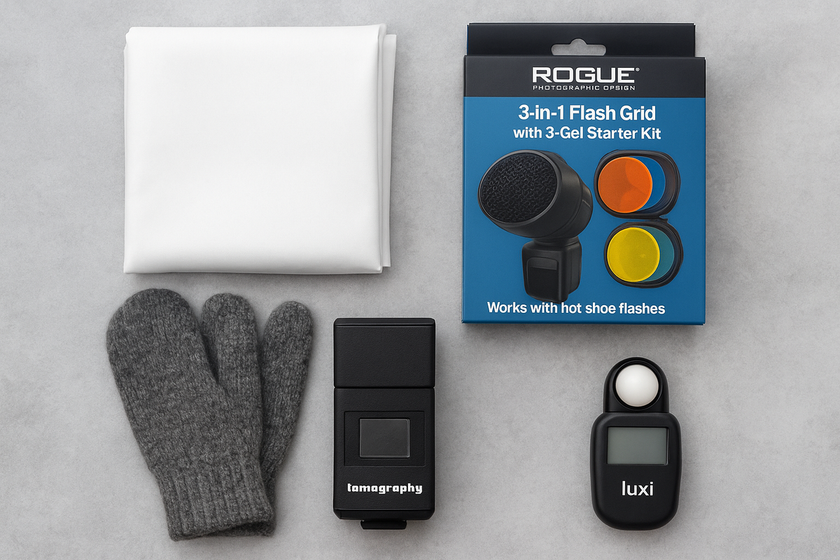
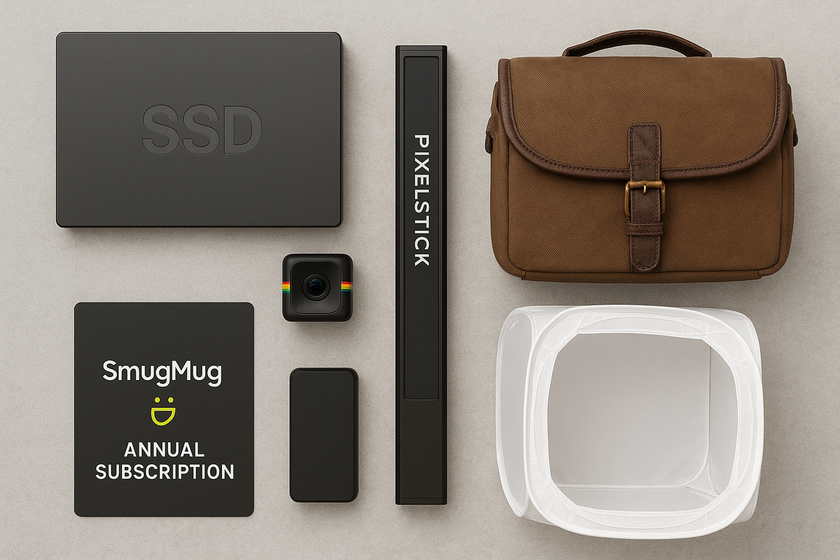
Additional photography tools are what make Pinterest so full of amazing photos. According to many who are not professionals, they are just lenses, tripods, and cameras. In fact, there are many more, and they all make great gifts for photographers. Want to choose one for a friend? Take a look at the table below.
Pricing type | Range, $ | Examples |
Low-budget | 10-50 | Photography backdrops, Rogue Photographic Design 3-in-1 Flash Grid with 3-Gel starter kit, winter gloves/mittens, Lomography smartphone scanner, Luxi Compact Light Meter |
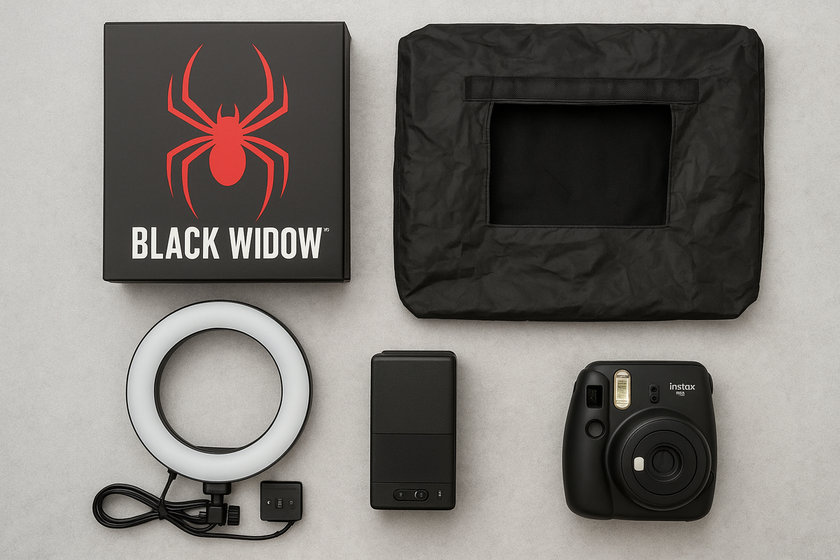
Middle-budget | 50-100 | Black Widow Box set, photography blind for animal and bird capturing, Neewer LED Ring Light kit, Fujifilm Instax Mini |
High-budget | 100-600 | Massive solid-state drive, Polaroid Cube, Pixelstick light painting tool, ONA camera bag, SmugMug annual subscription, portable studio |
For macro photographers, light and its sources are of greater value than the equipment. As a result, the fascinating color of a neon lamp or camera grip will be another cause for a person to amaze you with outstanding shots.
4. Use Manual Focus for Greater Precision
Sometimes a macro lens's autofocus is so slow that developers have to establish a separate setting for it. It limits the camera's focus range. For example, you can instruct it to just try to concentrate up to about 60 cm away. In this situation, attempting to focus on the background will be inefficient.
When you have all the time you need to concentrate, you may be precise. Set up a tripod or position your camera on a solid surface. Now you may use the aim ring to adjust the focus until the image is sharp where you want it. Alternatively, you can lock the target at a specific magnification and move the camera back and forth until the image is perfectly centered.
Check to see if your camera includes a "focus peaking" option. If activated, your subject will receive a colored frame when the camera detects sharpness. It's like a macro lens photography test drive. Some cameras also include electronic zoom.
5. Focus on Composition and Subject Position
Macro photos are stunning in their variety. The compositional decision is one of the most important. Assume you choose to picture the queen bee in motion. It is improbable that you will be able to capture a successful freeze-frame with the first click. So, what is the secret? The distinction between static and dynamic. A newcomer should start with something that cannot move. If you think that's dull, let me introduce you to a few interesting applications for macro photography.
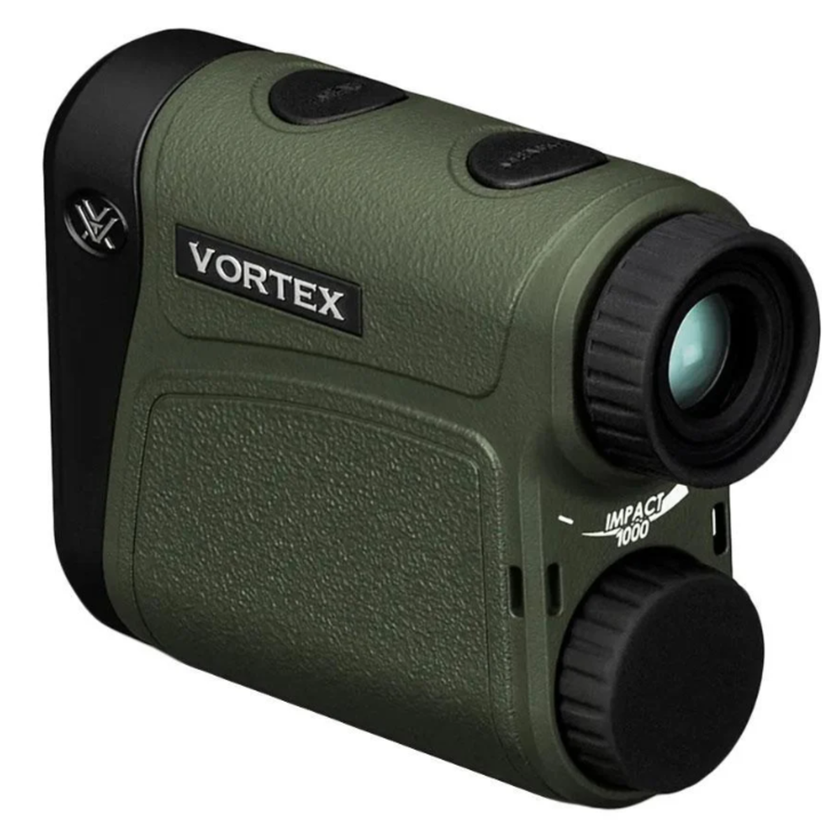
Special close-up rangefinders determine the exact camera-to-subject distance and perfect framing of the crystal structure.
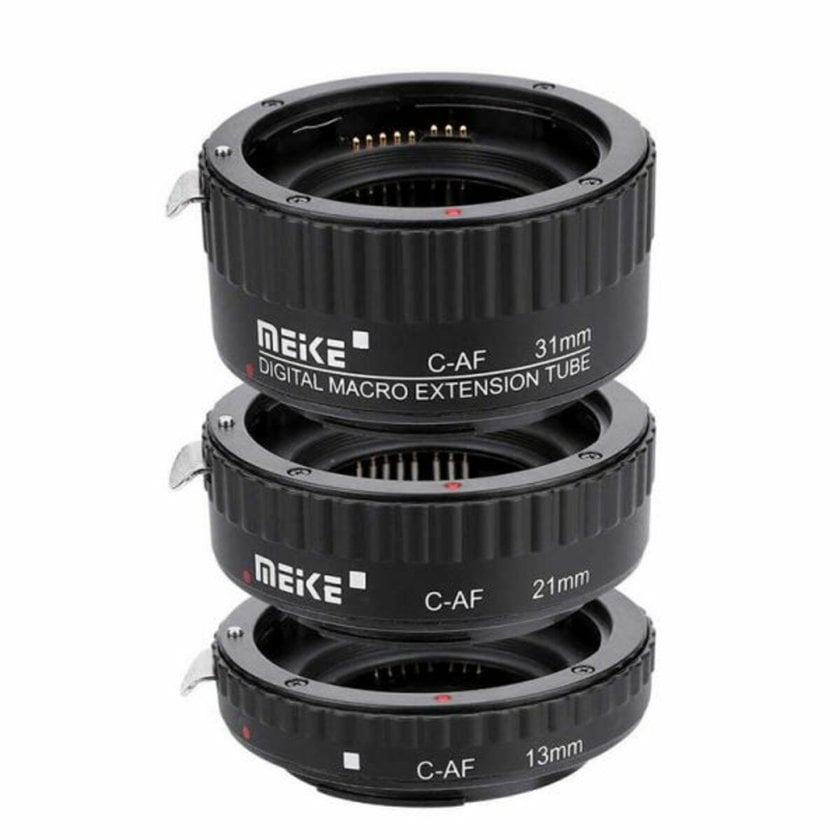
Supplementary macro lenses or extension tubes (mostly used in body cameras) permit the camera to focus on short distances for large-scale reproduction.
Simple cameras, such as those used in fingerprint scanning and certain types of medical photography, are permanently set to a fixed near length and include an accuracy gauge or other similar device.


Select a focus mode that is particular to you, as autofocus systems may struggle to work on closer focal length values. When dealing with a topic, shooting many shots at varying focal lengths and stacking them will result in a sharp shot from start to finish.
6. Try Focus Stacking for Greater Detail
 In macro photography, the depth of field is extremely shallow, so it’s often impossible to keep the entire subject sharp in a single shot. Focus stacking solves this problem by combining multiple images taken at slightly different focus points.
To do this, place your camera on a tripod and switch to manual mode. Use manual focus and, if working with flash, manual flash power for consistent results. An aperture around f/8–f/11 is usually ideal, balancing sharpness and depth of field.
For the best results, many photographers use a focus rail to move the camera in tiny increments. Additional lighting, such as an external flash with a diffuser, helps avoid harsh shadows and create a natural look. Sometimes, you may need to build a small “mini-studio” in the field to control light and stability.
Set the f-stop to around f5.6 for better final image sharpness and fast trigger speed. Perhaps the most common focus stacking software is Luminar Neo, which can additionally remove noise and much more. Otherwise, you can use a tripod, especially for photography.
7. Be Patient and Take Your Time
Unlike landscape or photojournalism, macro photography does not rely heavily on natural light. In turn, the latter emphasizes shutter speed, patience, and diligence. Rushing generally leads to missed details, soft focus, or distracting backdrops.
Patience permits you to wait for the ideal balance of subject, composition, and lighting. By altering the depth of field and shooting angle, you may create high-quality detail visualization. Instead of stress and constant camera clicks, you'll wind up with a collection of images that you'll be pleased with.
Macro Photography Techniques for Beginners
The macrocosm hides the ability to gain insight into the universe. Thanks to Marvel's Ant-Man film, most artists have returned to this direction. Beginners, just stepping on this path, are looking for interesting and useful macro photography tips. Let's discuss them below.
1. Selective-Focus Techniques
 Close-up photography employs selective focus to direct the viewer's attention to a specific area of the image. This is comparable to the portrait effect found in cellphones. What exactly is it used for? Agreed, capturing a dewdrop with a dog or tree trunk in the background is less fascinating.
A lot of novices practice photographing plants with a wider aperture (f/2) to make sure that the entire blossom is in focus. As you progress to f/5.6, you'll be setting the shutter speed to 1/2000 and ISO 1600. You should use a 35 mm or 50 mm lens to achieve the desired level of grain in your photo.
2. Creating Beautiful Bokeh
 Being that macro capturing often employs little subjects surrounded by unnecessary elements (grass, leaves, or textures), bokeh helps make the surroundings the focal point of your shot. The background would be blurred in parallel. To achieve this, use a wide aperture, reduce the distance between your subject and the background, and arrange highlights so that they form attractive circles of light.
However, even with years of macro nature photography experience, the likelihood of encountering a distracting blur or unanticipated wind is great. Therefore, you will need good post-processing. Use Luminar Neo for it — the multi-tool for photographers that layers your bokeh and makes editing a delight.
3. Using Freelensing for Creative Shots
 Freelensing allows you to highlight microscopic details with crisp clarity while surrounding areas fade into amorphous softness, resulting in an artistic, almost surreal atmosphere. That is how you can snap like all pro macro photographers.
How can you do it without additional equipment? The decision to disconnect the lens from the camera body seemed rash at first appearance. However, holding it slightly ahead of the mount and manually tilting or adjusting it produces selected light and the desired angle without the use of extra equipment.
Editing Your Macro Photography Images with Luminar Neo
 The captures you see in exhibitions have two stages: field work and post-processing. The former depends on the equipment and skills of macro photographers; the latter is related to the functionality of your editor.
Working with noise, bokeh, and other effects requires quick responses and ease of navigation. Luminar Neo is a wide-profile multi-tool that will show you layer by layer what macro photography editing is and how to turn imperfections into pearls. One click — one shot!
Learn more: How to Edit Macro Photos with Luminar Neo
FAQ
Can I Do Macro Photography with a Smartphone?
Later iPhone or Samsung models feature good digital resolution and built-in filters that enable you to take pictures at a 1:1 scale. Typically, the macro mode in smartphones supports semi-pro Photoshop tools, allowing for quick photo editing, such as adjusting focus settings or reducing blur.
What Is the Difference Between Macro and Micro Photography?
Macro shot photography means capturing subjects with their natural scale or larger. Micro capturing is mostly used in microscopes or other scientific equipment for extreme detail, far beyond what standard macro gear provides.
Can I Use a Telephoto Lens for Macro Shots?
Telephoto lenses can simulate close-ups and work well with extension tubes or close-up filters. Unfortunately, they don’t achieve the true 1:1 magnification that is shown in macro lens photography examples.
Is Macro Photography Hard to Learn?
In terms of macro photography techniques are comparable to landscape or portrait shooting. However, endurance, light adjustment, and sharpness all demand practice.