View plans

Straighten Images Effortlessly

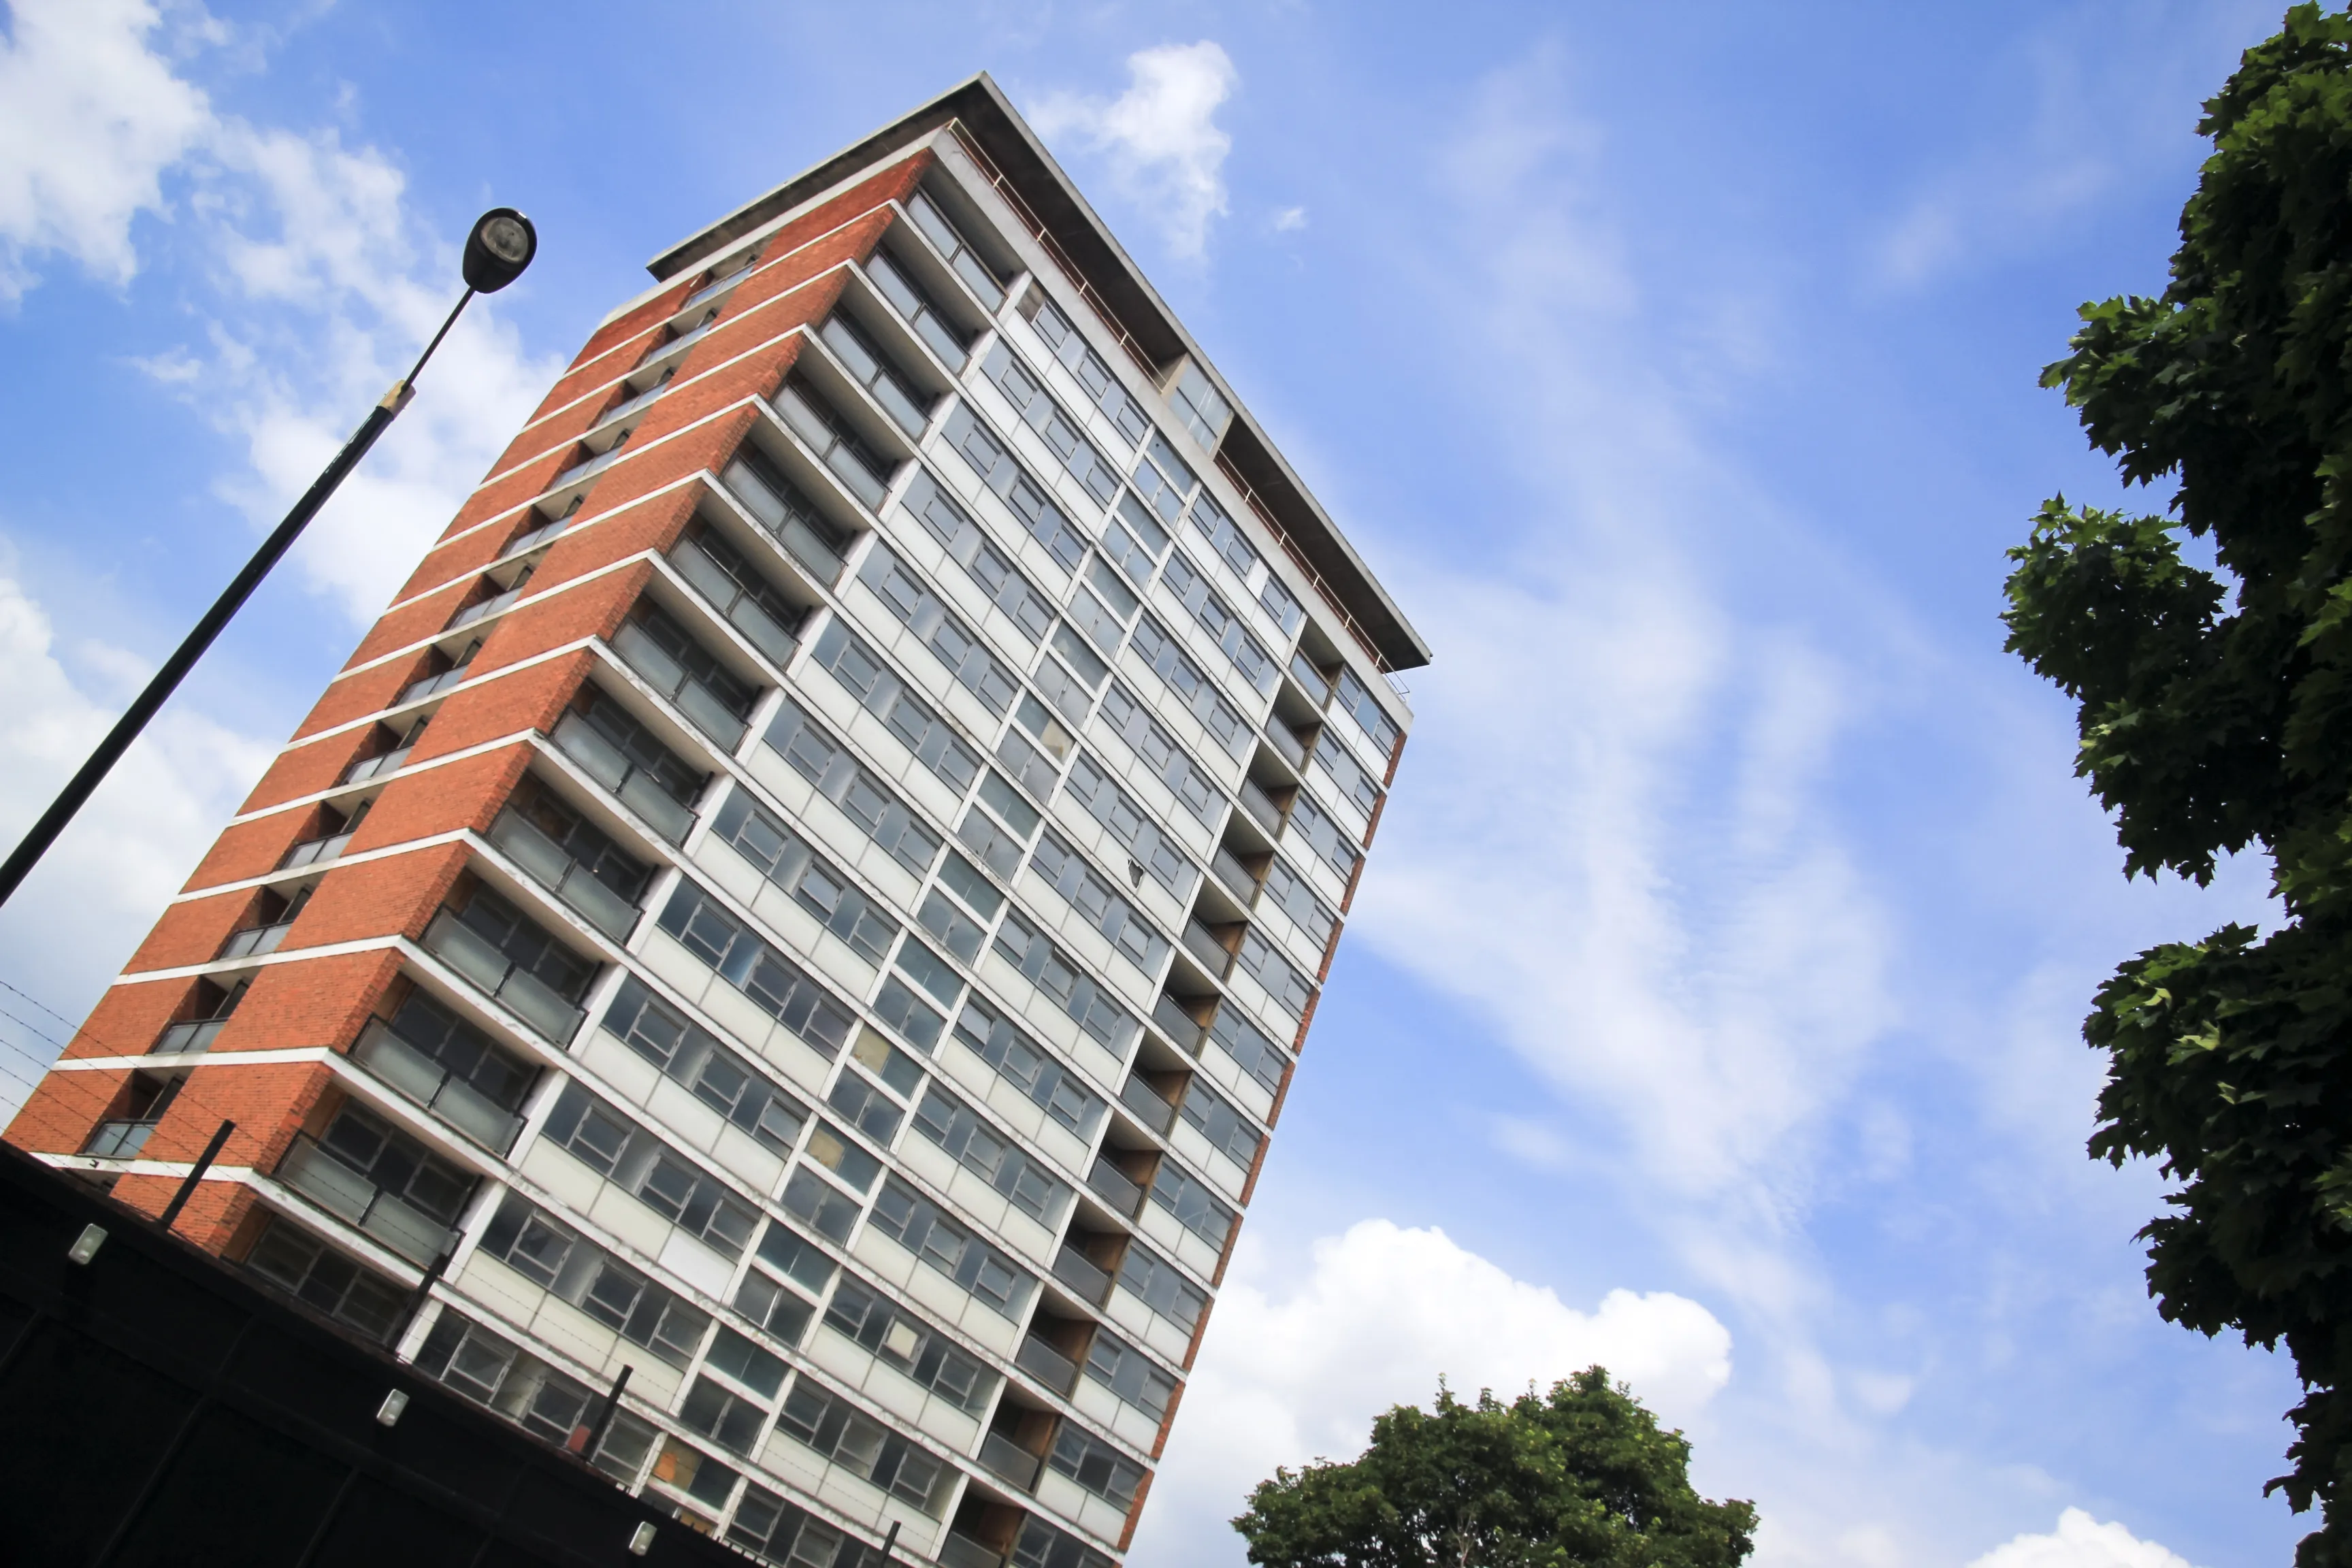
Perfect composition, along with accurate horizontals and verticals, is a challenge for every photographer. Even the best camera can’t guarantee an ideal shot, which is why the photo straightener tools in Luminar Neo compensate for any lens and perspective distortions.

View plans
(2)
(3)
(4)
Before
After
© rus7

Photo Tilt Correction Use Cases

Tilt correction, also known as perspective correction, is a technique used in photography and image editing to correct distortions that occur when a camera is not perfectly level with the subject.

It involves adjusting the perspective of an image to make lines that should be parallel, such as the sides of buildings or the horizon, appear parallel in the final image.

It’s vastly used in architectural, real estate, landscape, and panoramic photography to correct skewed photos.

Perfect Alignment With an Image Straightener

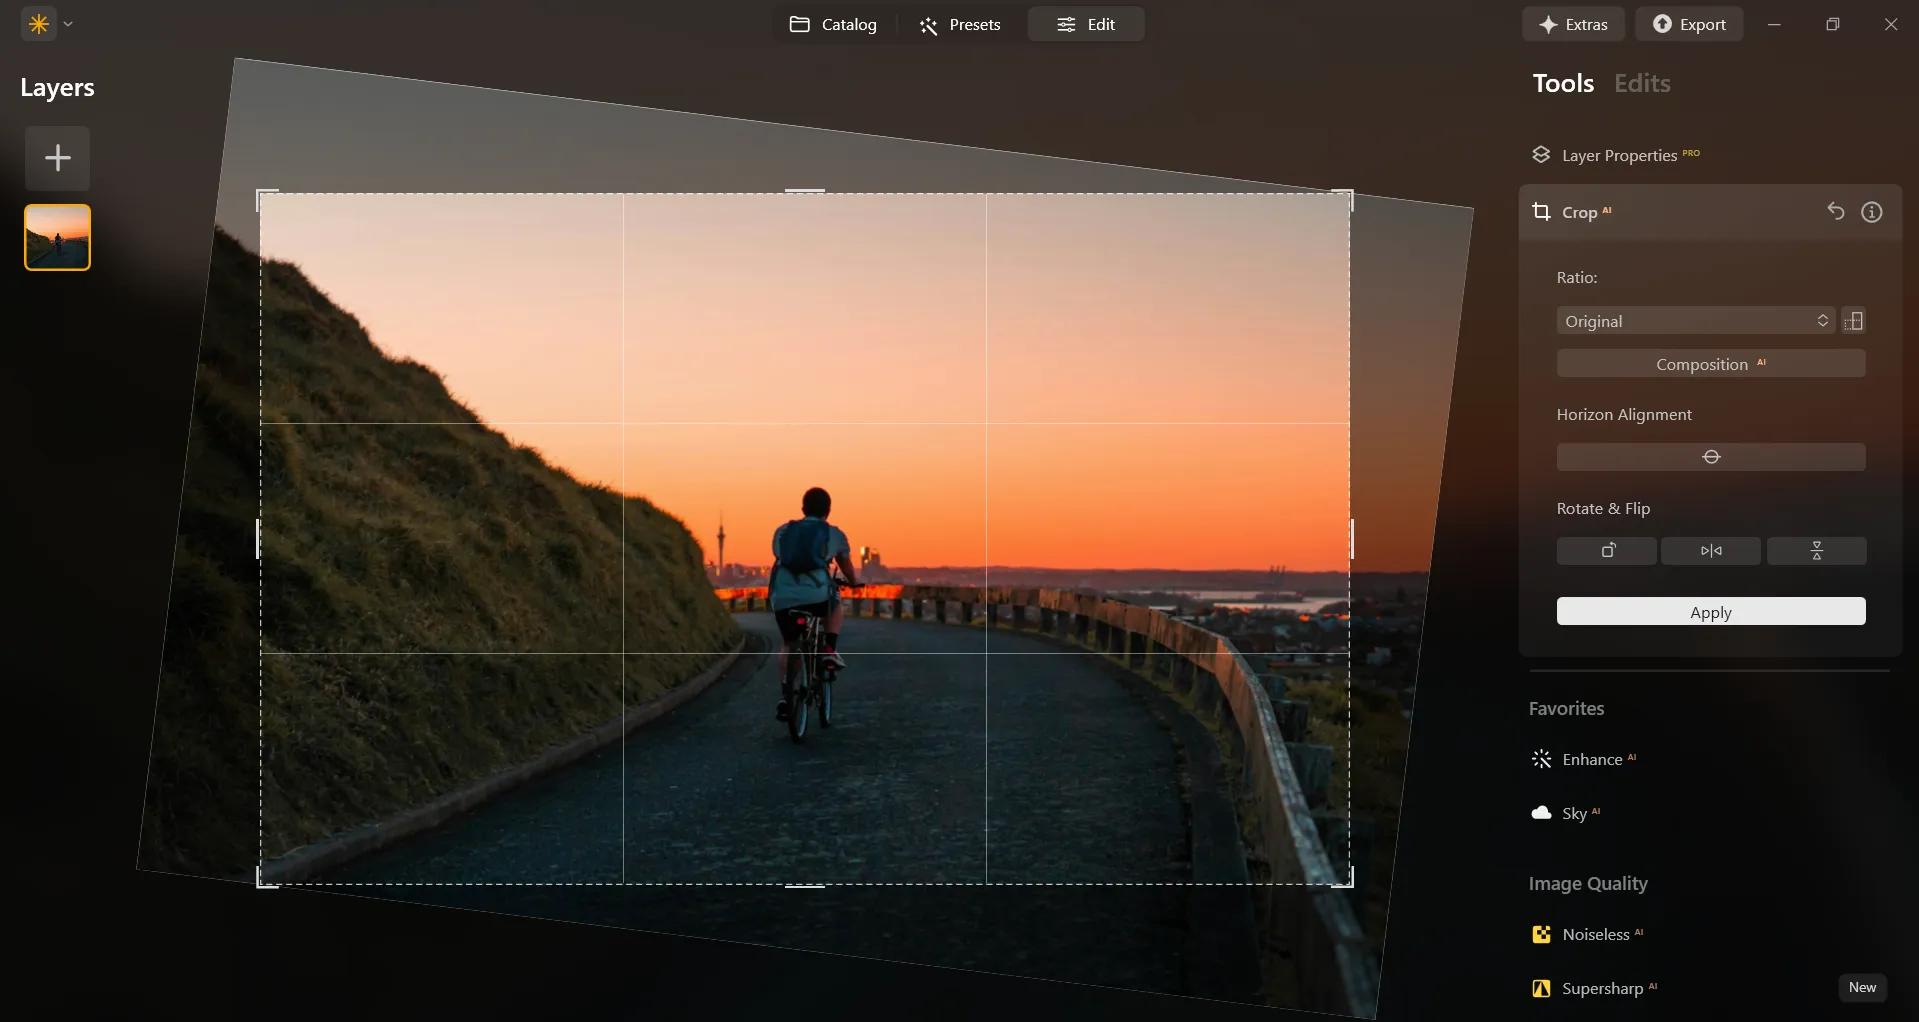
Luminar Neo has a lot of AI-based tools that help you effortlessly achieve the needed results. The CropAI tool automatically adjusts the photo’s composition, crop, and perspective. If needed, you can manually fine-tune any aspect of the resulting composition.
(5)

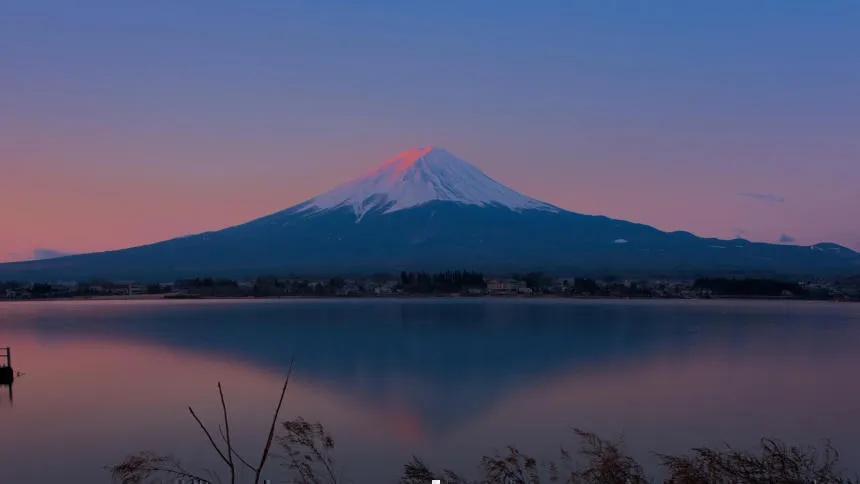
The Importance Of The Right Horizon In Photography

The horizon in photography plays a crucial role in determining the overall visual impact and quality of an image. It balances the composition, creates a sense of stability, acts as a leading line, drawing the viewer's eye into the scene.

A straight and level horizon can guide the viewer's gaze, making the image more engaging.
(6)
(7)
(8)
Before
After
© Bogdan Sonjachnyj

How To Straighten Photos Using Luminar Neo

Luminar Neo provides controls to fix perspective problems automatically:

• CropAI. Automatically crop your photo based on an analysis of its contents. The CropAI tool was developed by using samples from professional photographers, and will also straighten pictures if needed. 

• Horizon Alignment. Automatically levels the image horizontally. Suitable for images that aren’t level with the horizon but have a natural horizon or straight horizontal lines.

Optics Auto Corrections. This option is located under the Development tool. Its sliders are designed to remove flaws in the image caused by the lens or camera handling.

Explore Other Features

Luminar Neo has plenty of other features to help you edit faster and easier
(9)
Golden Hour
(10)
(11)
Before
After
© Depositphotos
Golden Hour
 Enhance your photos with the warm, soft, and diffused light of the golden hour.
(12)
Change Background Color
(13)
(14)
Before
After
© Garetsworkshop
Change Background Color
Enhance your design projects with a background changer, a simple yet impactful tweak.
(16)
(17)
Before
After
© Cuma Cevik
SkyAI
Elevate your images with stunning photo filters
(18)
Saturation/Vibrance
(19)
(20)
Before
After
© shutterstock
Saturation/Vibrance
Explore our tools to customize the perfect image saturation and bring your visuals to life.
(21)
Dehaze Photos
(22)
(23)
Before
After
© Dima Sytnik
Dehaze Photos
Effortlessly reveal hidden details and vibrant colors.
(24)
Unblur Image
(25)
(26)
Before
After
© Ksusha Kazak
Unblur Image
Unlock the power of clarity and transform your blurry shots into crystal-clear masterpieces!

An application & plugin
For macOS & Windows

  • High-performance AI editor
  • 24/7 technical support

  • 30-day money back guarantee

  • Join community of Luminar Insiders

(27)view plans

By buying our products you help

🇺🇦 Support Ukraine

Frequently Asked Questions

How to straighten a picture taken at an angle?

Straightening a picture taken at an angle is a common image editing task, often referred to as "tilt correction" or "perspective correction." You can use various image photo stretcher editors to get a straighter picture angle, but it’s easy to learn how to straighten a picture in Luminar Neo as it has plenty of automatic options that will help you out.

How to fix a crooked horizon?

(37)