Using Masking Tools on Your Photos
September 13, 2023
Capturing the perfect shot can sometimes feel elusive. There are moments when a minor change could elevate the image to the next level. Ever clicked a photo and wished you could tweak just one part of it? Welcome to the world of photo masking!
So, what is masking in photo editing? Think of it as a magic eraser. It lets you focus on editing just parts of your image without changing everything.
How to mask a photo? With tools like Luminar Neo, it's easier than ever. Ready to learn some photo magic?
Let's dive in!
The Power of Masking
 Have you ever wondered how to take an ordinary photo and turn it into something extraordinary? Photo editing isn't just about adjusting brightness and contrast anymore. Today, we have the incredible potential to transform any snapshot into a visually captivating masterpiece, and at the heart of this transformation lies the concept of masking in photography.
So, what is masking, and why should you use it? Imagine having the ability to be like a painter, changing specific parts of your artwork without altering the rest. Think about capturing a sunset and wanting the sky to be more dramatic or taking a portrait where you'd like to highlight the eyes without changing the skin tone. Masking is the tool that grants you this precision.
In advanced photo editing, it is a fundamental technique. It enables you to layer effects, seamlessly merge images, and create intricate compositions from various shots!
Your Key to Advanced Image Enhancement
Try Luminosity MasksDifferent Types of Masks in Photo Editing
 In the world of photo editing, masks are like the secret tools that let you control how your edits affect different parts of your image. Here, we'll uncover the main types and how they work:
- Layer Masks: Think of these like digital paint brushes. They allow you to paint over parts of a layer, either revealing what's underneath or hiding it. It's like using a magic brush to control what appears and disappears in your image.
- Clipping Masks: Imagine putting a stencil on top of your artwork. Clipping masks are like those stencils. They let you apply edits to a specific part of an image by "clipping" them to another layer. It's a bit like making a window in your picture to see something special underneath.
- Alpha Channel Masks: They are like the precision surgeons of photo editing. To create them, you should use advanced selection techniques. These masks are perfect for working with intricate details or complex shapes. It's like using a scalpel to cut out precisely what you want.
- Vector Masks: If you're after clean, sharp lines, these are your best friends. They use shapes—like circles, squares, or any custom shape you create—to define where edits should be applied. It's like using a cookie cutter to get perfect shapes every time.
Each of these masks has its own superpower, giving you the ability to edit your photos with incredible precision. Depending on what you want to achieve, you can choose the one that fits your creative vision.
And with the tools of Luminar Neo, an AI photo editor, this process becomes even more accessible and powerful, making it the perfect companion for your creative photo editing journey! Want to see for yourself?
Download Luminar Neo and Get a 7-day Free Trial
I'm in!Discovering Luminar Neo's Masking
Diving into photo editing with Luminar Neo is like exploring a treasure chest, especially when it comes to using its AI photo masking. It feels like unlocking a smart assistant for your edits!
Traditional methods can be slow and tedious, but with AI, parts of your image, whether it's a vivid sky or a person's face, are quickly and accurately identified.
For those new to the world of photo editing, this feature is a game changer. Instead of grappling with complicated settings, you're given a more intuitive approach right off the bat. You can smoothly transition from basic to more detailed edits as you become familiar with the tool!
Here’s a quick peek at its top tools:
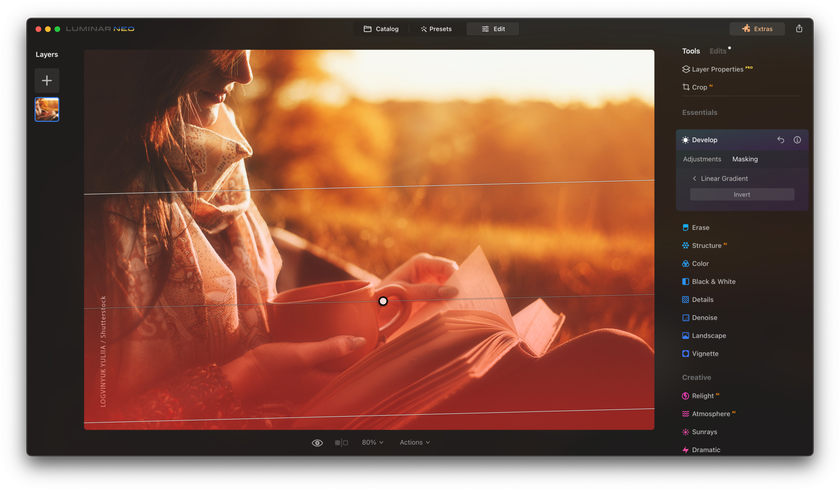
- Linear Gradient Mask: The Linear Gradient Mask comes in handy when you want to achieve a gradual blending effect.
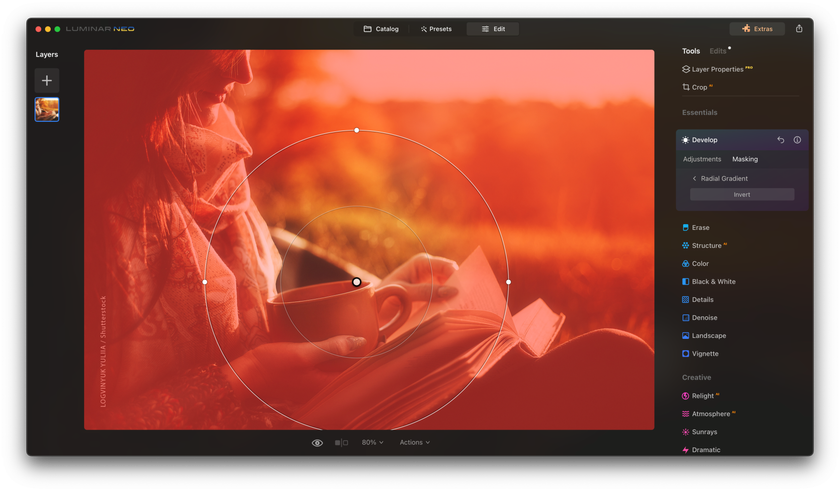
- Radial Gradient Mask: If you're looking for a fast and effortless way to mask an elliptical area within your photo, the Radial Gradient Mask is your go-to tool.
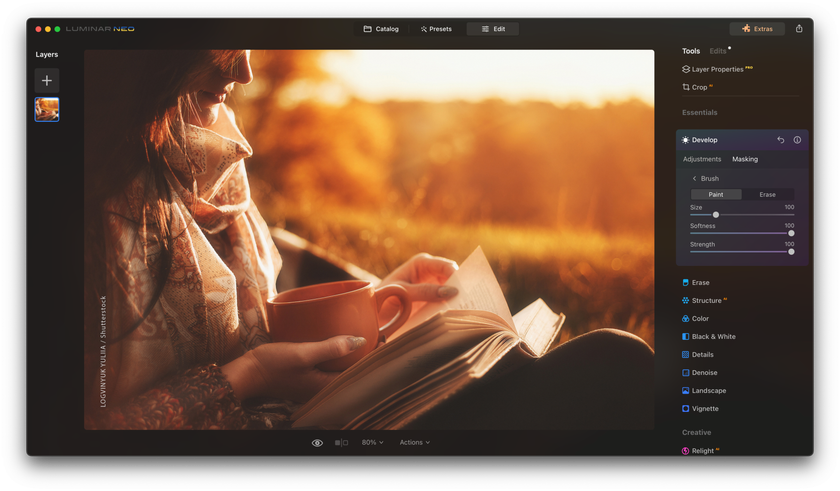
- Brush: Think of this as your precision painter. You can tweak tiny details, and it even shows where you’ve made changes with a clear color.
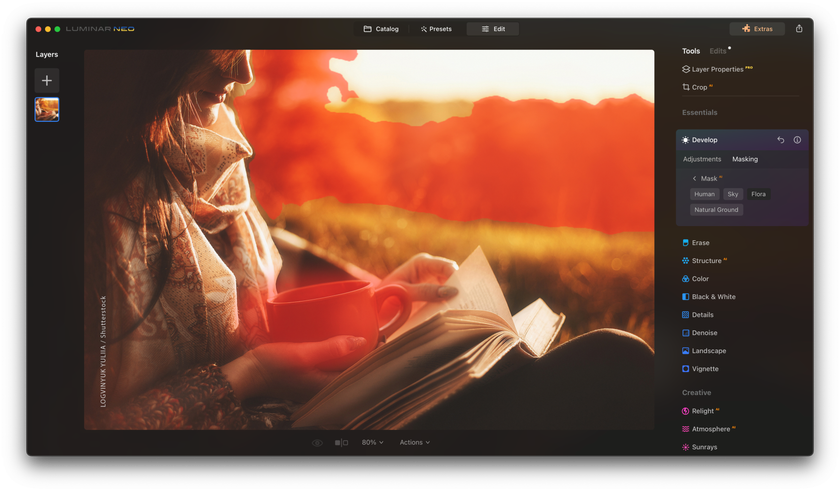
- Mask AI: Smart and swift, this is tech magic at its best. With a few clicks, it speeds up your edits, blending AI power with your creativity.
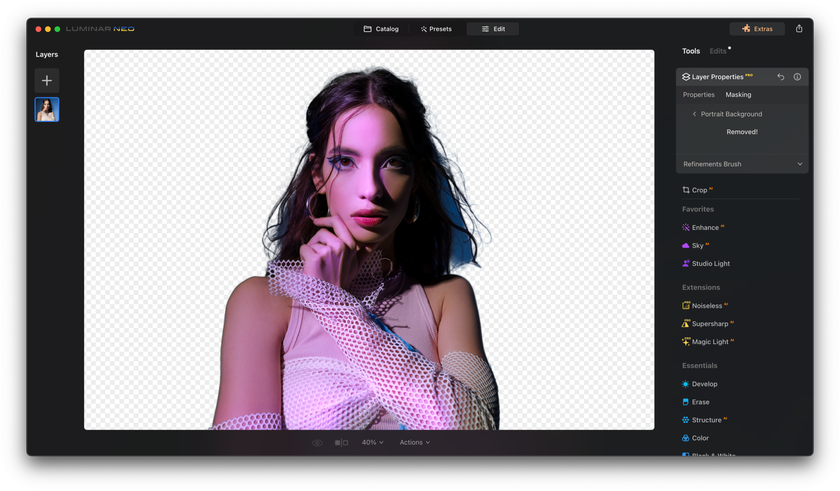
- Portrait Background: An AI-powered feature within Layers that allows users to instantly remove the background from a portrait, creating transparency with a single click.


All in all, Luminar Neo simplifies the editing process, making it more efficient and fun, and it's a tool that both novices and experts can truly benefit from! With this editor, every photo gets the VIP treatment, turning simple shots into showstoppers!
Guide to Masking in Luminar Neo
But what does it mean to mask an image? Simply put, it means hiding or revealing specific parts of it. It's like using a stencil on a canvas – only the areas you want to change are exposed. Here's a step-by-step guide to help you harness the power of masking in Luminar Neo:
Step 1. Preparation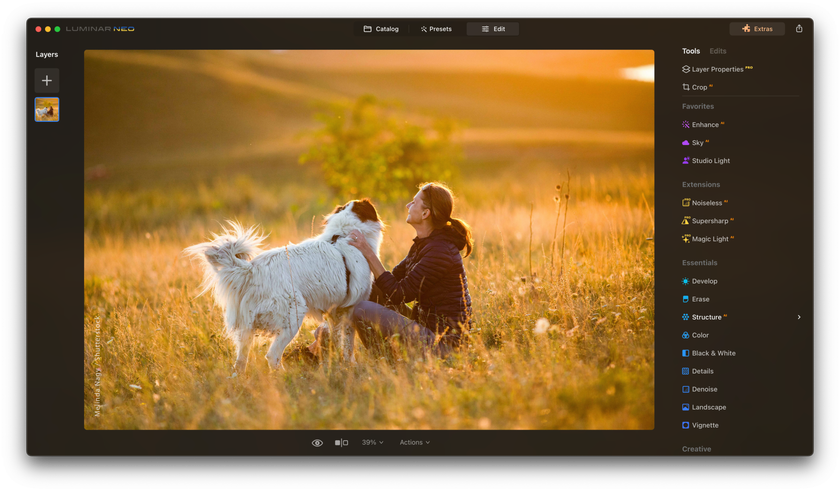

- Open your desired image in Luminar Neo.
- Identify which areas of the image you want to edit and which parts should remain untouched.
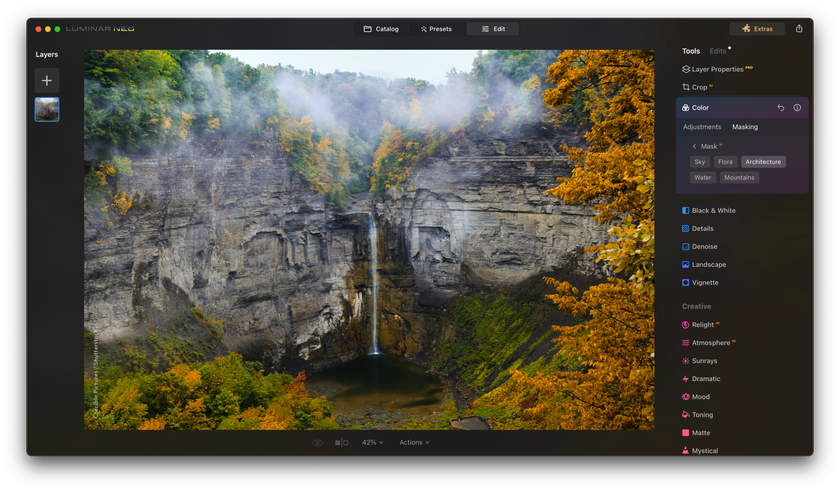
Step 2. Setting Up for Masking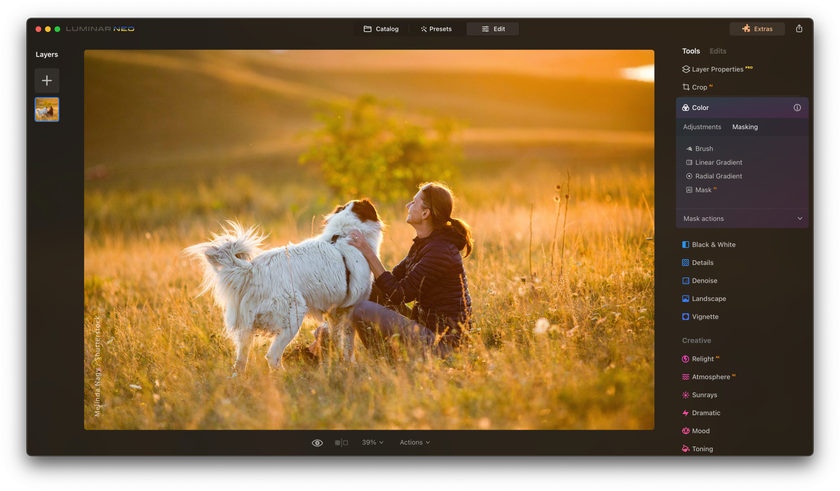

- Click on 'Layer Properties'.
- Choose the 'Masking' option and the mask you want to apply.
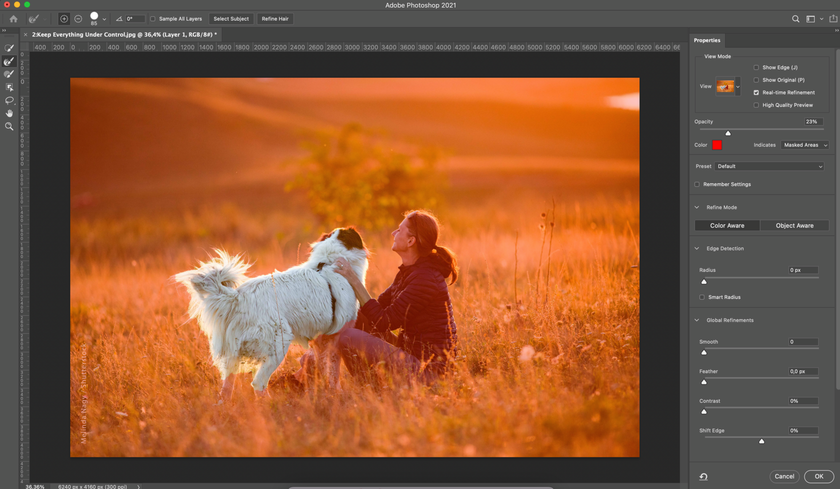
Step 3. Working with Mask Color Codes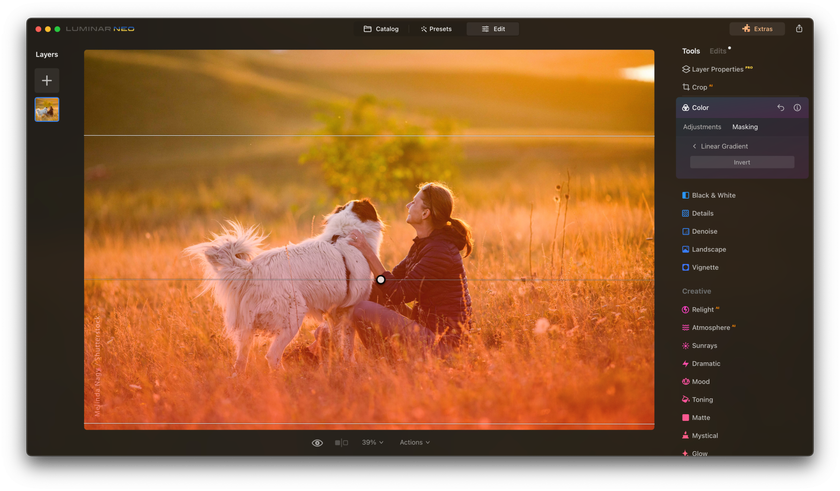

- Remember: a red color means the part that is left untouched in your picture, and the white one is the area you want to remove.
- If you need to reverse the mask, use the 'Invert' option.
Step 4. Utilizing AI Tools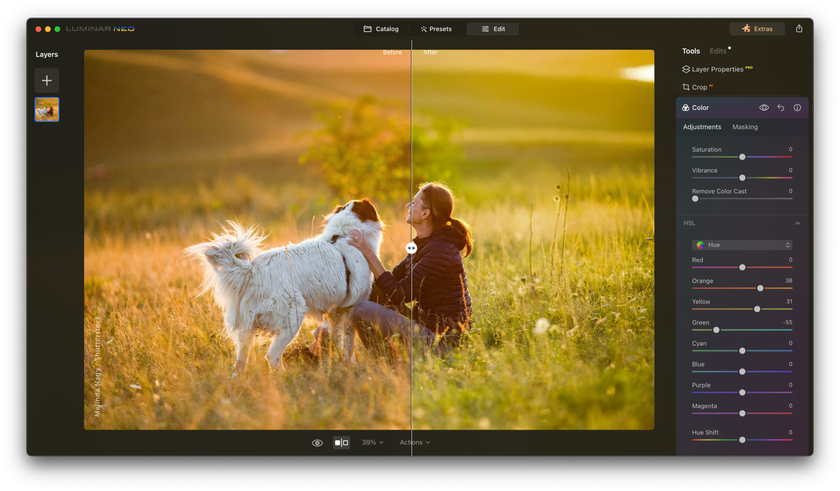

- Opt for the Mask AI tool and await the artificial intelligence to segment the layers within the photo.
- Choose the one that aligns with your editing goals.
- If you aim to remove the background, employ the Portrait Background tool.
Step 5. Precise Editing with Brushes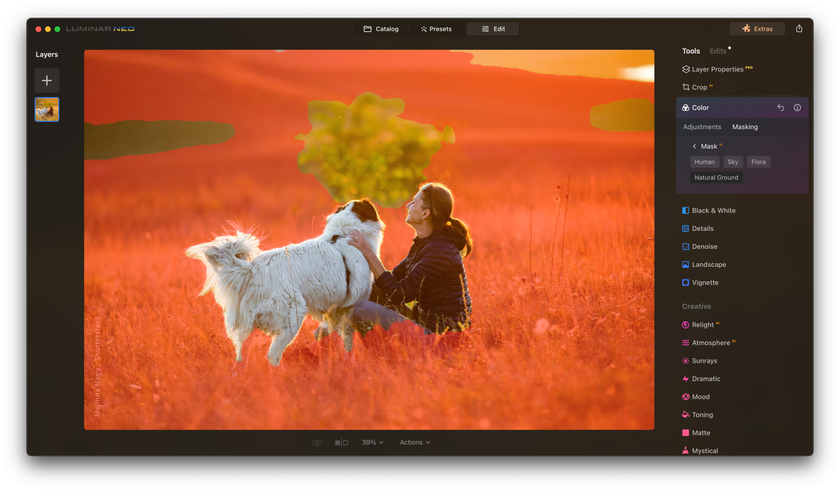

- Use brushes to add or remove specific parts of the mask.
- Alter the brush size: larger for expansive areas and smaller for detailed sections.
- Adjust the feather setting for soft edges.
- Play with the opacity setting to control the intensity of the mask.
Step 6. Checking Your Work
- Turn on the 'mask overlay' feature to see exactly where you've placed your mask. This will display in a contrasting red color.
Step 7. Saving the Result
- Store your photo and the format in which you'd like to save it. Luminar Neo offers the capability to save in various popular formats, including JPEG, TIFF, and Photoshop.
- Finalize the process by clicking the 'Save' button to create the file.
Now, you're well on your way to producing refined and tailored edits, bringing your vision to life! Want to put your newfound knowledge to the test?
Mask Objects in a Single Click with Luminar Neo
Try it nowTips and Best Practices for Effective Editing
Getting the best results with masking can be straightforward with the right approach. Here are some streamlined tips:
- Have a Plan: Think about what you want the photo to look like at the end.
- Zoom In: When you want to be exact, make the picture bigger.
- Start with Help: Use the automatic tools to start your edits, then change little things if needed.
- Blend Well: If you're using more than one mask, make sure they mix well.
- Look Again and Again: Switch between the new and old picture to see if everything's okay.
- Keep It Simple: Small changes can look more real.
- Save As You Go: Keep different edited pictures so you can choose the best later.
- Learn from Friends: Join groups or watch videos to see how others edit photos.
- Practice More: Try it on different pictures to get better.
With these guidelines, your journey will be more focused and rewarding!
Conclusion
When it comes to photo editing, masking is akin to an artist's finest brush. It offers a selective touch, enabling you to refine specific elements of an image without altering its entire essence. Answering the question, "What is masking in photo editing?", it's the power to dictate where your edits go and where they don't. With platforms like Luminar Neo, this capability is further amplified, giving both novices and pros a tool that can elevate their work!
Just like mastering the brush enhances a painter's artistry, mastering masking can enrich your photography. And if you want to promote your artwork, check out our article “8 Powerful Social Media Marketing Tips For Photographers,” which will help others find out about your photographs!
So, dive into masking techniques to transform your photos, highlighting their best features and telling your story as envisioned. It's time to give your pictures the extra touch they deserve!